Anyone else?

Yeah.. make sure you have a good fan.
If you run the numbers on the belts you will find the stock size belt has a fairly low hp capacity. I suspect that at some point it maxes out and starts slipping. The serpentine belt is capable of carrying more hp. On this I suspect that you could over speed the fan fairly easily on hot rod. Fan would be likely to come apart.
Of course this is just conjecture on my part and I have no empirical data to back it up, only the engineering data available about the belts, nothing about the hp requirements of the fan.
 
Well there ya go...
Excellent find!

So there you have the empirical data to prove my hypothesis.
Do with it what you will.
 
Not much new going on. Have been so busy with work.

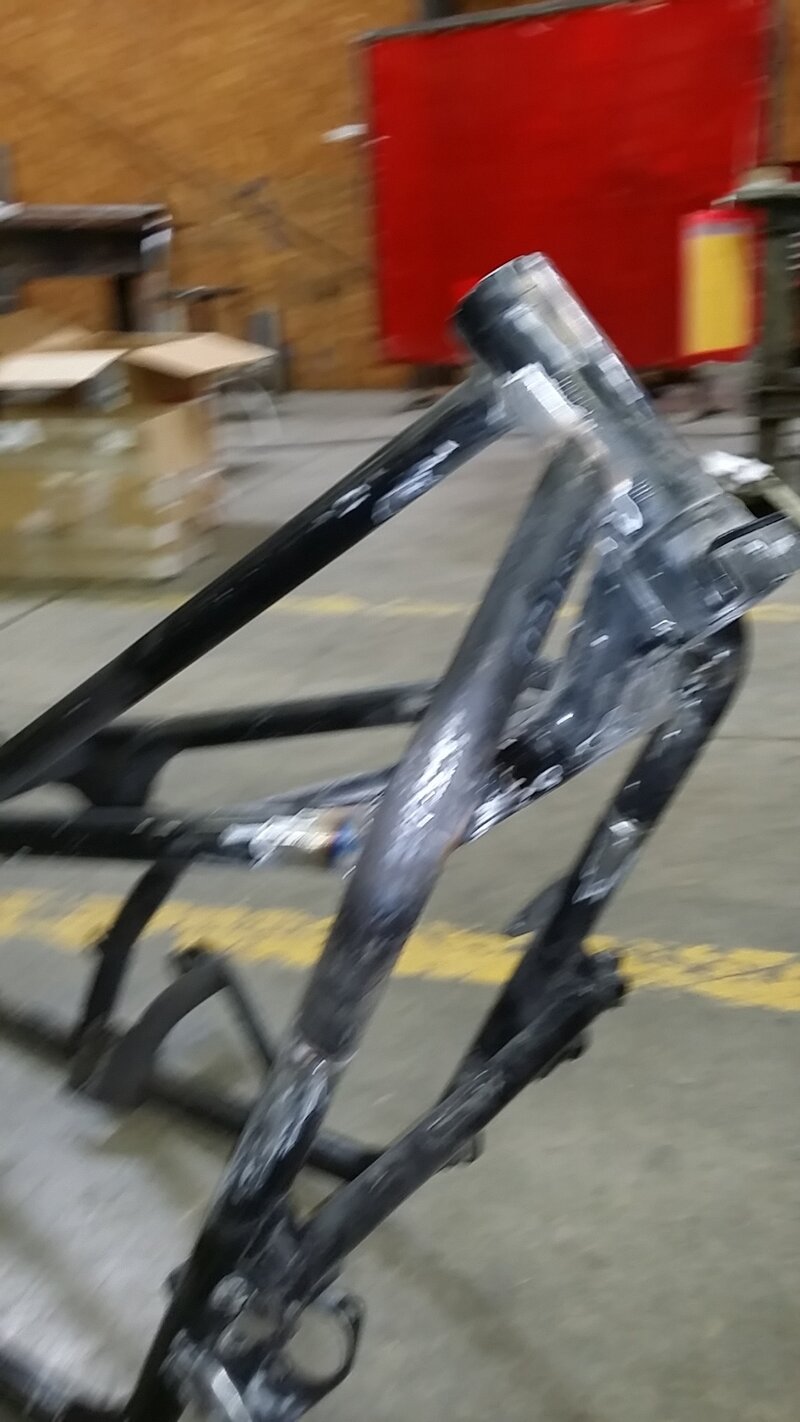
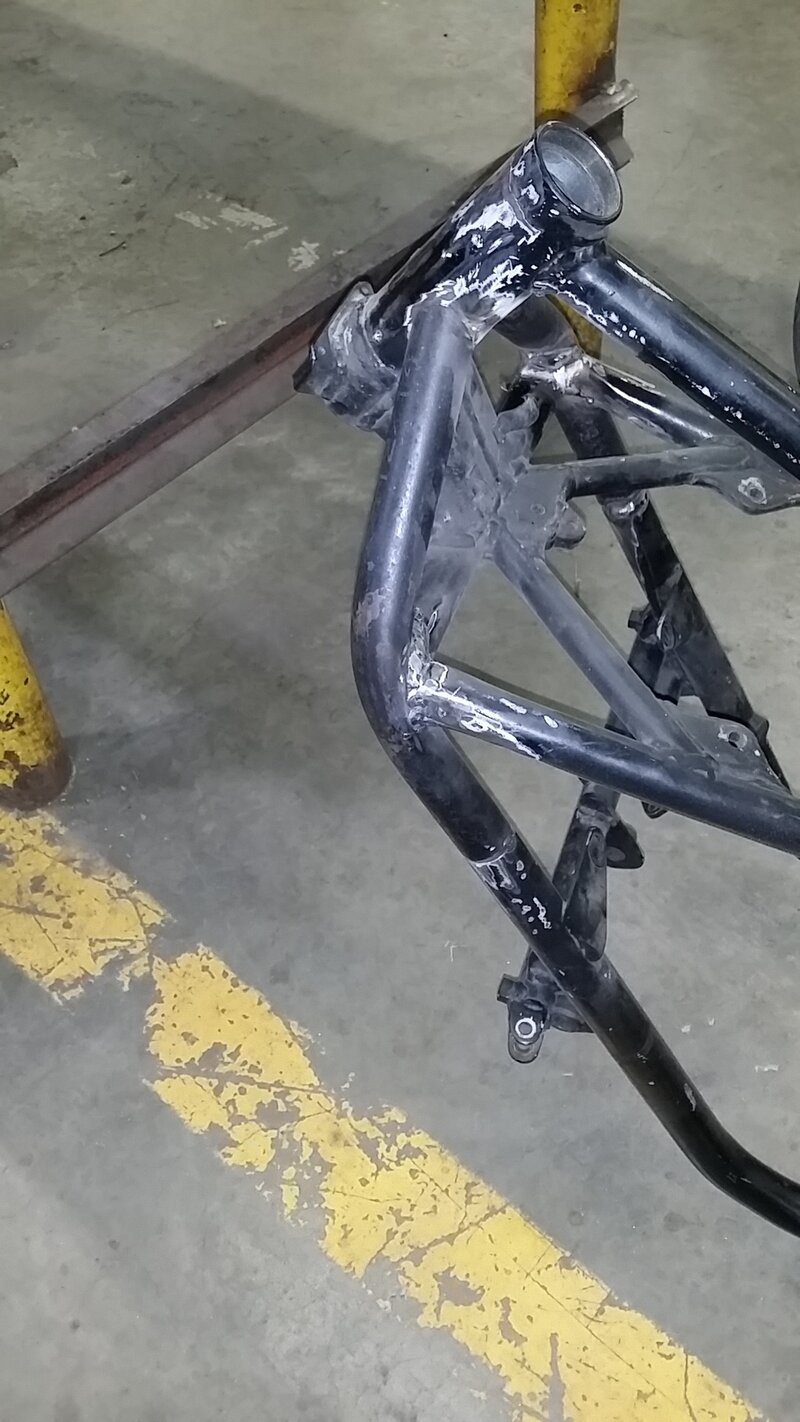
But before I blast and paint the frame I am gonna change this joint.

20141103_180333_zpsdak7cixx.jpg

This odd angle kinked joint has always bugged me.

Cutting it out and fitting a radius bend.

Made plugs for the joint.

20150626_172811_zpsyifhocwo.jpg

I have one side cut out, fitted and tacked in. Once I weld it up I will cut the other side.

Frame has many joints and plugs already.
 
Both sides in and partially welded.

Now to get some good welds on it then some gussets.

I think it looks better with the radius.*

I treat this thing rough, that is why the neck aint stretched out there like a chopper would be. Short and stout for the neck.

20150629_182300_zpslrwbbfru.jpg
 
Yeah the front end has been slammed down pretty darned hard. The bottom bearing shows impact marks but everything has always stayed together.
We are only talking 40 more hp than before.
Maybe a bit more mushy on the bottom end with big higher rpm pull. Could turn out less twitchy.
 
Well yes and no.
I have been busy with work. But i was off for the holiday. I spent all my time with my girls though.*
Have not worked on it for a week.
Hitting it a lick right now though.
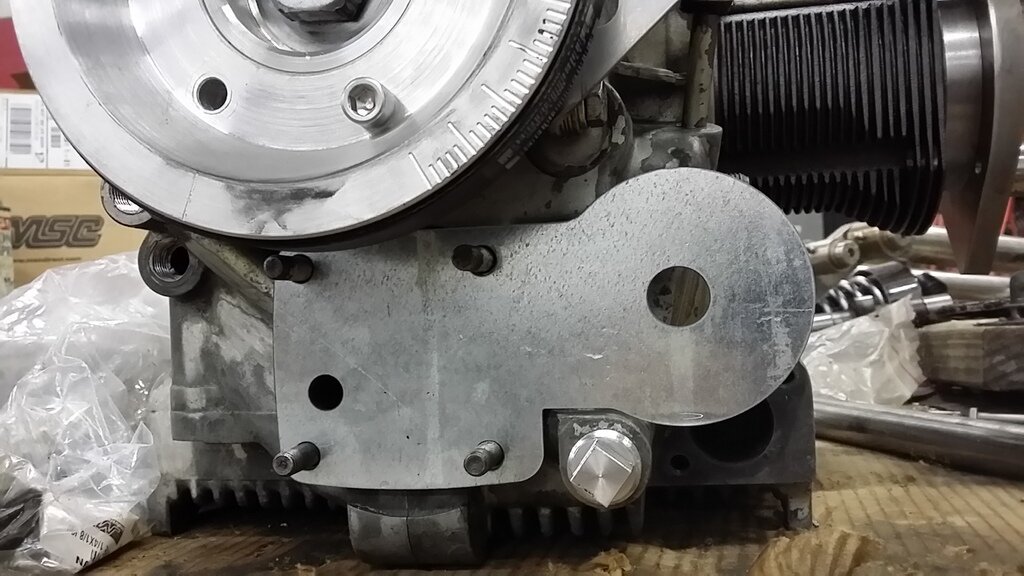
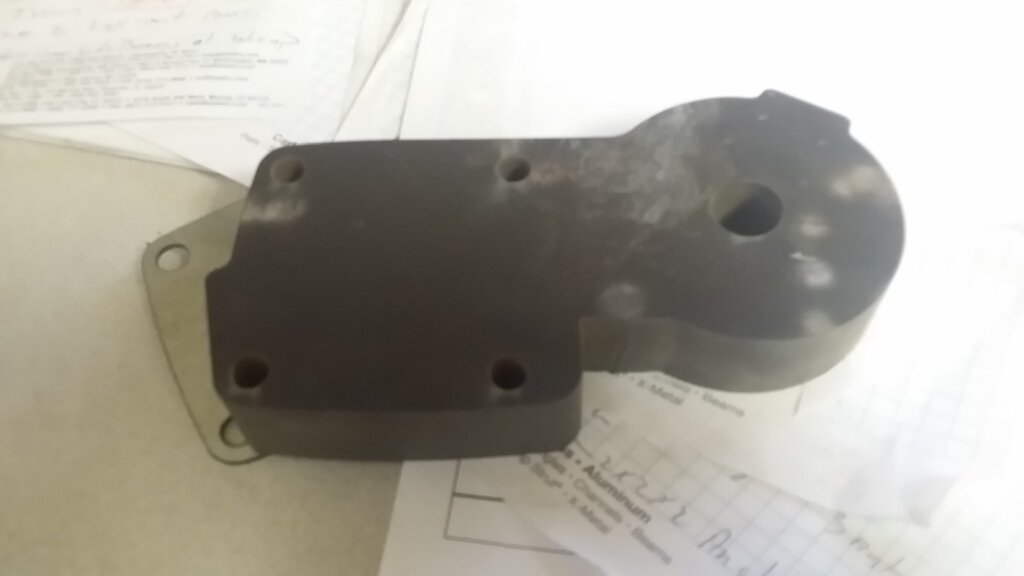
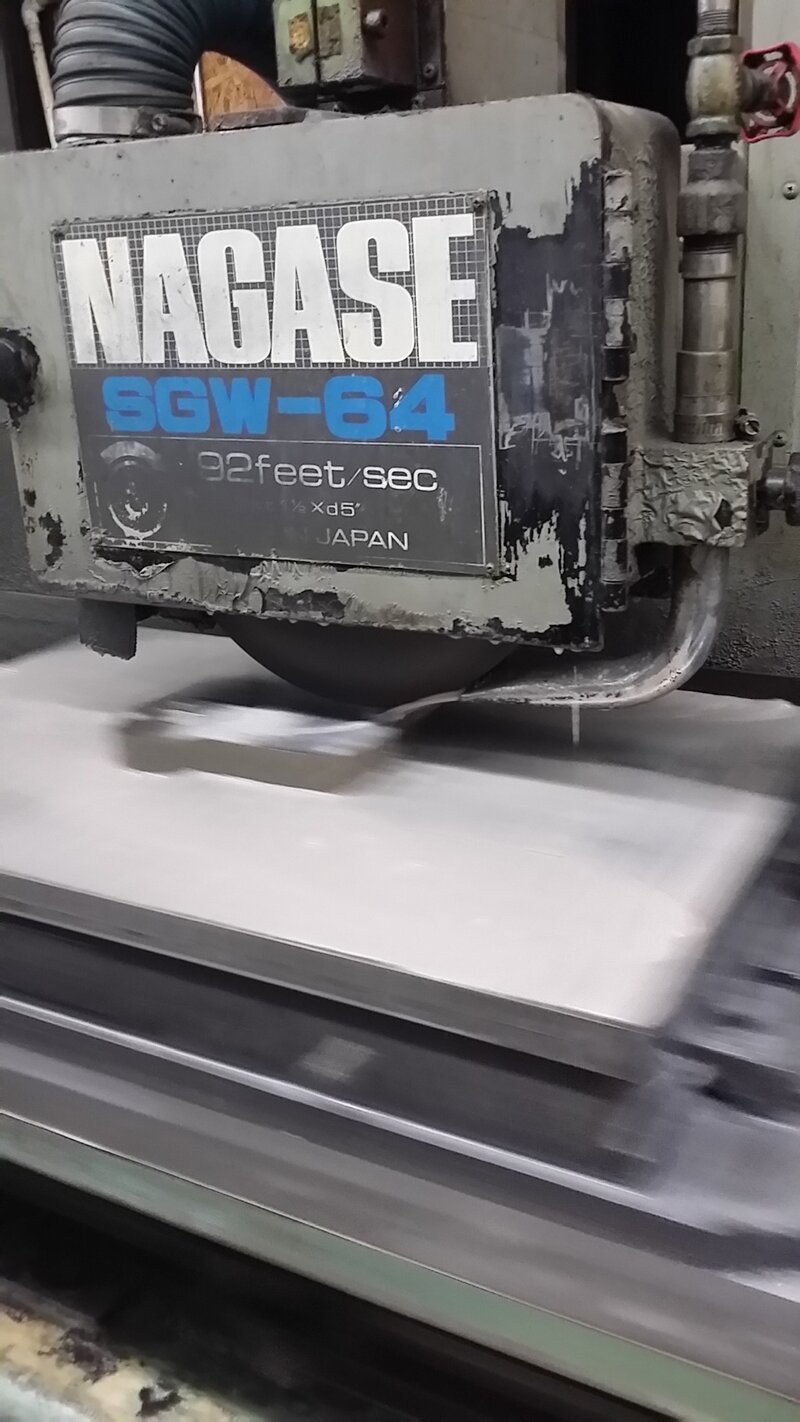
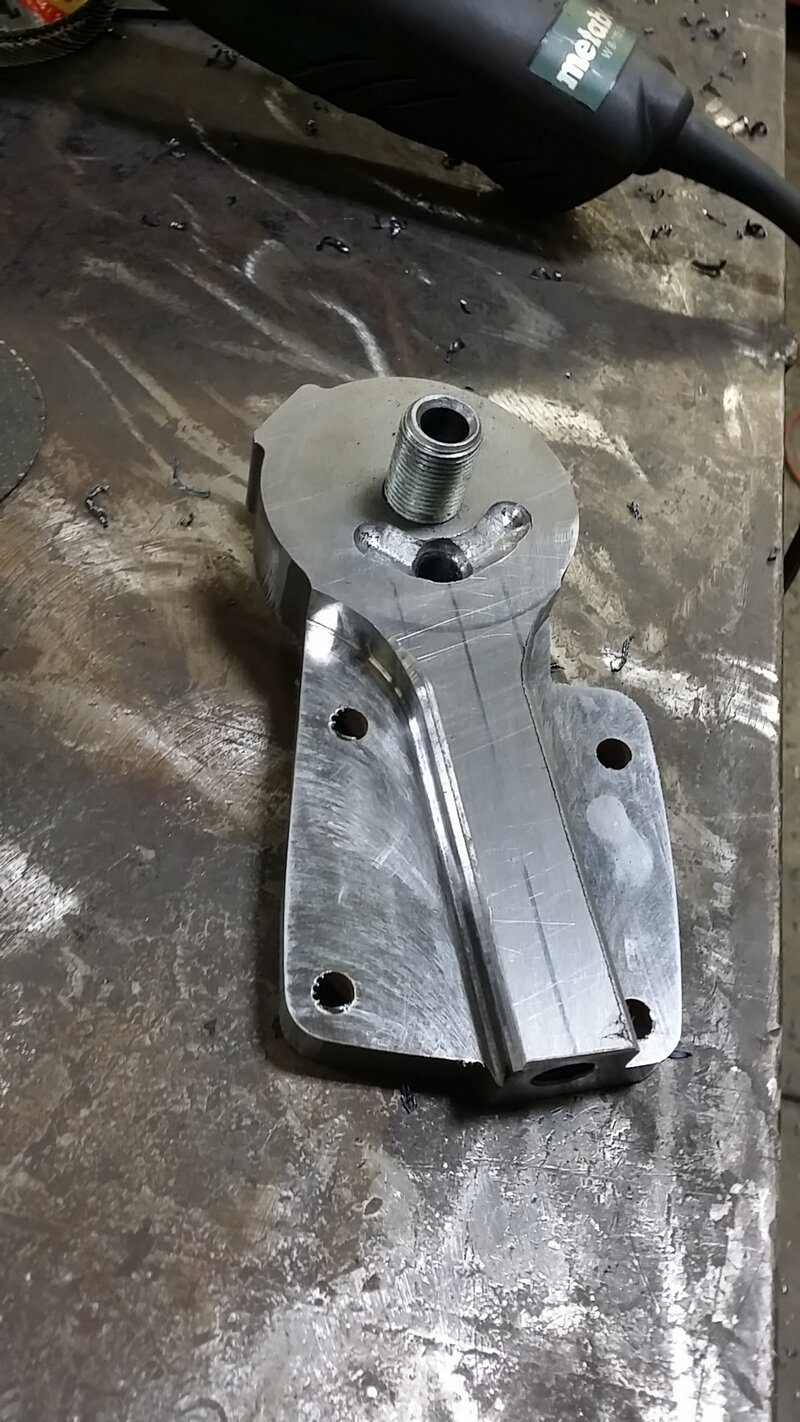
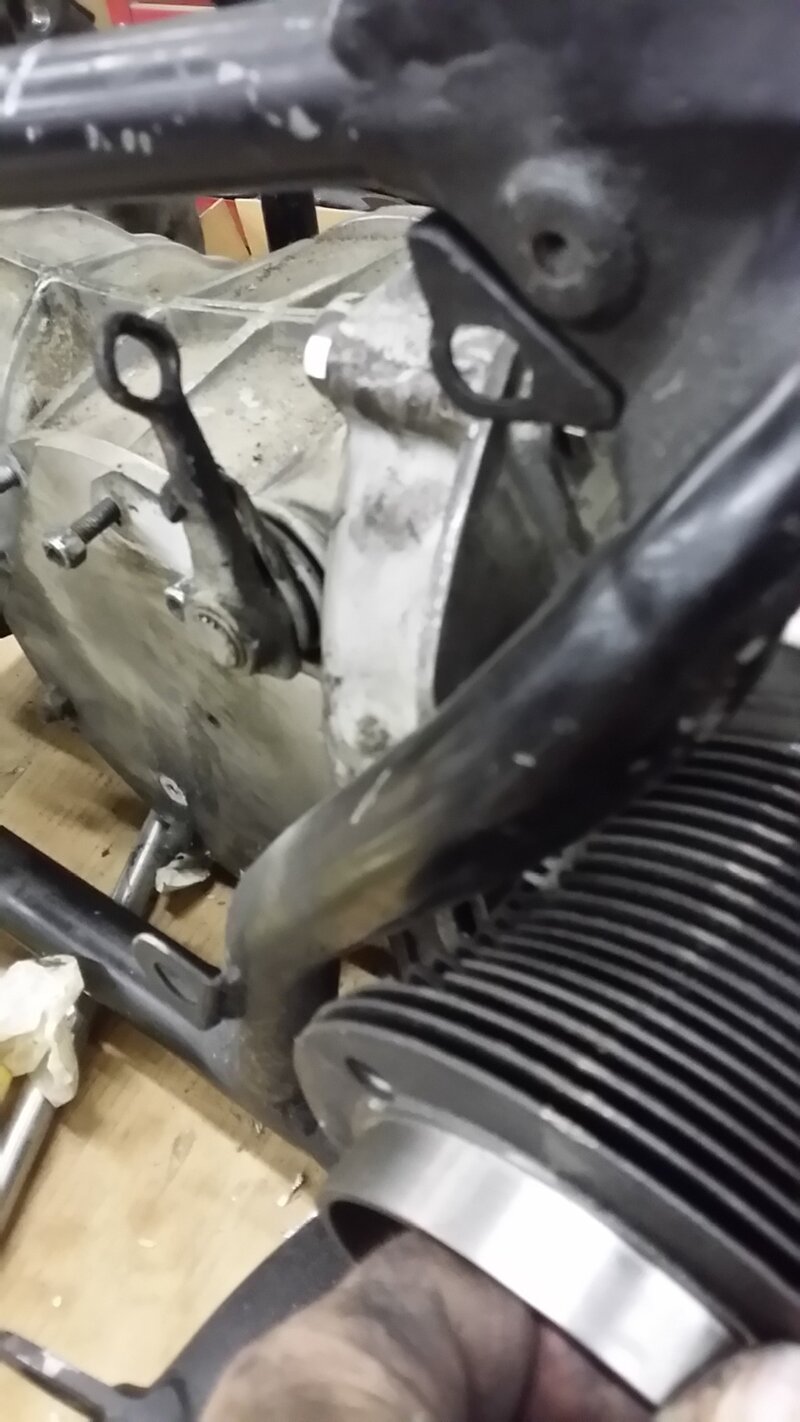
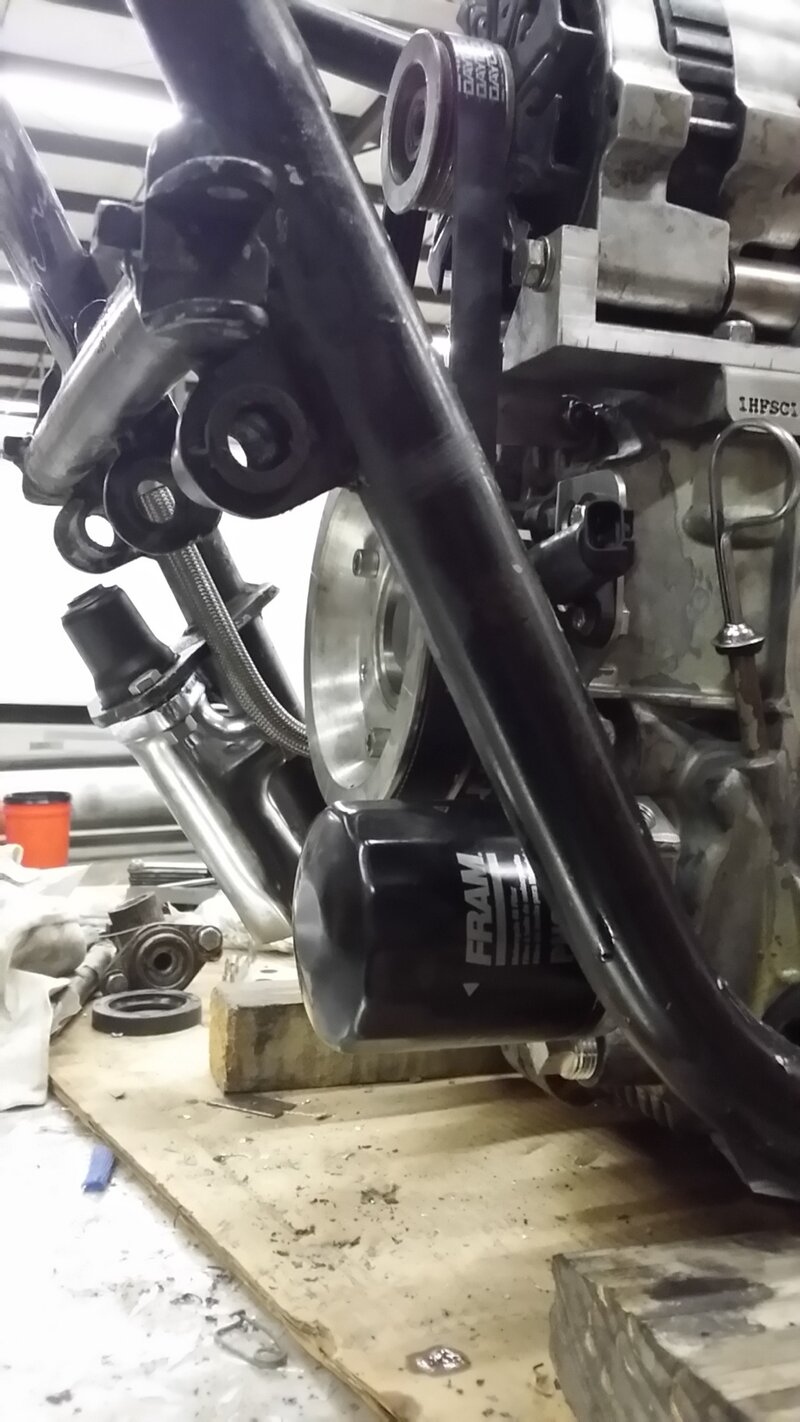
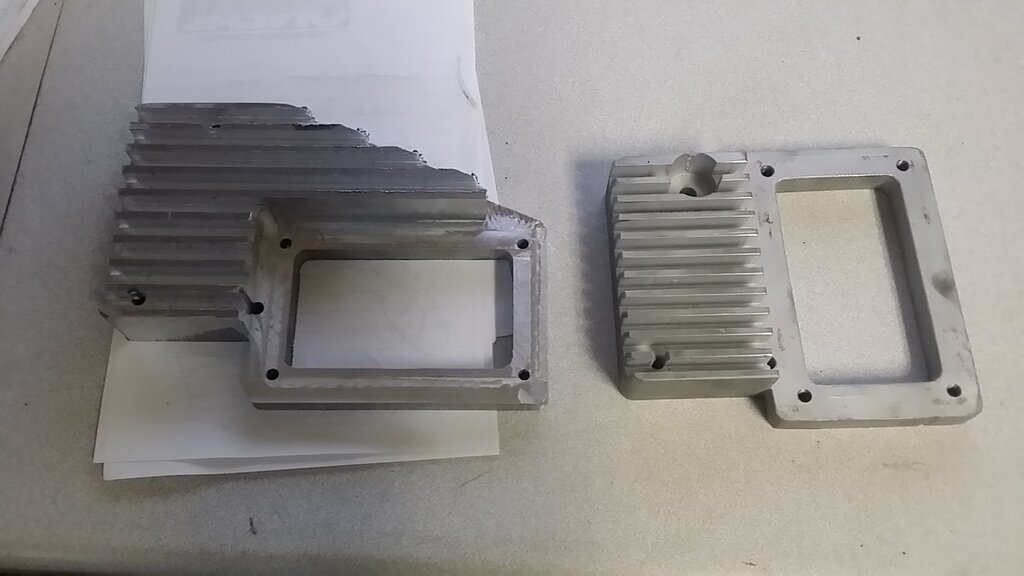
Trying to design up an oil pump cover with the filter in a place that fits for me. Cut a couple sample patterns and just not there yet.
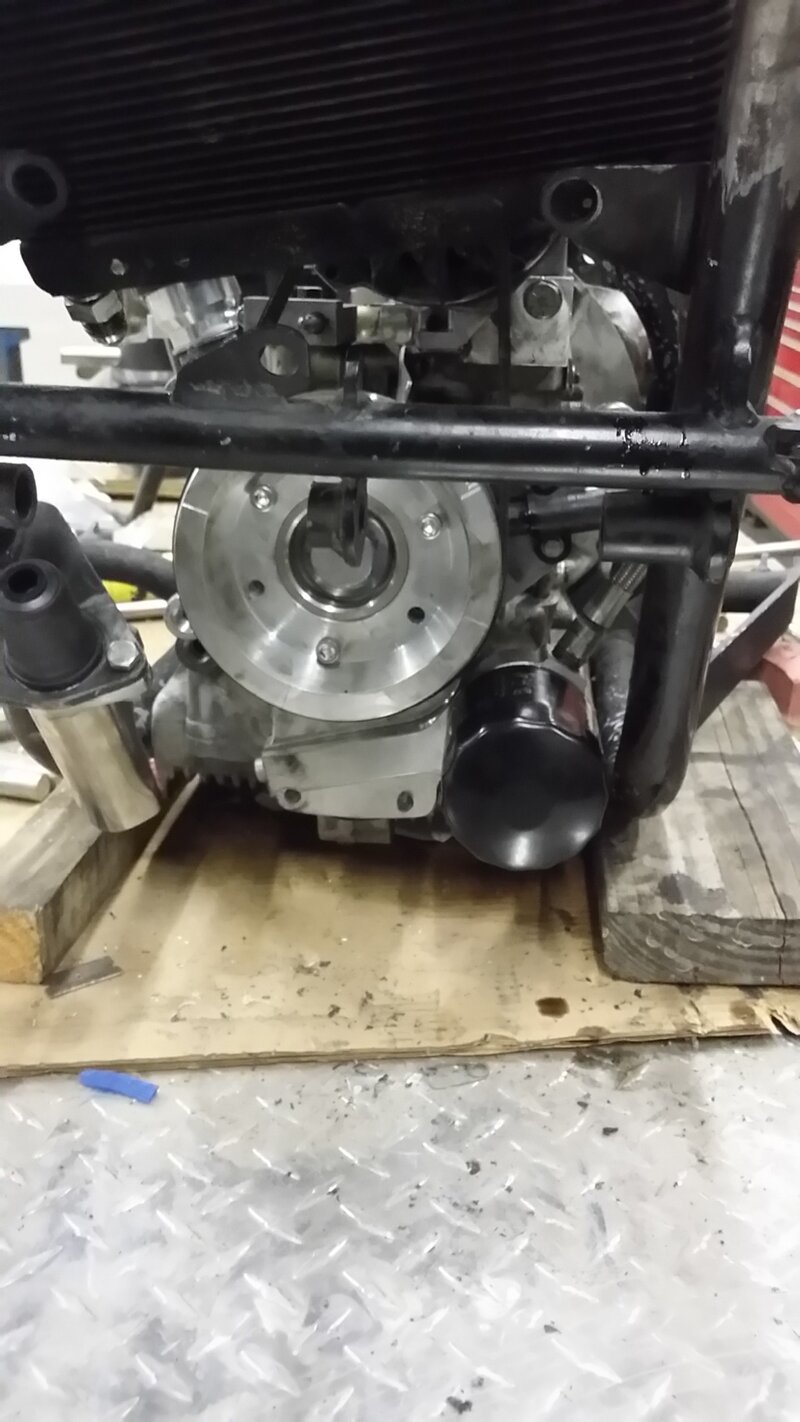
I have plans for where the remote filter was. So now it is going to point out from the pump cover.
 
It will look some like this. This is just a profile template to find the place the filter will fit. Not much room to work with. The brake master cylinder is on the opposite side mounted on the frame.

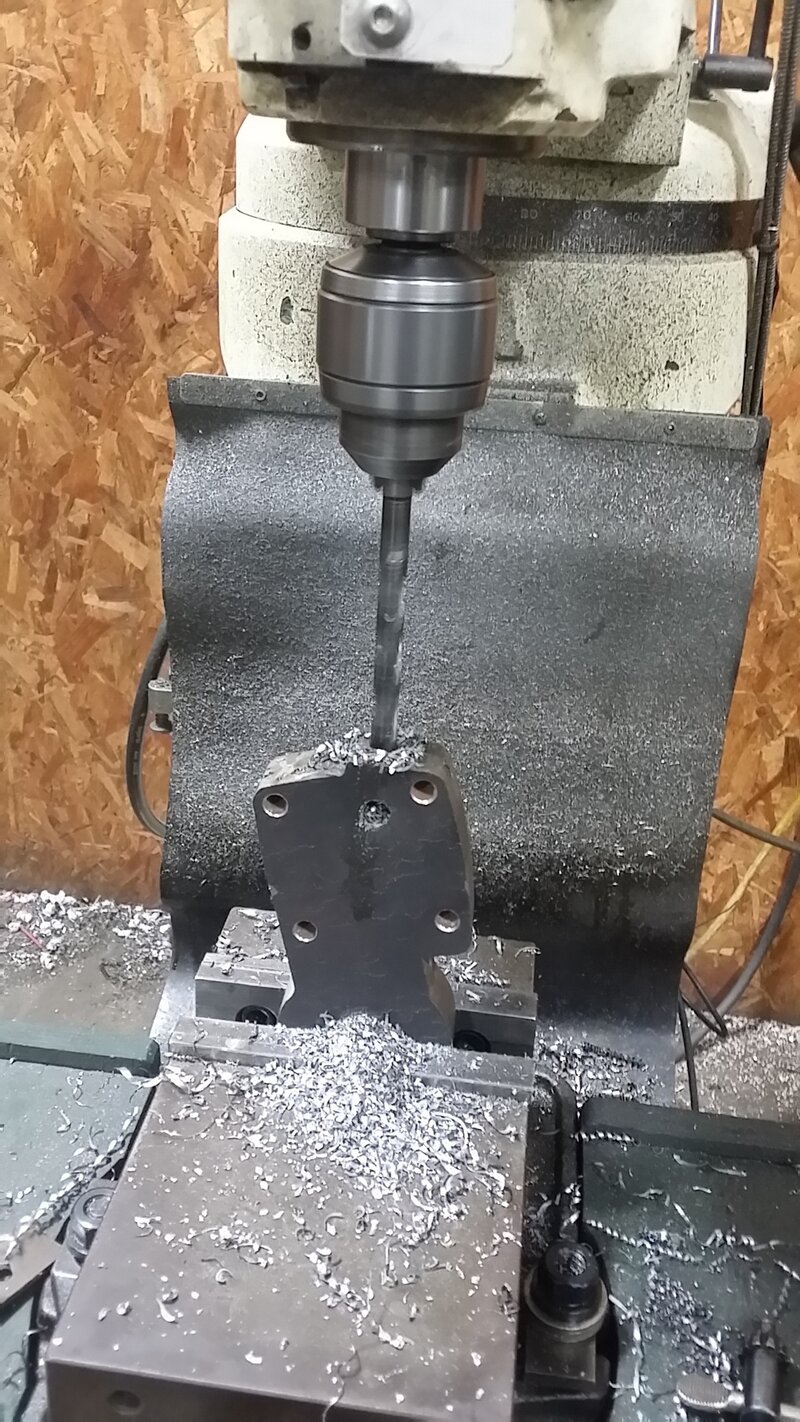
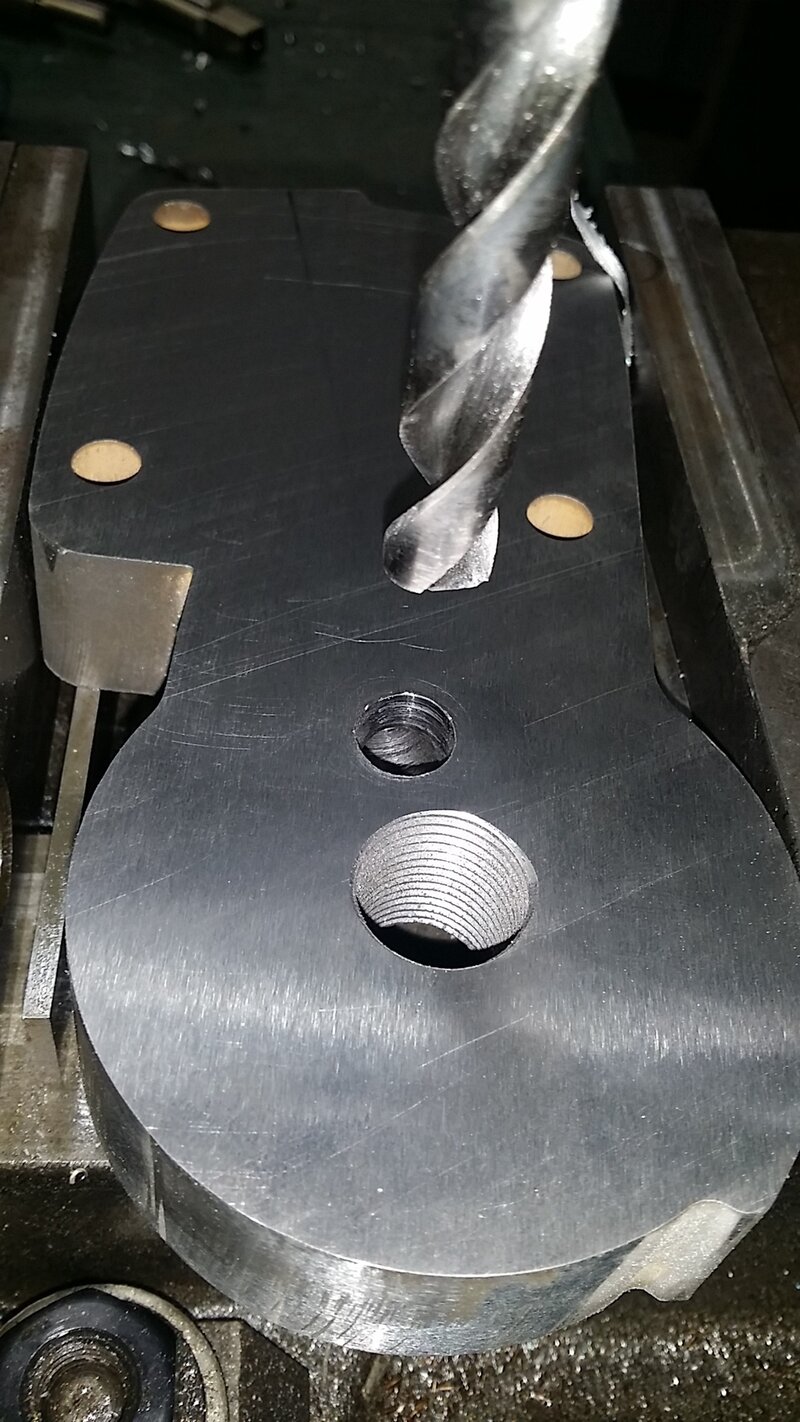
I will cut this shape out then do all the oil passages and other mill work on it.

20150708_180421_zpssey05eut.jpg
 
Whittling on it.

20150710_183949_zpskgmux9fy.jpg

20150711_110032_zpsj43eiskz.jpg

20150711_113756_zps7cyd8rpt.jpg

20150712_170147_zps51jknrgu.jpg

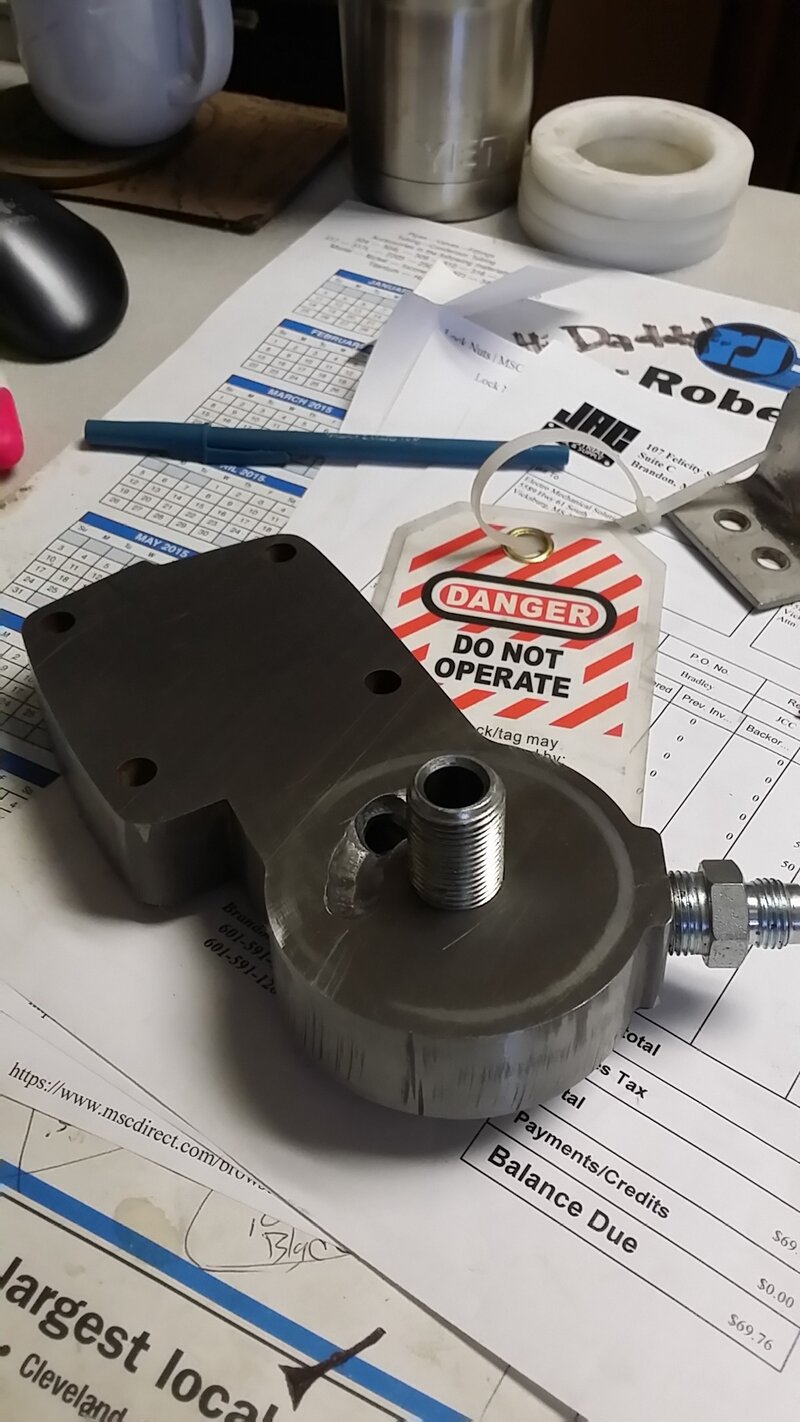
It is now functional.

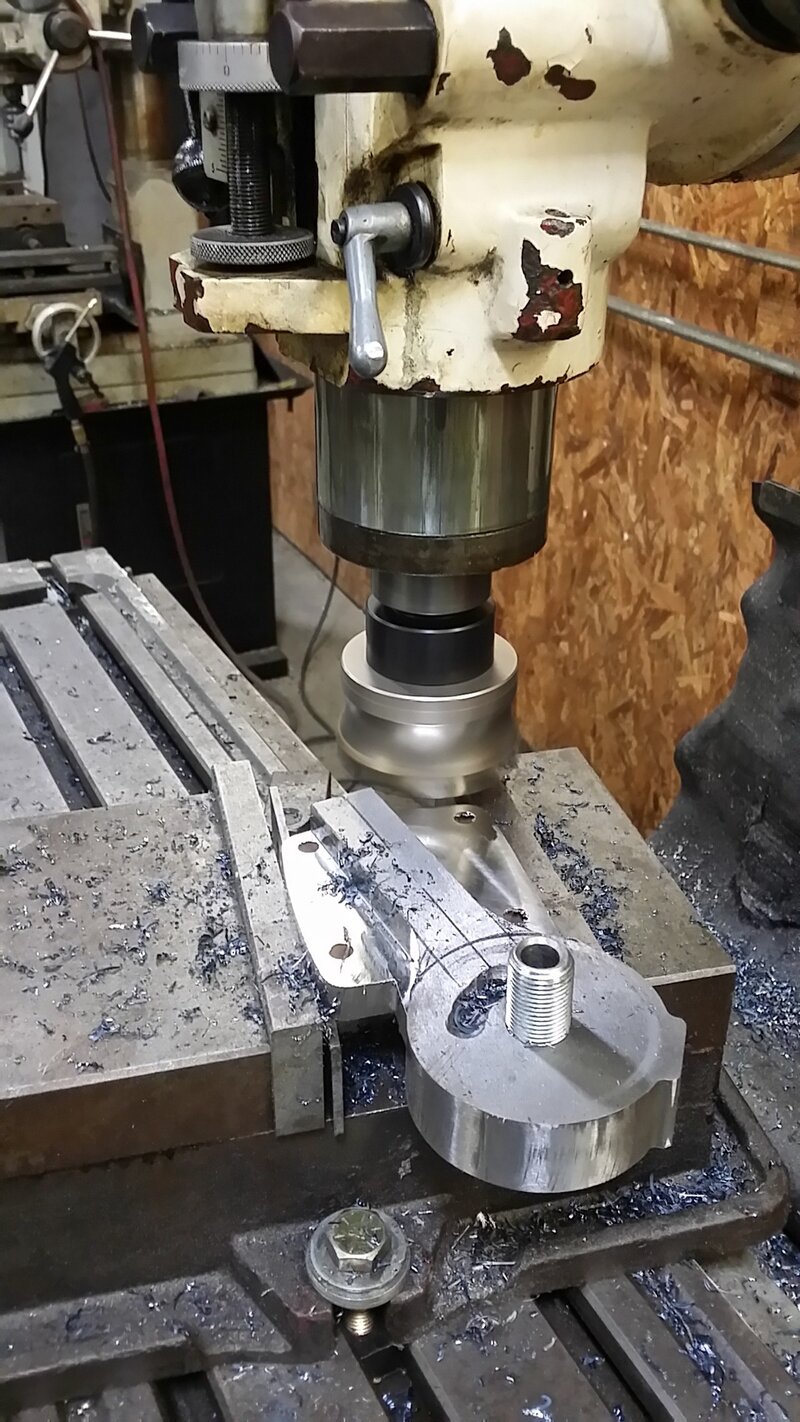
But i am gonna whittle on it a bit more. Make it look better and loose some weight.
 
I went with steel.
Hoping to maintain better clearance in the pump. Trying to get better hot idle oil pressure. If I can I will run a lighter weight oil.

Eventually it will all come together.
 
Cut a little weight off the back area behind the filter.

Here it is.

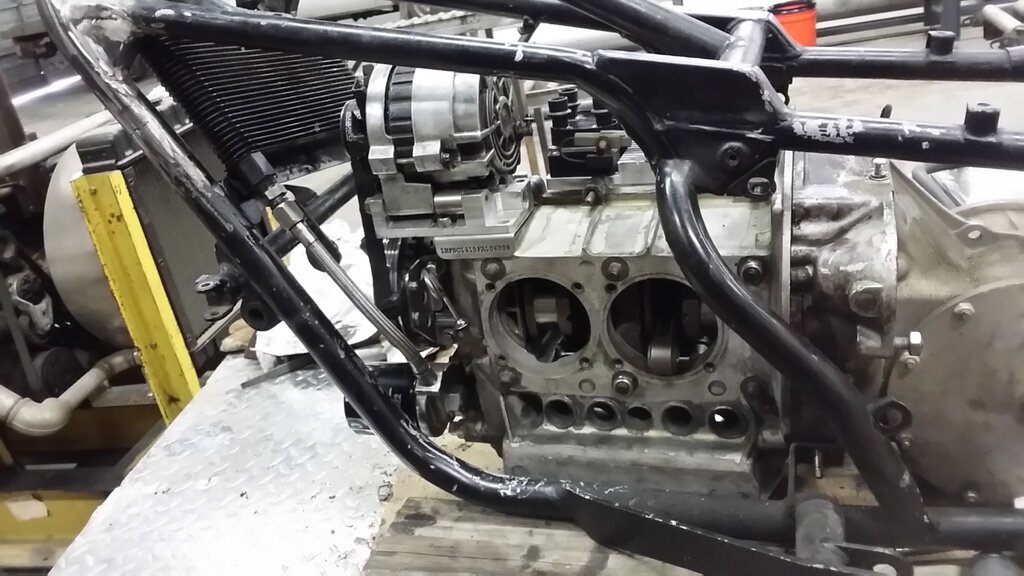
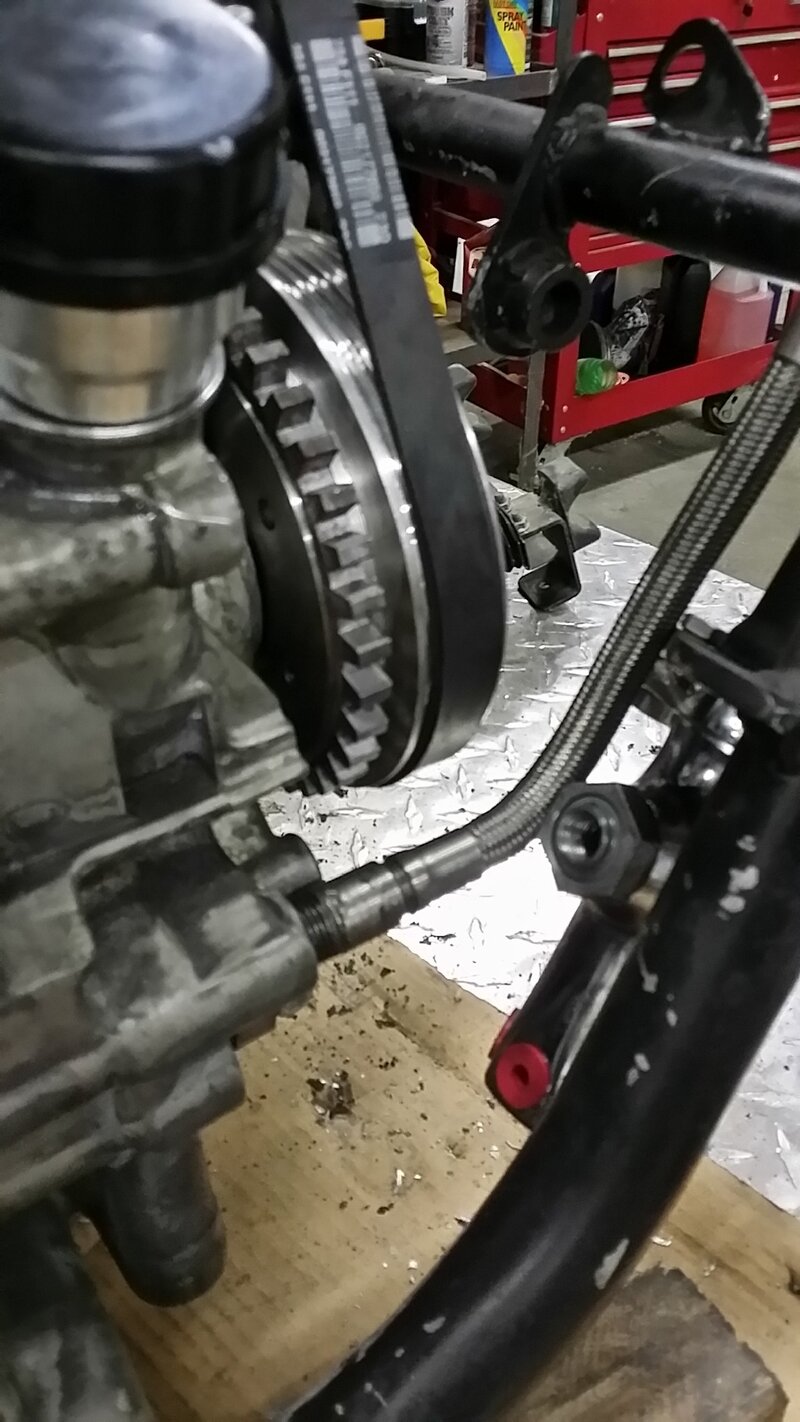
Pump straight to filter and then out the top fitting to the cooler.

Still gotta plug the oil hole in the case where the oil is supposed to be going. Then drill and tap an external entry into the oil gally.

20150716_175227_zpstcay82hv.jpg
 
Then drill and tap an external entry into the oil gally.

Snu, take a look at this page in the EMPI catalog:

http://vwcatalog.empius.com/vwcatalog/2014/46.html

Just below the "oil system fittings and clamps" you'll see part number 16-9517 "oil return adapter kit." This replaces the rear oil bypass giving the user no need to drill into the oil galley area of the block.
Very simple part to use.

Here is one for sale on Ebay: http://www.ebay.com/itm/EMPI-16-951...R-VW-BUGGY-BUG-GHIA-THING-TRIKE-/261821752514

And here it is on Amazon: http://www.amazon.com/EMPI-16-9517-RETURN-ADAPTER-BUGGY/dp/B00BYHFWMO
 
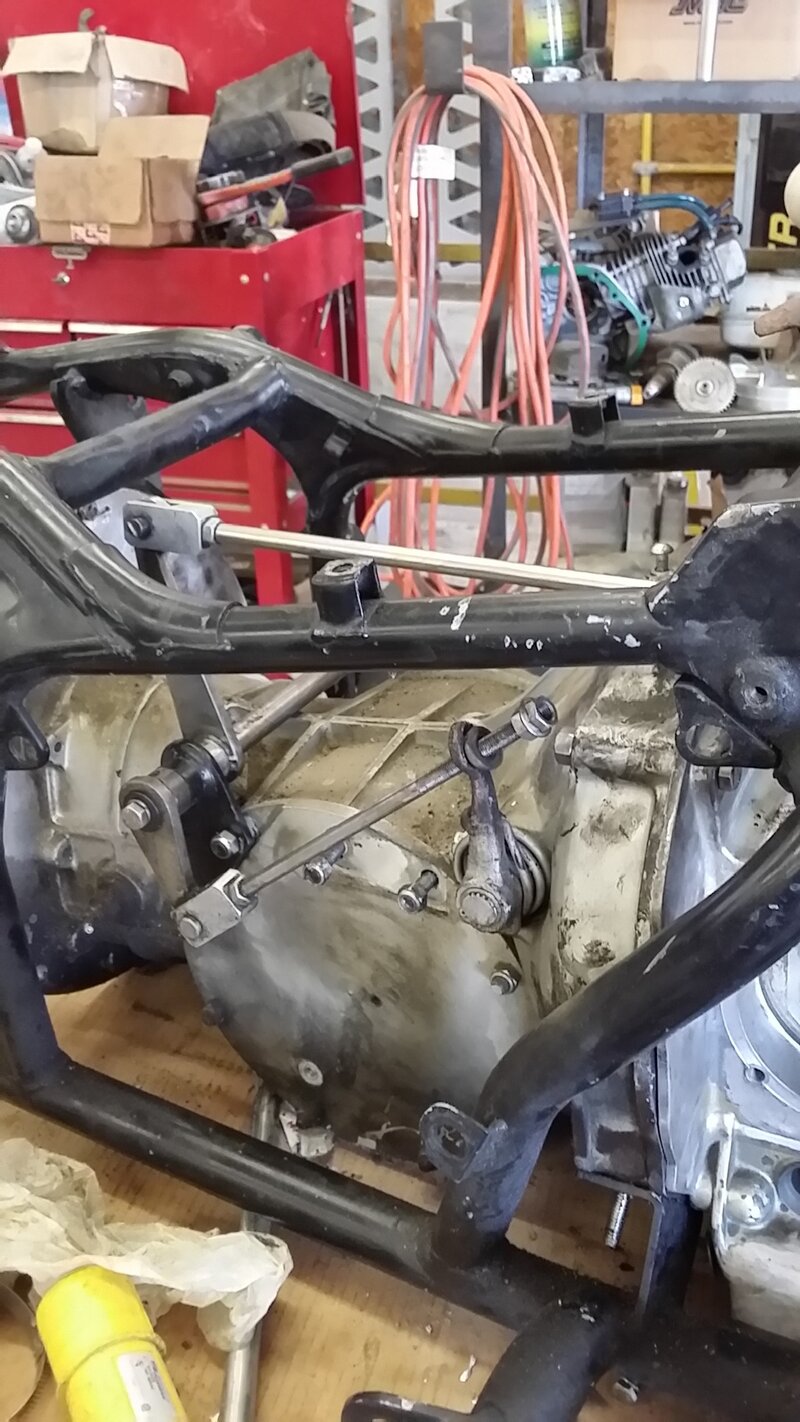
Never did get the clutcj link to work out the way I wanted.

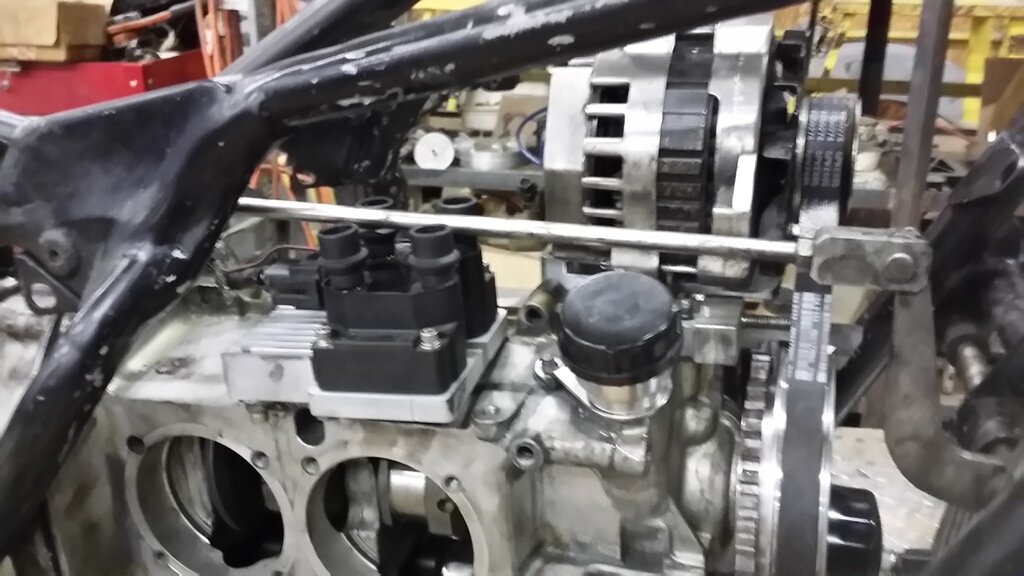
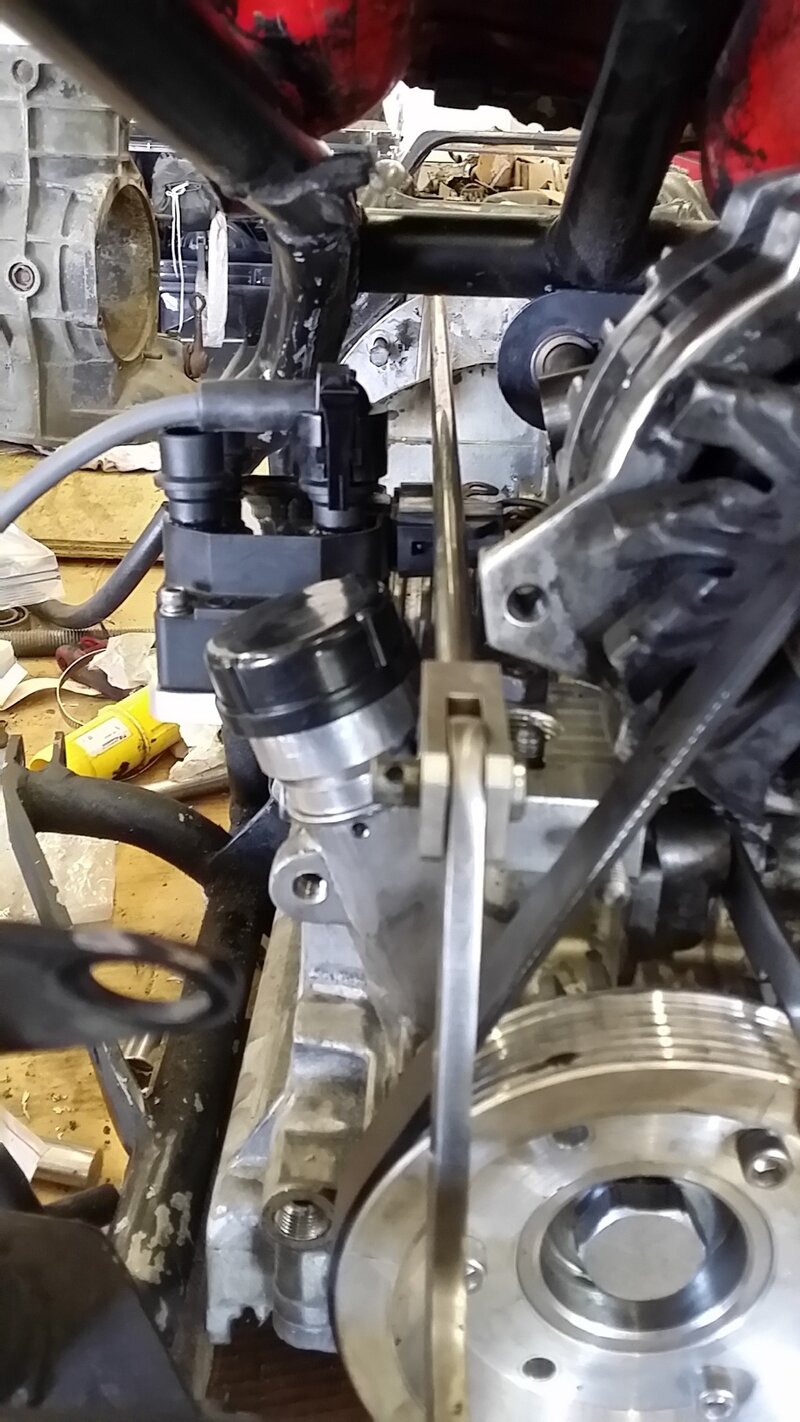
So much for my fancy smancy coil mount.

Re made the mount and moved the coil.

20150722_183158_zpsa6n5oukm.jpg

20150723_174013_zps56t5wzr0.jpg

20150723_174044_zpsarou5cia.jpg
 
Now sorting out the electrical bits and pieces.

Going to eliminate some of the extra stuff I had from the gold wing.

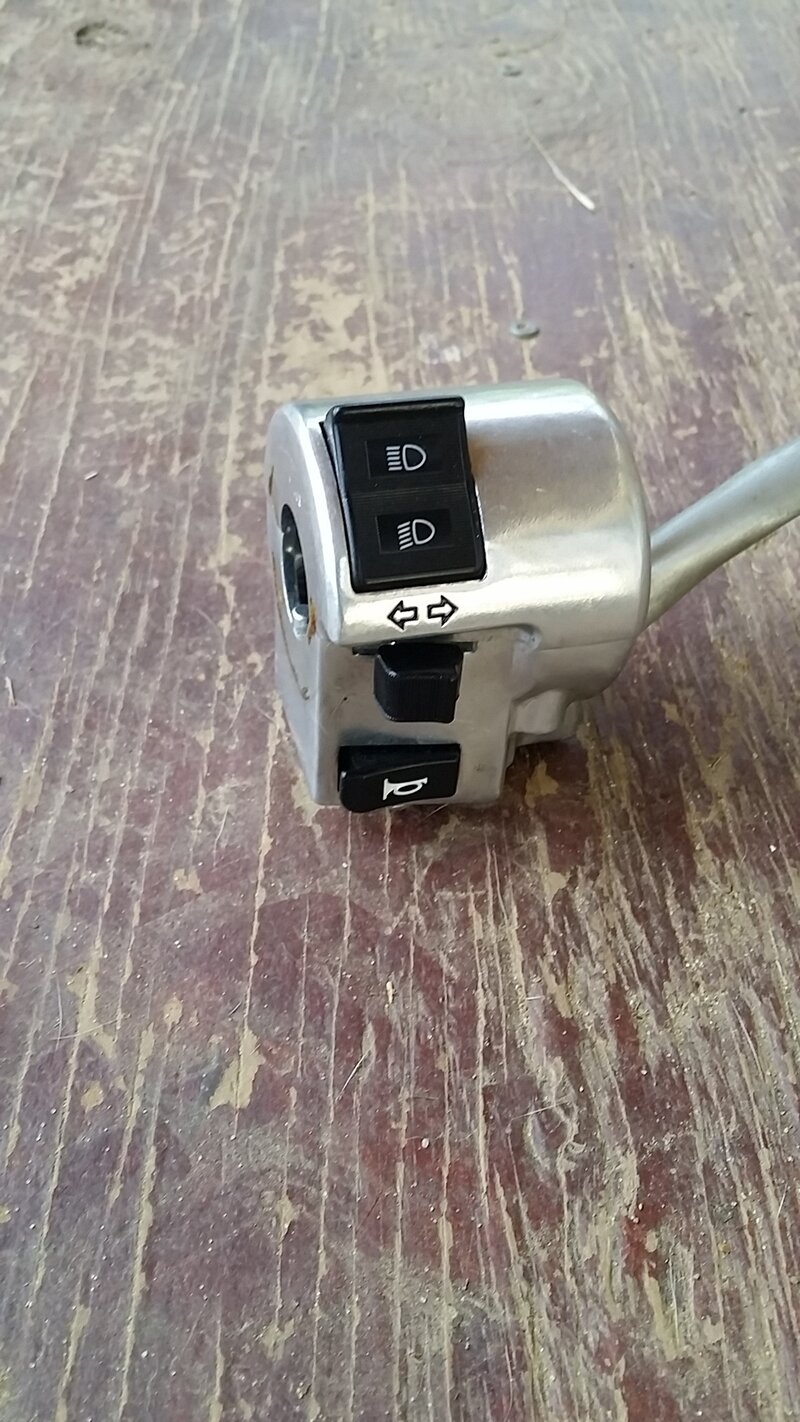
No electrical on the rh bar.

All on the lh that I am gonna use.

But i am gonna add all the electronic for the fuel injection and distributer less ignition.

So on to mounting this stuff, hide some and only the cool looking stuff sticking out.

20150725_134030_zps83vm3ecs.jpg
 
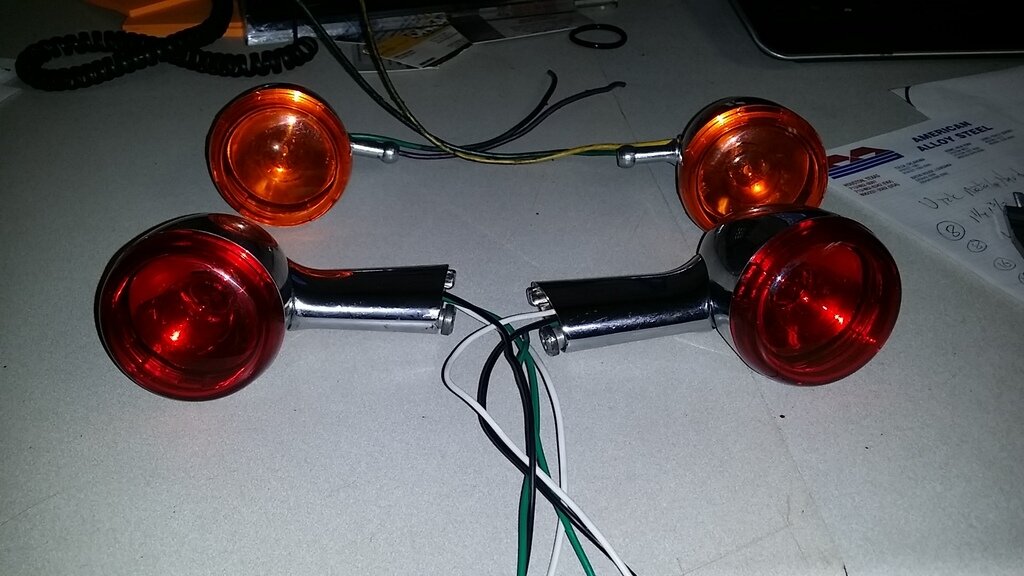
Got some signals off ebay.

Plan on using the dual filament reds as brake tail and turn.

No center mounted light.

20150803_181129_zpszfavwc97.jpg

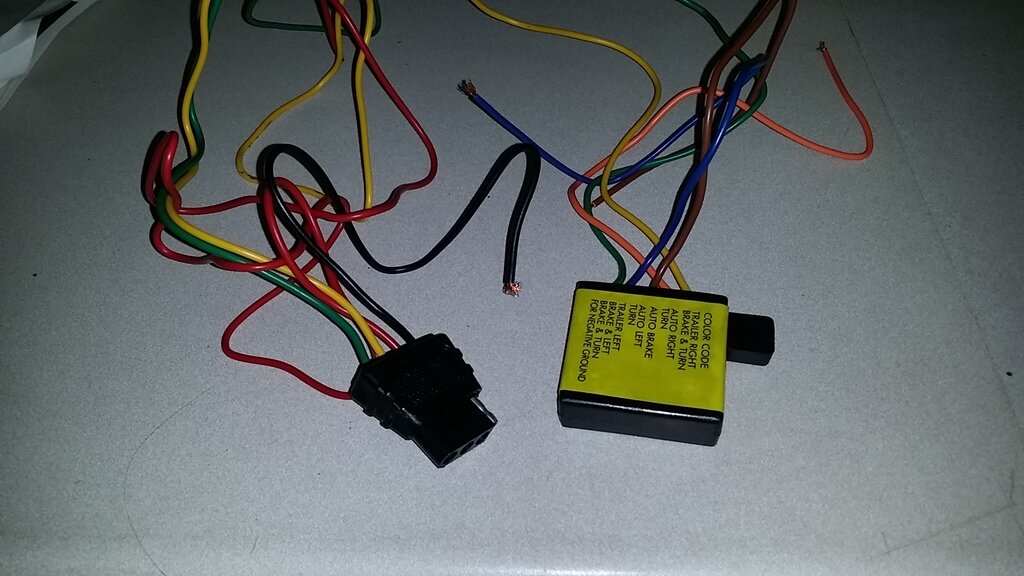
As the motorcycle switch does not have the compound contacts like an old car did back when signal and brakes were a shared filament, I got a trailer light adapter.

This should combine the curcuit.

20150803_181244_zpshrcass0j.jpg
 

Welcome to the Trike Talk Community

Join our vibrant online community dedicated to all things Trikes! Whether you're a seasoned rider or just starting out, this is the place to share experiences, tips, and stories about your three-wheeled adventures. Explore modifications, maintenance advice, and rides, all while connecting with fellow trike enthusiasts from around the globe

Forum statistics

Threads
55,442
Messages
805,582
Members
23,994
Latest member
Dan2003
Back
Top Bottom