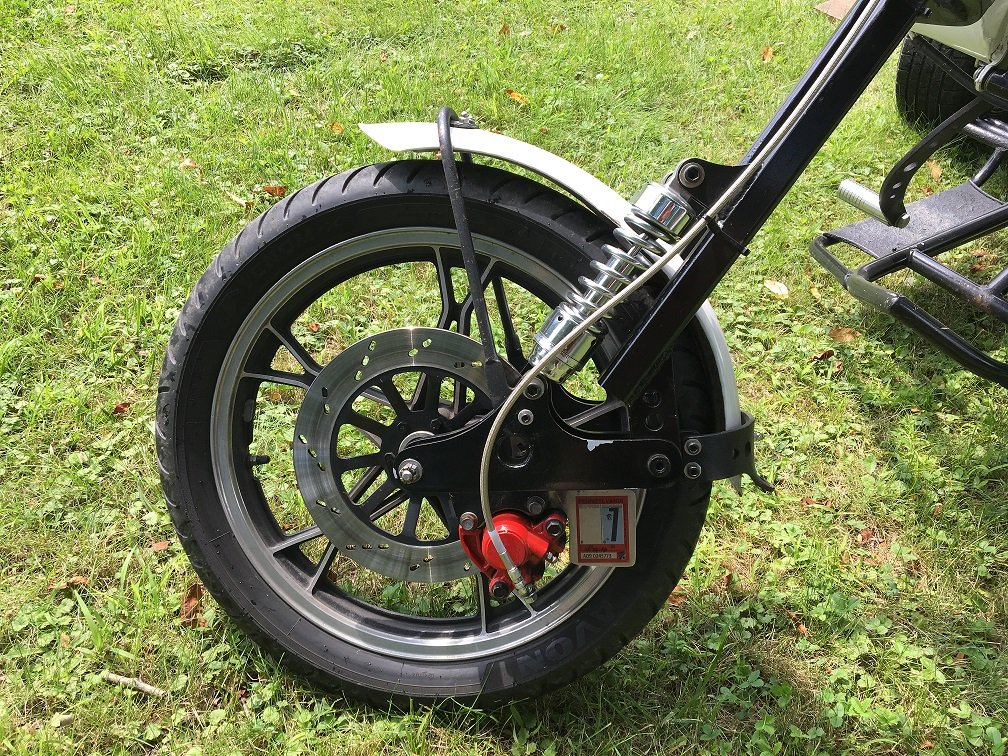
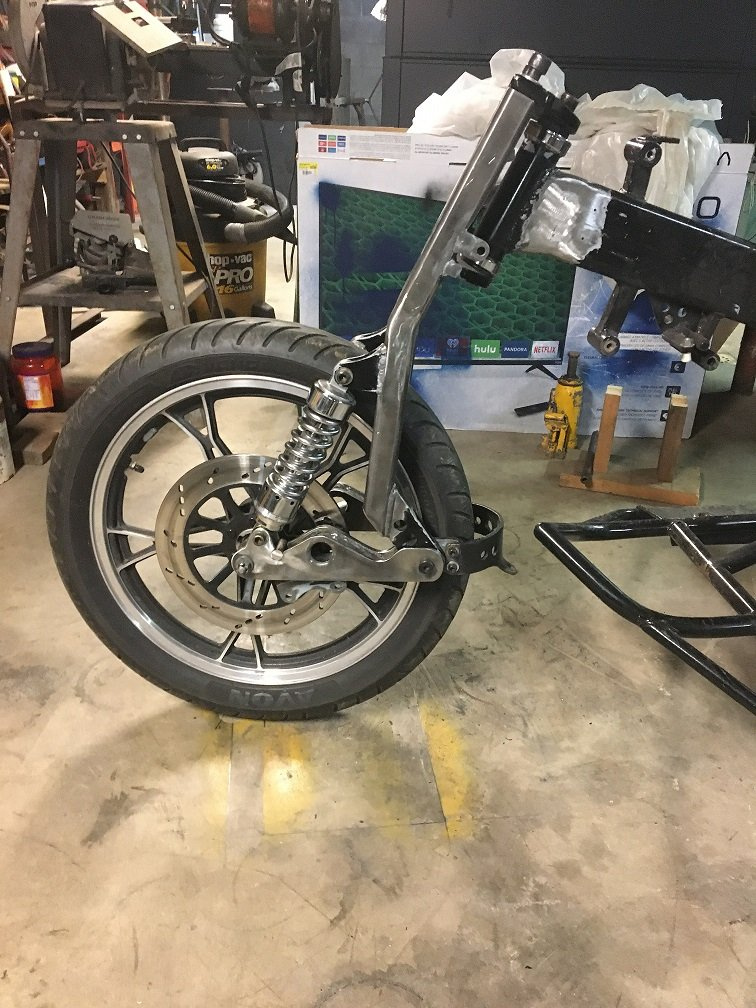
VW coilovers for Leading Link forks

I can't contribute anything mathwise, but could trail changes be made by changing rocker length?
It can and will.
Unless I figured something wrong my rockers will have to be long.
Remember I cant change the neck angle. I could change the angle at the trees but don't want to do that
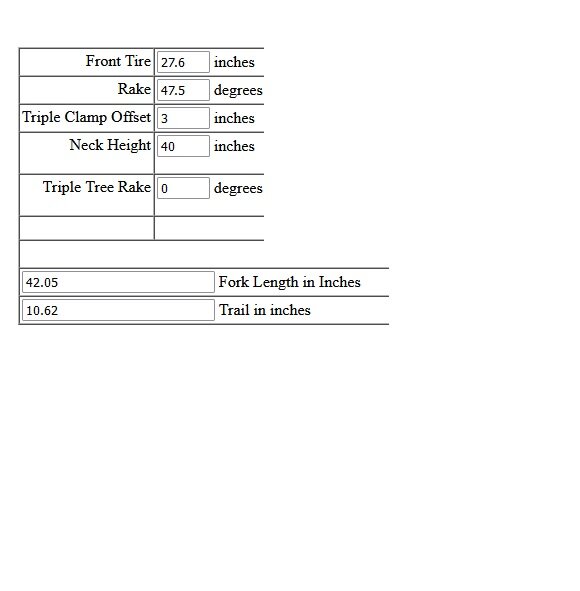
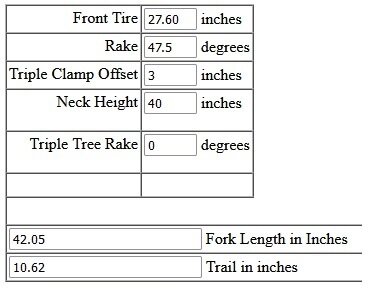
RB Racing Fork Length and Trail Calculator
cal 1.JPG
With a 3" offset I get 10.62 trail. If I have 6" rockers that will take it down to a 5.62 trail (if I am correct). Not going to be able to make the 2" trail I wanted
cal 2.JPG

Since I cant change the neck angle I am limited as to what I can do.
I hope I am figuring this correctly
 
That's one of the nice things about leading link forks, rocker length can be changed to get the trail you want. The old BMW earles front ends had, I think, two pivot points on the rocker. The rear one shortened trail for sidecar use and the front one lengthened trail for solo riding without a sidecar.
I though about an Earls fork and that would look real cool but I would have no idea how to figure that out
 
Hi Bob, If you turn your bottom plate around it looks like you would gain 2" of offset. You would have to drill another hole for your stem bolt. That would move your axle ahead some reducing trail. Because of the rake angle I don't think it would move it the full 2". If you have room on the floor you could make a full size drawing in chalk. Make a 90* to represent the ground and neck height. Put in the rake of the neck, where that hits the ground is the point you use to measure trail. Always use where the fork pivots to get that point on the ground. Draw a second line parallel to the rake line moving it out 2". On that one find your axle height. From the axle drop a line down to the ground line to show where the tire will contact the ground. Measure the distance between those two points. If it's for example 6" that means you would need 4" rockers to move the axle forward to get 2" of trail.
Hope that made sense and wasn't too confusing.
Thanks, I am taking all this in and trying to decide what to do
 
Hi Bob, If you turn your bottom plate around it looks like you would gain 2" of offset. You would have to drill another hole for your stem bolt. That would move your axle ahead some reducing trail. Because of the rake angle I don't think it would move it the full 2". If you have room on the floor you could make a full size drawing in chalk. Make a 90* to represent the ground and neck height. Put in the rake of the neck, where that hits the ground is the point you use to measure trail. Always use where the fork pivots to get that point on the ground. Draw a second line parallel to the rake line moving it out 2". On that one find your axle height. From the axle drop a line down to the ground line to show where the tire will contact the ground. Measure the distance between those two points. If it's for example 6" that means you would need 4" rockers to move the axle forward to get 2" of trail.
Hope that made sense and wasn't too confusing.
I was measuring the plate. I could get about a 2" offset as you stated but I would rather have 3" offset. With a 3" offset and 6" rockers I can get a trail of 4.62" (again if I am figuring this correctly).
I have the extra plate steel if I decide to do this I will need to cut both top and bottom plates
cal 3.jpg
 
Sounds good, a 4.62" trail shouldn't be too hard to steer. Your trike doesn't have near as much weight on the front as a Harley or Gold Wing. Also 6" rockers will look good, not too long after you mount your shocks and brake stuff.
Your old front end looks like it had quite a bit of trail. How did it steer?
It went down the road straight but was a little hard to steer. Not for someone with week arms.
I need to research offset more. I remember reading something about having to much offset being bad. Not sure how much is to much
I already screwed up the first set of tree plates I want to ensure I have it right this time.
I'm going to go back and measure everything just to make sure.
 
The more offset you have the less trail, so on a stock bike if you had too much offset you could get into a situation where you have negative trail. Not a good thing. With a leading link fork we can increase the offset then fine tune the trail with the length of the rockers. The offset on my forks is 2 1/2" and I don't think going a little longer would cause any problems as long as I kept the trail the same.
I'm no engineer ( I probably even spelled it wrong ) , this is just how I understand it. This stuff can make your head hurt trying to figure it out.
 
On mine I am running about 7/8 inch trail, and have adjustment steps at 1/8 inch, 7/8, and 1-5/8.
I have not tried any but the 7/8, and I am happy with that spot so far.

 
On mine I am running about 7/8 inch trail, and have adjustment steps at 1/8 inch, 7/8, and 1-5/8.
I have not tried any but the 7/8, and I am happy with that spot so far.

Thank you
have a question....
The link provided shows the neck height taken from the bottom of the neck. I thought it was taken from the top. That is where I have been taking it. Should it be taken from top or bottom?
 
Sorry.....I have not fully read your thread.....sorta came in here at the end.

I am assuming you are putting a front end on an existing neck. When doing that the neck height does not matter much and the height dimension is for reference.

Neck height and/or neck angle (rake) don't matter to the degree that trail does. Long/tall/raked will make it look and feel different.....such as slow/quick to steer or flex/spongy.

Trail is the big thing to get right. That is that intersection point of neck centerline and axle centerline.

By the linked examples the trail is the number at ground level under the tire.

I have gotten there by several different ways.

Set the bike at the height and angle I want it to look like (if you are working with an existing neck this is already a set point). Then stick a rod (like a broom handle) through the neck until it hits the floor and mark the floor. Measure back the trail you want (typically 2' or less) and mark the floor. Put the framing square and the trail mark and rolle the tire up to it and put axle center on the vehicle line from trail mark. This is where the tire axle has to be to work with whatever your rake or height is.

And when I draw one out it is similar. Set the bike at height I want it look like. measure vertical height to neck. Stick the digital angle finder to the neck to get the degree. Measure tire radius. Then go to drafting table and draw these to get that intersection point of neck angle and ground plane (instead of the broomstick method).
 
Thanks for the info.
I appreciate all the help from you guys.

I decided to go with a 3" offset and try to adjust the trail further with the rockers.

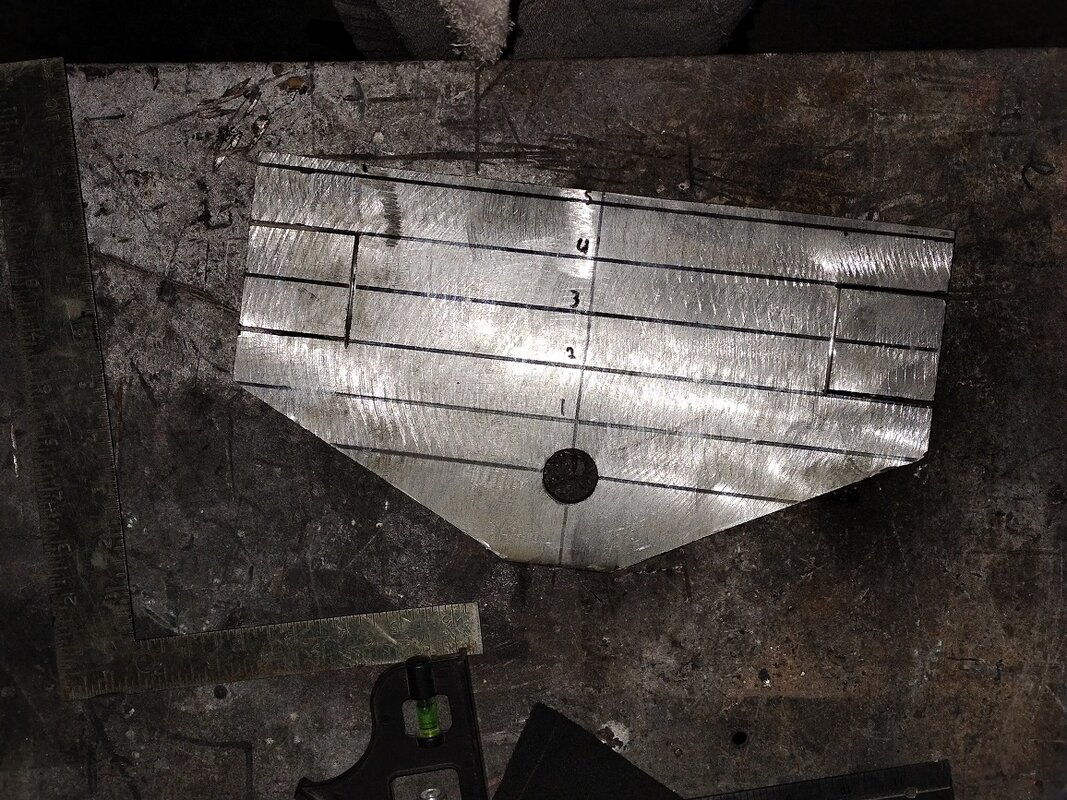
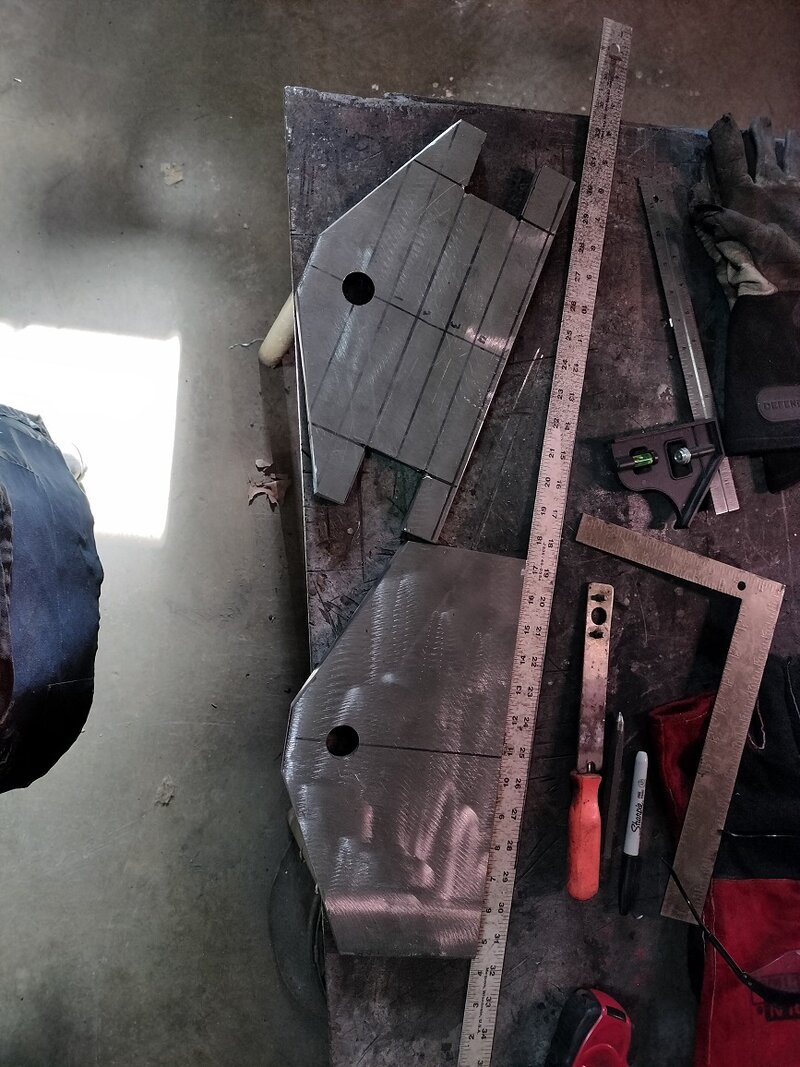
Started making the plates. Got 1 hole drilled but the hole saw bit the dust while doing the hole on the top plate. I ordered 2 more hole saws
Then I was cutting the bottom plate and my grinder bit the dust also.
I have a new grinder now so will finish up the bottom plate soon.

I plan to put a skirt/wrap around on them after its all together
IMG20250118200955.jpg
 
Its just to cold out to be out there working on the trikes or anything else. I have heaters but the best one puts out a lot of fumes
May not get a lot done in this cold.
 
Drilled the other leg
cut the rockers out of the plate and the drilled the pivot holes.
Did not drill the axle holes in the rockers yet though.
Was planing on 6" from pivot hole to axle hole but now I am considering 7" instead
That would give me a 3.62 trail
cal.jpg
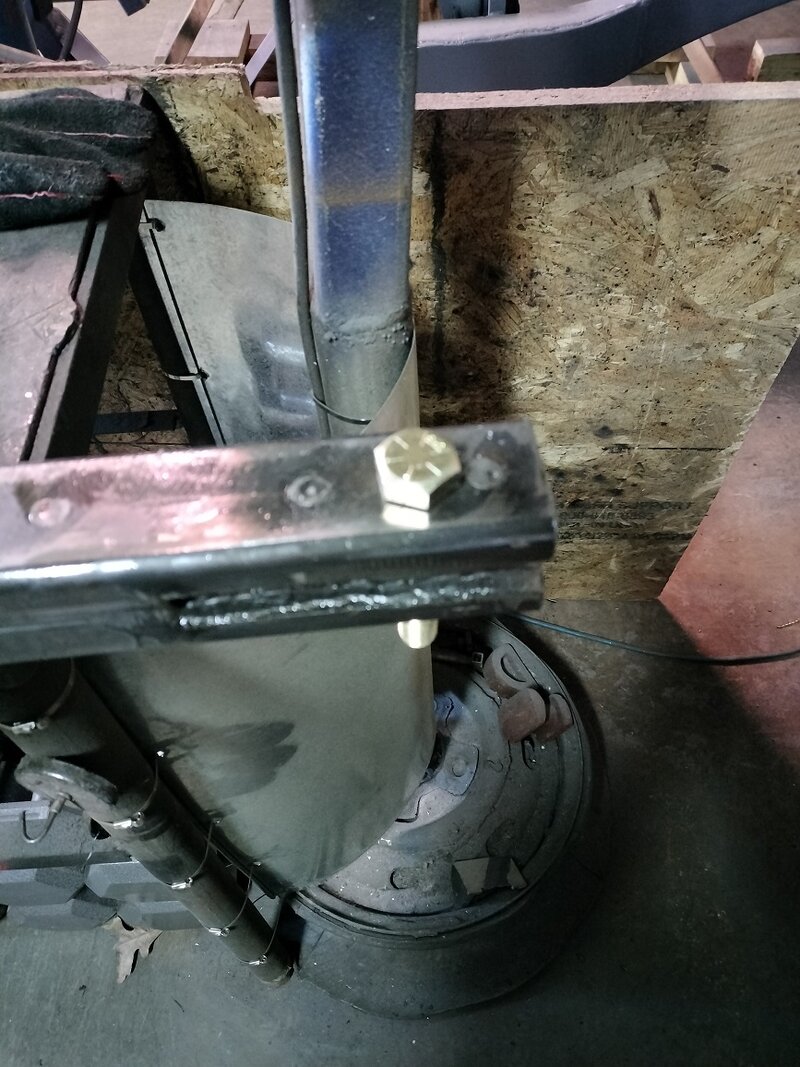
I am concerned about the shocks mounts out that far.
 
Bob, if the bottom of your shocks had a clevis or a forked end, they could be loctaed midway or therebouts on the rocker. Just a thought.
Don't remember who told me this but I was told the bottom shock mount needs to be about 1 inch from the axle. If I can do as you suggest then that solves the issue I was thinking I would have
 
I think that the location of the shock on the rocker when close to the axle would carry more weight and the neck would be higher ...and when mounted closer to the pivot would give a softer ride and a lower neck height. Then the shocks could fine tune the final height and ride quality. I used the springer look front end ..so my shocks were up near the trees and there were just 2 link bars down on the rockers ..so had a lot of room to slide for and aft for adjustment...
 
I think that the location of the shock on the rocker when close to the axle would carry more weight and the neck would be higher ...and when mounted closer to the pivot would give a softer ride and a lower neck height. Then the shocks could fine tune the final height and ride quality. I used the springer look front end ..so my shocks were up near the trees and there were just 2 link bars down on the rockers ..so had a lot of room to slide for and aft for adjustment...
Thanks for the info man.
I will make the rockers 7" and just mount the shocks back some on the rockers.
If for some reason that does not work I have enough steel to make another set
Got family coming for the weekend so not sure how much I will get done while they are here.
 
1737807332362.png

1737807765068.png
When I changed my front end I moved the shock mount forward. It made it a little stiffer riding but still fine. Before it had more leverage and the axle had more travel compared to the shock travel. Either way is just fine and I don't have any problems with bottoming out. I think as long as your rockers are stiff enough you can mount the shocks about anywhere.
 
Thats great.
I did get a little done yesterday, doubt I will get anything done today though.
I think I will put the skirt around the bottom plate next. This way I can clamp the legs to it when I start assembly.
On the last forks I made I had an issue of warping. I welded it in the winter and it warped in the cold. I had to strap it down and heat it until I got it strait again. I think this time I will do my welding in different order and the make sure its strapped down for several days at each step to ensure it does not warp. at least I hope it wont warp
 
Only got a little more done on this. I have been sick all week. I'm just getting over it and now the Ol'Lady has it.
I had an issue with the Bronze bushings I was going to use. The ones I was going to use are 5/8 ID X 3/4 OD X 1/2 long. I drilled 3/4" holes in the rockers but the bushings are really loose. I have ordered oversize bushings, they should be in today.
Started on the skirt on the bottom plate yesterday but my head was hurting so bad I had to stop.
 
Got some more work done.
1000001418.jpg
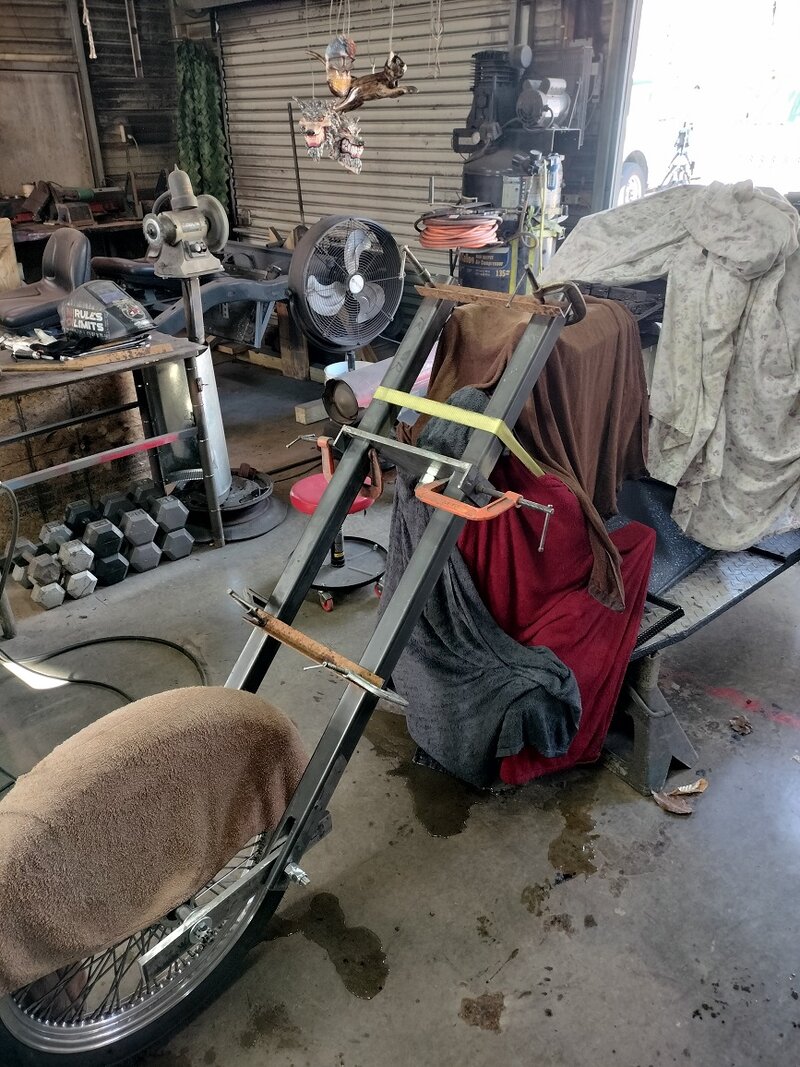
Had to steal a few of the Ol'Ladys older towels. I wet them down and covered the gas tank before I tack welded the bottom plate on to the legs
IMG20250201135205.jpg
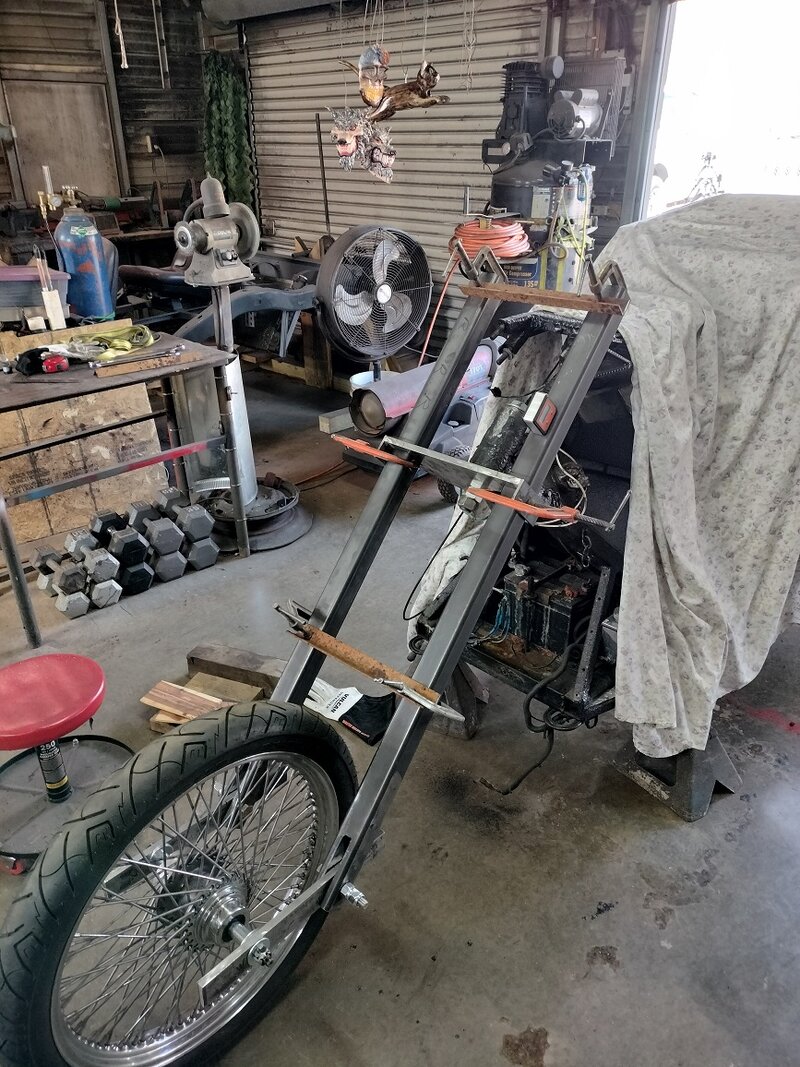
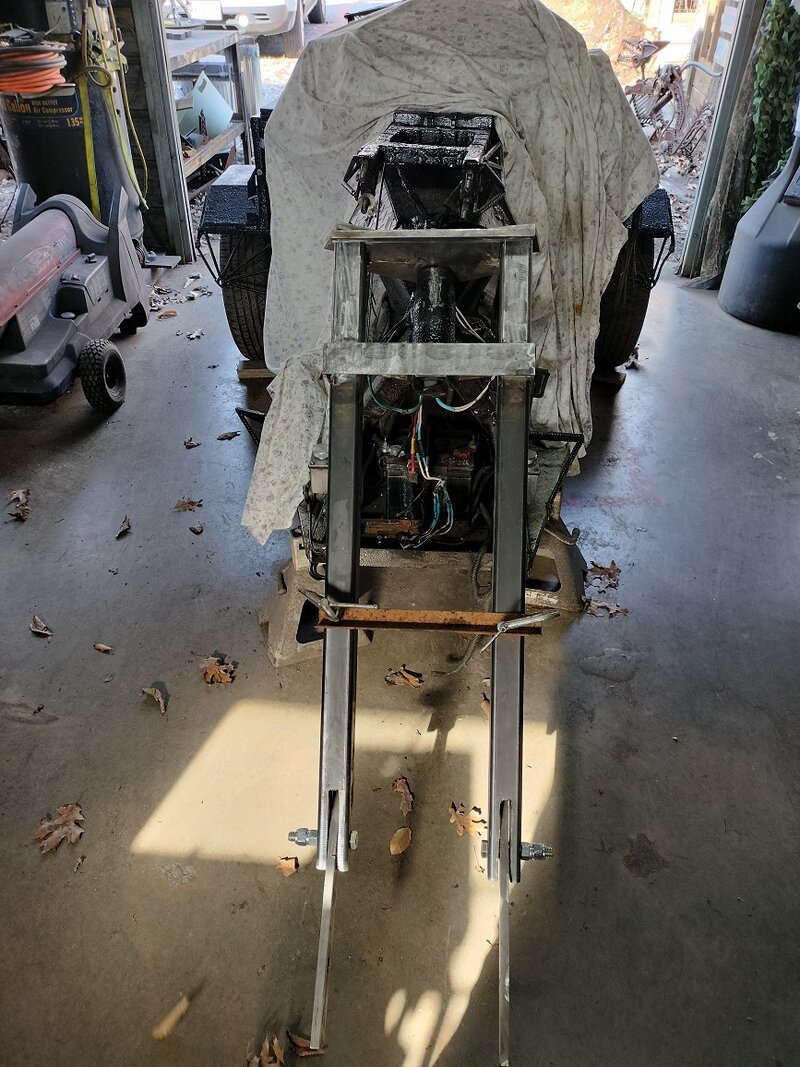
When I lined everything up I got all the angles to within .1 degrees of each other (neck and legs)
 
My shop (garage) is also where my son and I work out a few times a week. I usually pull the trike out for we have more room but cant do that while I have the front end apart. So we have been working out around the trike. Last night during our workout my son and I were looking at the front end and taking more measurements. The welds I did cooled down and the legs moved a little. Luckily they both moved the same. There is now .3 degrees difference between the legs and the neck. I'm not going to worry about the .3 degree difference.

Next to do is the top plate.
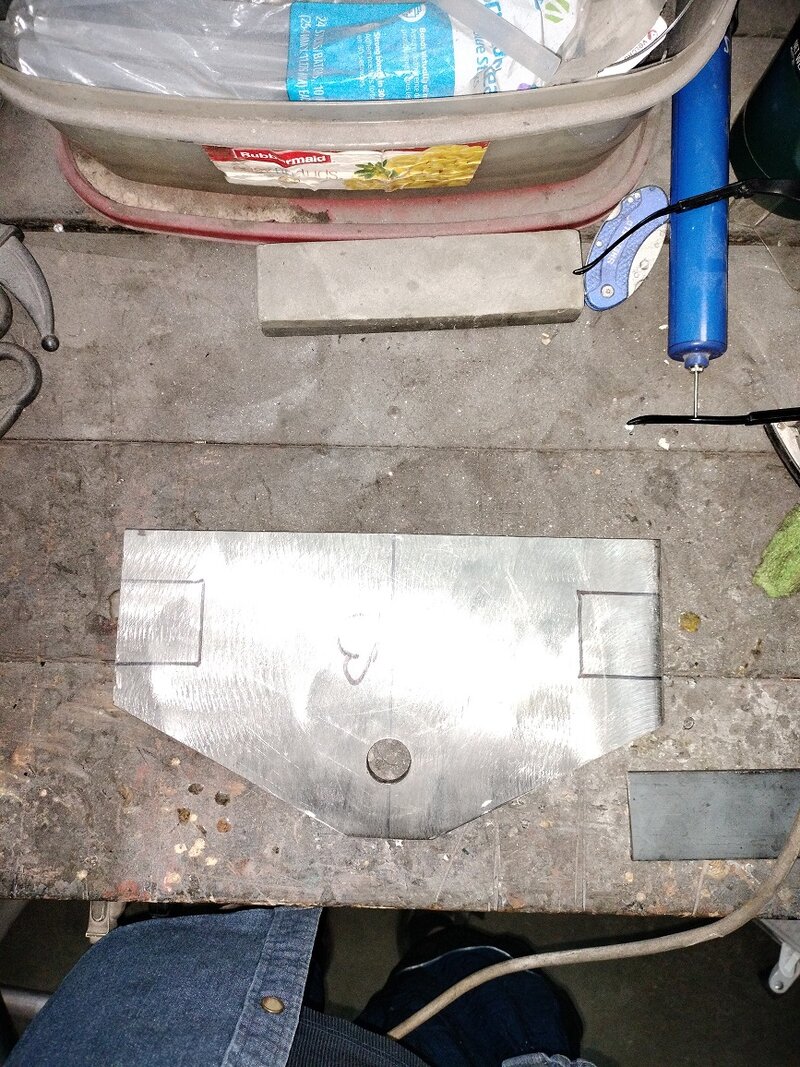
On the bottom plate I cut notches out to fit around the legs. I was thinking of doing the same for the top plate.
I would cut the notches out and weld a 1/2" plate over the notches and again put a 1/4" skirt around it.
I'm thinking this will make it easier to cut the legs to the correct height, make it for I can counter sink the legs into the plate by 1/2 inch and also make it easier to align the bolt holes on the top before actually welding the cover plates on it,

This is the bottom of the top plate before cutting the notches out.
IMG20250201230935.jpg
 
Getting ready to head out to work on the trike. Will be making a spacer for the neck bolt (its to long) and the cover plates for the top plate.
This afternoon I promised the Ol'Lady that I would do some work around the house.
I have been thinking about the steps ahead on the front end. A big issue will be getting the handle bars on straight. I want to lighten them up some also. Maybe take the speakers off and mounting them somewhere else
I think I can still use my old fender. At least I hope so. I have a lot of time and work into it. I have a backup plan if I cant use it though.
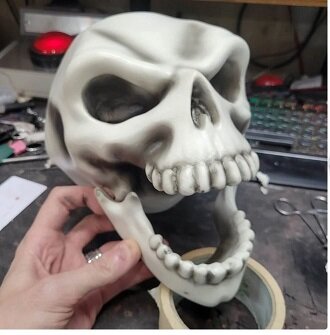
I also need new turn singles. I was thinking of 3D printing something like the below and turning them into turn singles
I have tested my 3D prints out in the weather and I even have one mounted to the front of my truck. The way I do it they hold up well.
skull 1.JPG
 
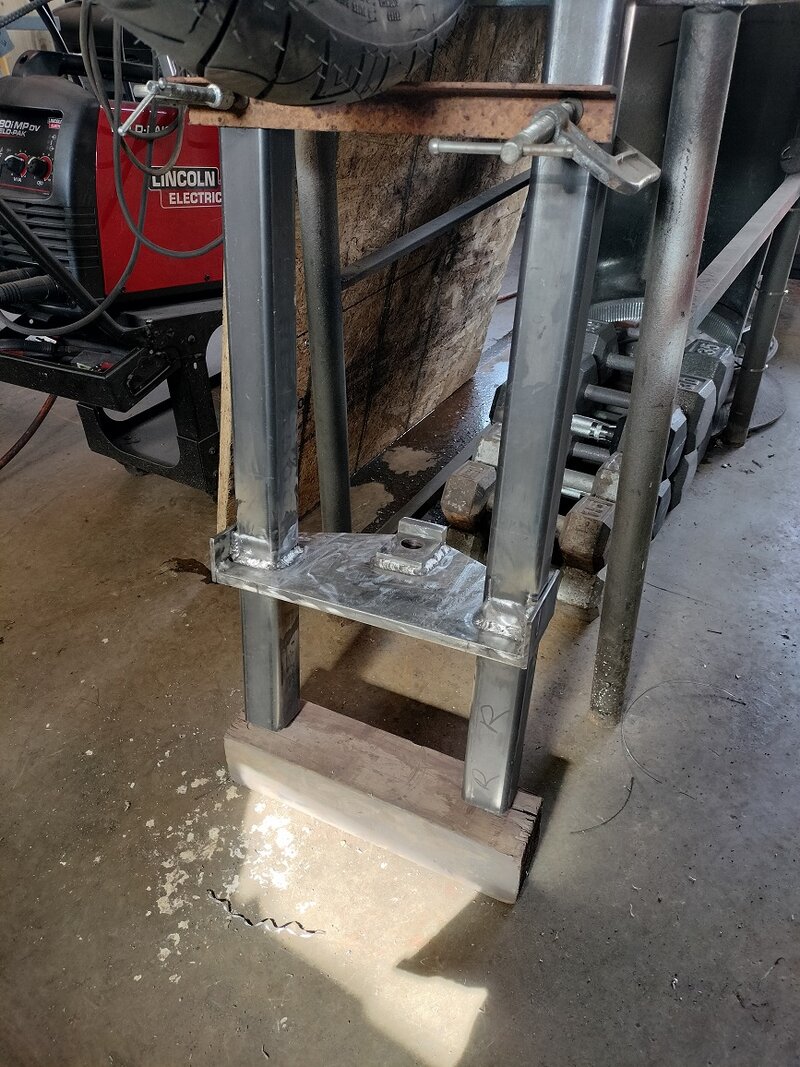
Got the bottom plate welded to the legs and the spacer welded on. Welded a separate piece on the spacer for the bolt will not turn.
Had some issue with my welding wire. It was at the end of the role and was not feeding correctly. I changed out the role
Still need to weld on the front skirt
1000001426.jpg

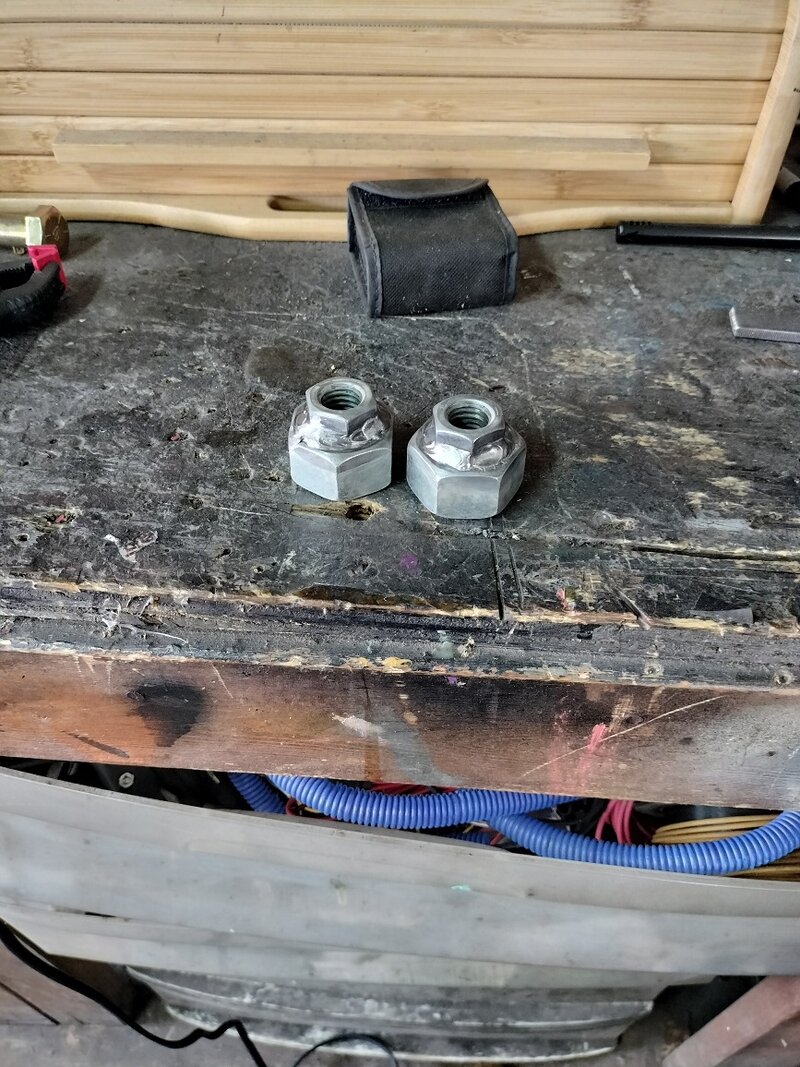
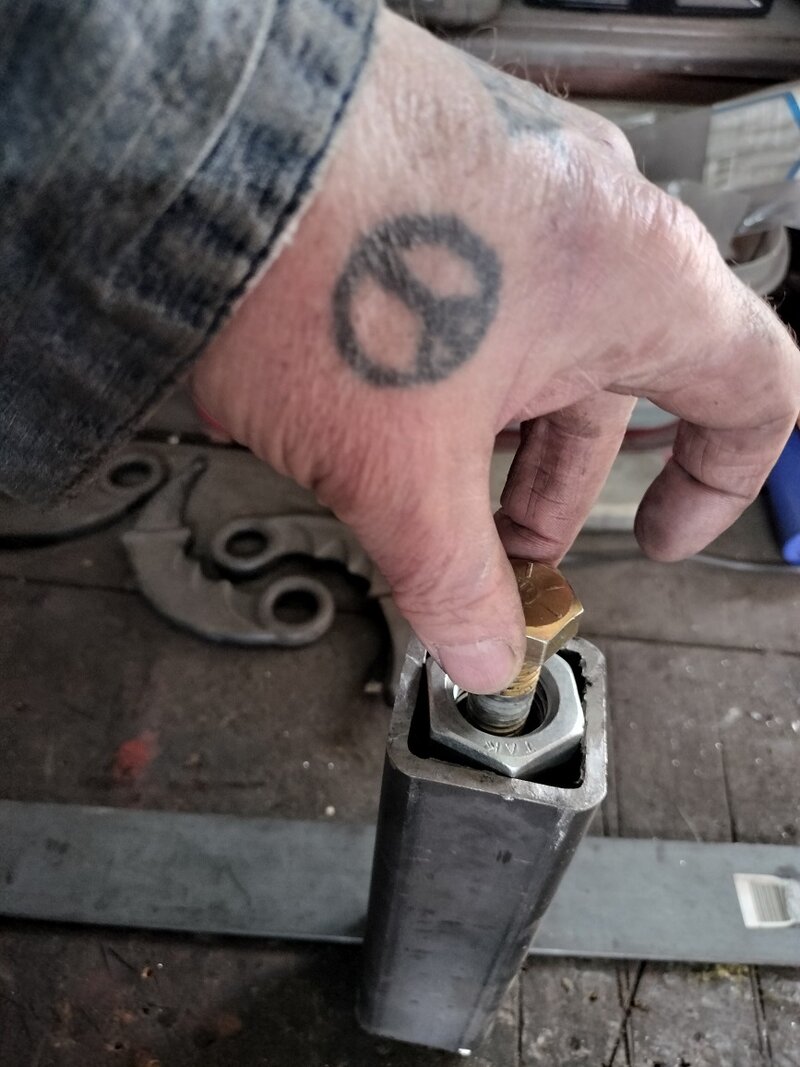
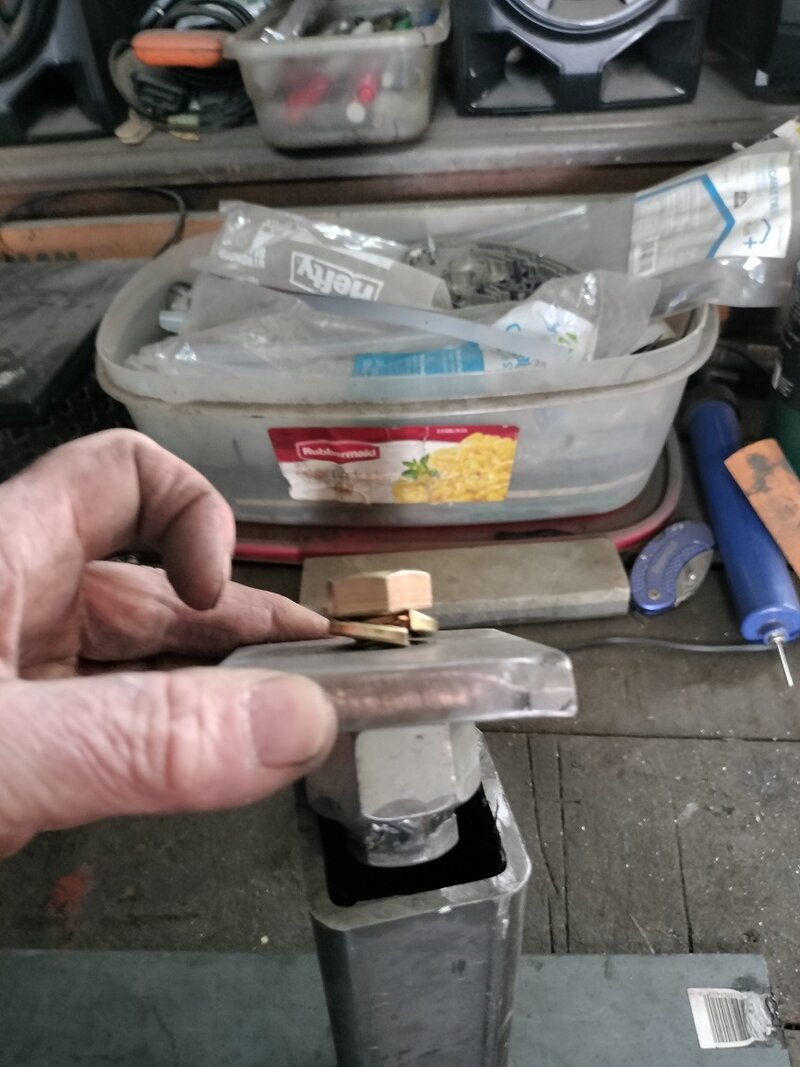
Welded up the nuts that will be inserted through the top plate into the top of the leg. i will weld them into the legs
1000001425.jpg
1000001428.jpg
1000001429.jpg
 
welding on the skirt this morning. I have been doing small welds then letting it cool then doing more welds.
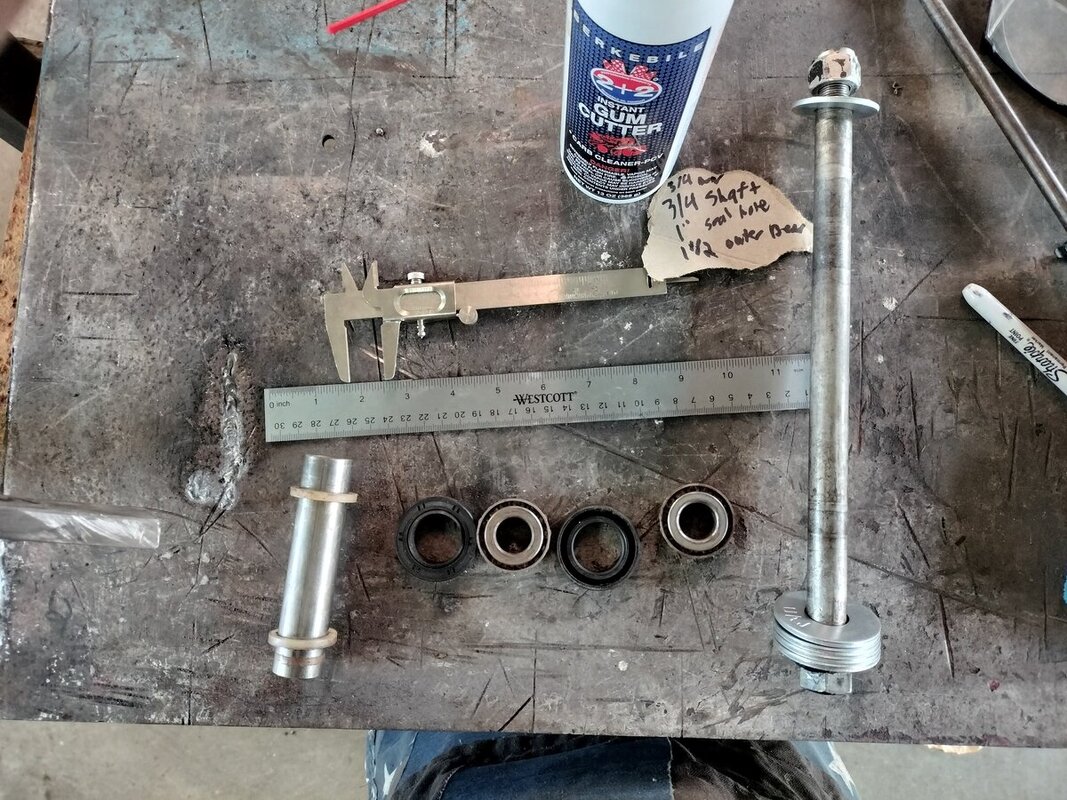
While it was cooling I pulled my wheel bearings. I need new ones. The neck bearing are OK

I could use your guys advise on this part
Axle - 3/4
3/4 to 1" adapter
Bearing ID - 3/4
Bearing OD - 1 1/2
Seal ID - 1"
Seal OD - 1 11/16

There are no identifying marking on the seal or bearing
IMG20250204100925.jpg

Thinking about ordering this. What do you think
3/4" Front Or Rear Wheel Bearing & Seal Kit Harley Big Twin & XL 1973/99 | eBay
 
After fully welding the lower plate to the legs, even though I did short welds and let it cool it still warped a little.
The neck is at 47.5 the right leg is at 49.1 the left leg is at 49
I don't think I am going to do anything about that.
IMG20250204144403.jpg
I cut the legs flush with the top of the top plate but I think I will go back and cut an additional 1/8 inch off. Just to ensure the plate is pulling on the arms
Tomorrow I will do the above and weld the cover plates on the top plate (if that makes sense.
I have not ordered the wheel bearings yet. Need to research that more.
Once I have the wheel mounted again I can work on the shock mounts.
 
After fully welding the lower plate to the legs, even though I did short welds and let it cool it still warped a little.
The neck is at 47.5 the right leg is at 49.1 the left leg is at 49
I don't think I am going to do anything about that.
View attachment 130858
I cut the legs flush with the top of the top plate but I think I will go back and cut an additional 1/8 inch off. Just to ensure the plate is pulling on the arms
Tomorrow I will do the above and weld the cover plates on the top plate (if that makes sense.
I have not ordered the wheel bearings yet. Need to research that more.
Once I have the wheel mounted again I can work on the shock mounts.
Im not sure about cutting the 1/8 off A friend (welder) recommended it
 

Welcome to the Trike Talk Community

Join our vibrant online community dedicated to all things Trikes! Whether you're a seasoned rider or just starting out, this is the place to share experiences, tips, and stories about your three-wheeled adventures. Explore modifications, maintenance advice, and rides, all while connecting with fellow trike enthusiasts from around the globe

Forum statistics

Threads
55,117
Messages
799,910
Members
23,644
Latest member
Bengie25
Back
Top