88 Blazer Trike

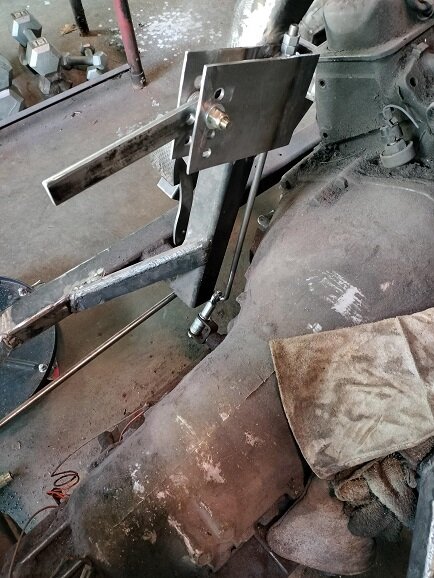
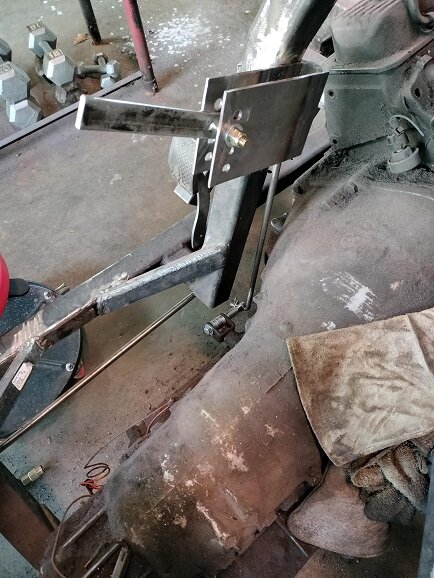
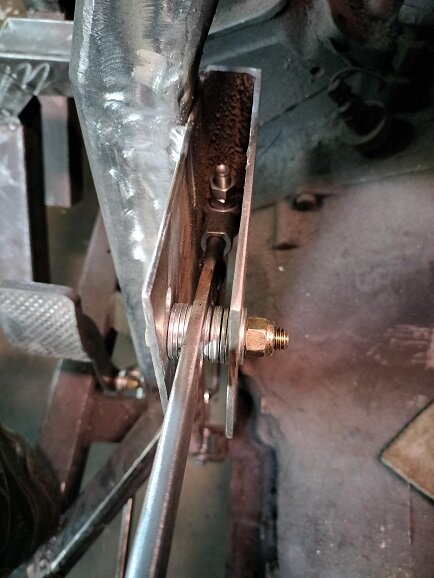
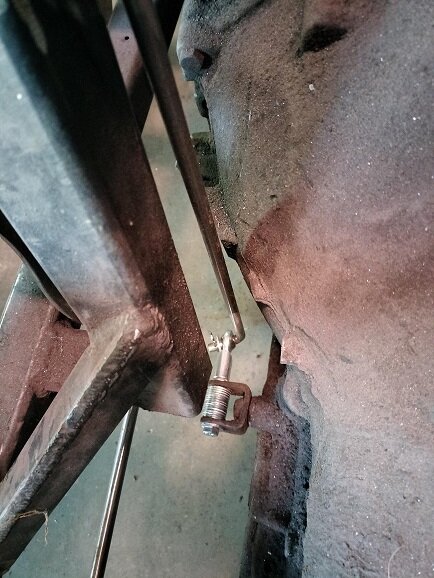
linkage at booster not depressed and depressed. I need to move the rod in the first pic to the right side of the linkage. I did not notice that until I looked at the PIC

View attachment 115772 View attachment 115773

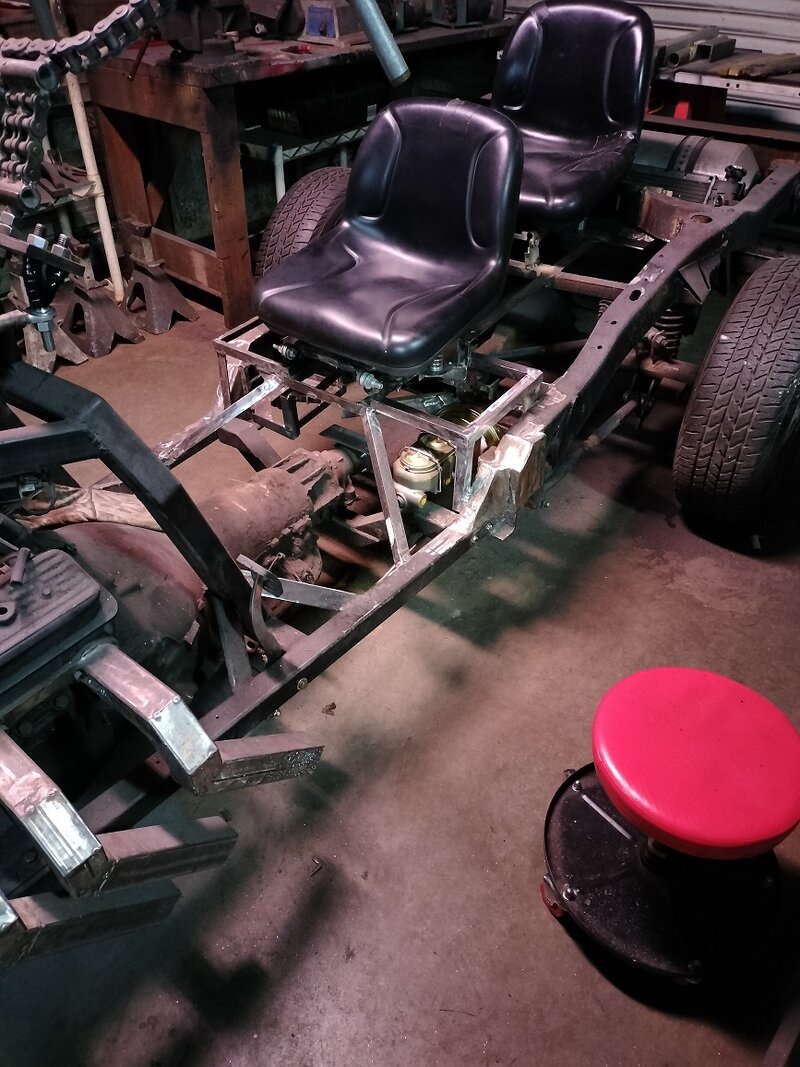
Added a support for my seat bracket. Not finished yet. I can remove the master cyl still with this brace. The problem is now I have to redo the brace on the other side sine its not at the same angle.

View attachment 115774

Mocking up all the geometry is time consuming but your finished project will be worth it
 
fixed the brake rod placement and replaced the brace on the left side.

Im going to build the frame above the master cyl and booster to look something like the left side that has the battery box

I need to do some more research on the check valves I will need

Also

I need to run 2 lines.

1 line to the back brakes

1 line to the front.

the master cylinder has 4 ports (2 on each side )

Can I use 2 on 1 side and plug the 2 on the other side

or do I have to use 1 from each side

If you are not using a combo valve you should get by with blocking 2 ports
 
I'm not sure what valves I will use yet. I still have a lot more research to do.

I made the box over the master cyl yesterday. Still plenty of room to remove the master cyl and booster. Although I don't have the valves and lines to deal with yet.

IMG20231201125543.jpg
 
I'm not sure what valves I will use yet. I still have a lot more research to do.

I made the box over the master cyl yesterday. Still plenty of room to remove the master cyl and booster. Although I don't have the valves and lines to deal with yet.

View attachment 115822

If you can find Bundy Flex lines you will like them, easy to work with and do not kink easily
 
fixed the brake rod placement and replaced the brace on the left side.

Im going to build the frame above the master cyl and booster to look something like the left side that has the battery box

I need to do some more research on the check valves I will need

Also

I need to run 2 lines.

1 line to the back brakes

1 line to the front.

the master cylinder has 4 ports (2 on each side )

Can I use 2 on 1 side and plug the 2 on the other side

or do I have to use 1 from each side

Use the ports on whichever side you need.Block the other 2.That master is made that way so it will fit multiple applications.
 
It is great to have the additional options

I appreciate any info you all want to pass on.

I'm learning and I am researching as I have time
 
Take this with a grain of salt...I am thinking the primary chamber on the m/c, (the one closest to the pushrod) should be for the rear brakes on your trike. (on a car this may be reversed? Then the front brake be adjusted with the proportioning valve. to balance the braking with regard to the final weight distribution.

I have not tried this myself...one trike of mine has a mechanical brake up front, the other has a separate m/c for both front and rear.

So food for thought only...

You are 100% correct with the chambers of the Master, I would be thinking of a adjustable residual check valve for the rear brakes
 
Thanks for the info guys, I still need to do more research myself.

Also I really don't want to lay on the cold concreat

So

I started working on the gear shifter.

I think (not real sure though) the shift pattern will end up backward

I will send pics and explain later
 
It pops into each gear fine. But the way it is now it could be bumped out easy

My idea is to make gate plate that will hold the shifter in each position.

I have a few ideas on how to make it pop into each slot on the gate plate

When I build the dash it will cover the mechanism, just the shifter arm will poke through.I may change the arm to a round shaft

Park is on bottom with L1 is on top

IMG20231213145203.jpgIMG20231213145210.jpgIMG20231213145203.jpgIMG20231213145210.jpgIMG20231213150639.jpgIMG20231213150644.jpg
 
I got some new rear coil springs for Xmass

Installed them today.

Now my drive line angle is off but I can adjust it from a number of places so I should be OK.

Need to put some weight on the back end and recheck the angle first

I have been out in the cold all day. My son and I walked our fence line. He cut down every thing I pointed out. Just getting branches off the fence, clearing the trail through the woods, and clearing branches that hit us when we mow

The angle adjustments will have to wait for another day
 
I have been adjusting my drive line angle today. I was supersized how little of a adjustment it actually took

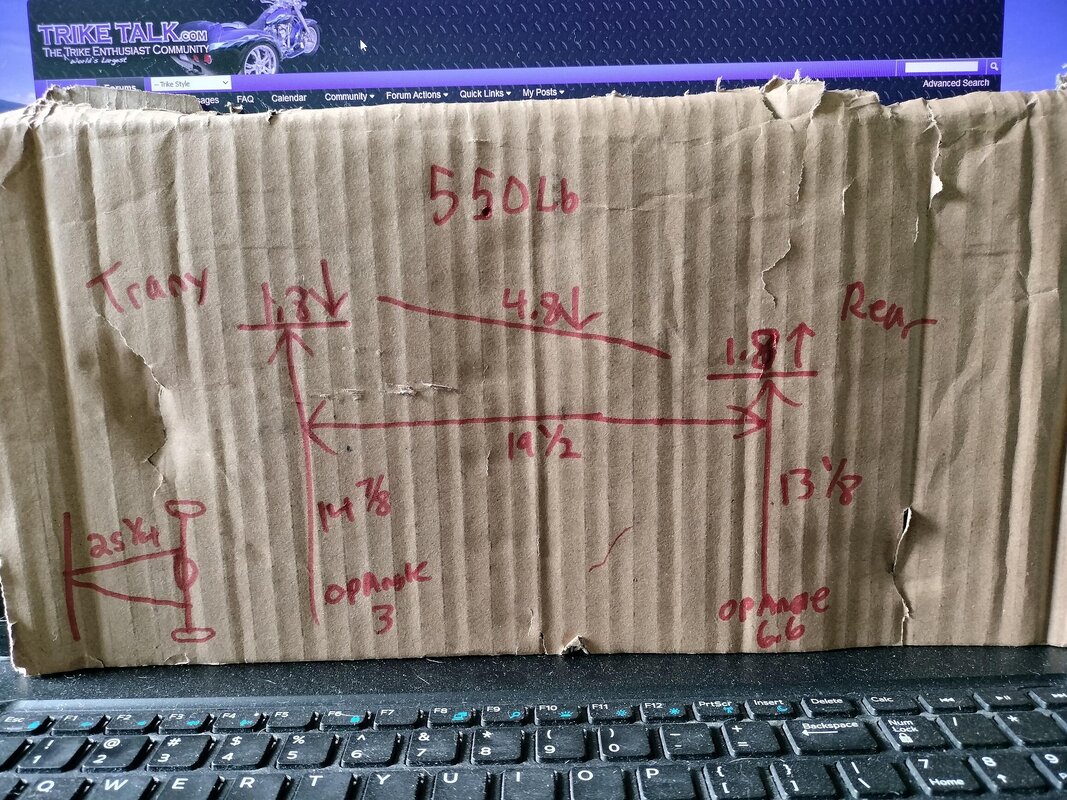
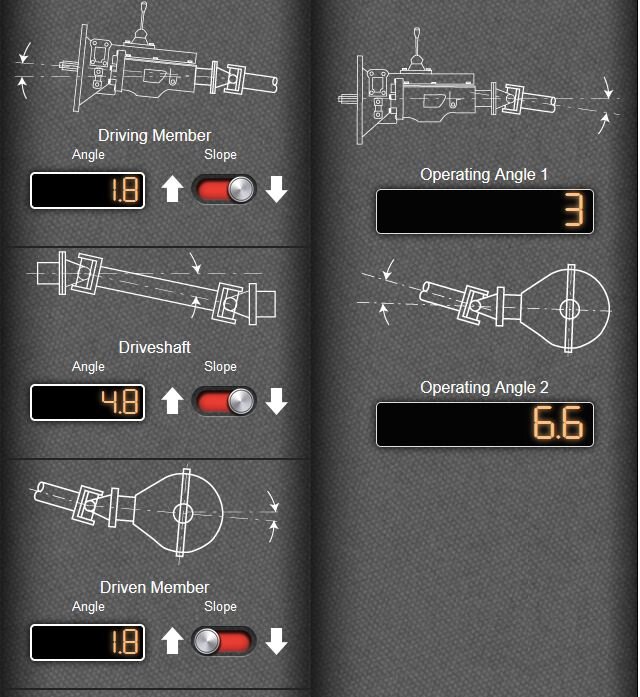
This is what I have. From what I have read this should be good.

What do you all think

IMG20240106145054.jpg
 
A while back I thought the Trike would be shorter and my angles would be out of range. So I thought I would have to use a double Cardan joint. Now that it is longer than I thought (10' wheel base, 19 1/2 drive shaft) I should NOT have to use a double cardan.

My understanding is I have to keep the operating angles below 10

drive angles.JPG

I had to adjust my 4 link to get the angles the way they are now. I was having some issues with it binding. SO I sprayed oil under the back wheels so as I tried different adjustments the rear end would slide back and forth.

Now my link shafts measure 25 1/4"

I put some weights on the back end and had my Ol'Lady and son sit on the trike.

The weight came out to about 550lbs although I think the Ol'Lady is lying about her weight (she would not let me see it in the scale) So I think I could add 10 more pounds
 
How about a disposable rotisserie? Do you have enough room in your shop to roll it on it's side? Here's some stuff from the web:

http://www.mossmotoring.com/diy-rotisserie/


Sure beats welding upside down!


I am trying to get everything ready to weld the underneath. I suck at welding upside down.

I am planning to flip the frame somehow. I was thinking of building the redneck rotisserie and adapting it for the trike frame

Yesterday I checked and welded any needed areas on the left side before the Ol'Lady drafted me to a home project. I am going to try to get back out there again today to do the right side after my feet treatment is done. (I use the 2 pads on my feet 2 times a day for 30 minutes each. Its called Replexa) Once I get everything I missed welded on top I will build the Rotisserie
 
Never got the Right side welded up. Maybe today.

I have been thinking about this wooden rotisserie I want to build

The back end will be simple to connect (not easy but simple)

For the front end I think I will have to make a metal adapter to fit between the trikes neck to the rotisserie

I don't have a lot of room in my garage to do this so I am thinking of a different type of rotisserie. I still think a wooden one will be best for me

Looking at designs like this

https://www.thirdgen.org/forums/body/681758-building-wooden-body-rotisserie.html


anyone done something like this and have any suggestions?rotisserie.jpg
 
I haven't done much work on the trike lately.

Other projects like

3d printing a new 9mm carbine

Rebuilding one of my boxing dummy (Slam Man). Iv lost 45 lbs throwing punches.

Wheel bearing in my car

House repairs

and all the stuff on the Ol'Lady's honey do list

I'm not going to have a lot of time in the near future either.

I guess it will be a few months before I am really able to get back to it. I will get back to it though.
 
I did get a little done a couple weeks ago before my surgery.

But have not gotten anything done since and it will be awhile before I can do more

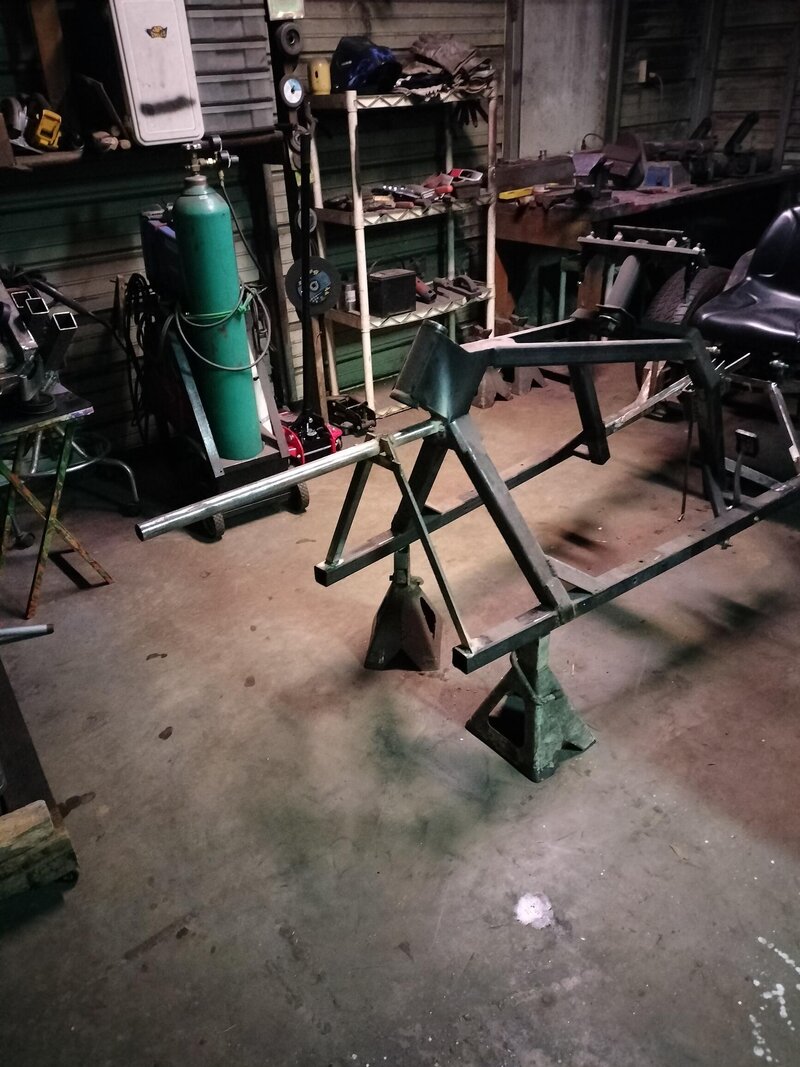
Pulled the engine and trany, added a temp bar on the front to sit on the rotisserie. When I am done with all the welding I will remove the bar

Still need to pull the rear end and add a bar to the back Then build the rotisserie

IMG20240217200100.jpg
 
I'M back.....

I was working on striping the frame and building a Rotisserie
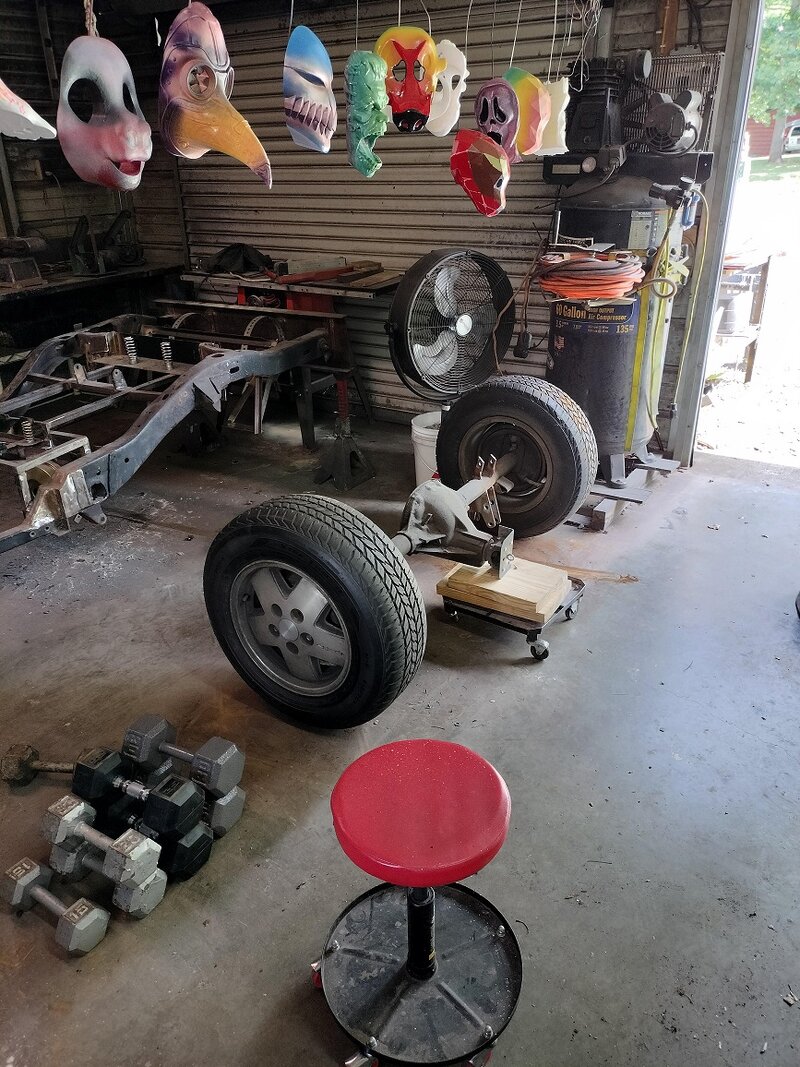
I think tomorrow I will have the rear end out, I have to rearrange my garage/shop around to do this
It is good see have you back Bob. Been missing your fab posts.
 
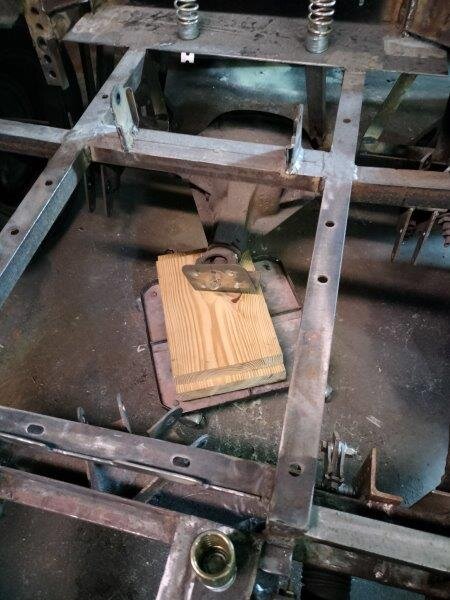
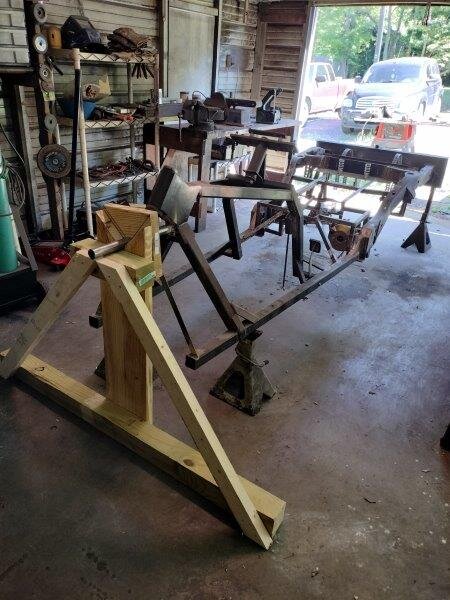
When I slid the rear end out I chopped up a old stool and used it to stop it from dragging

1.jpg

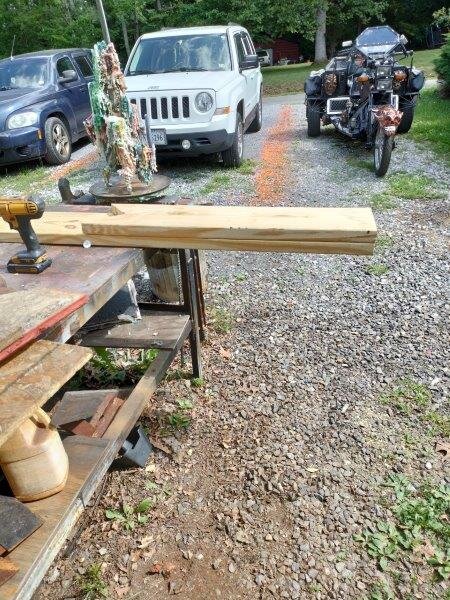
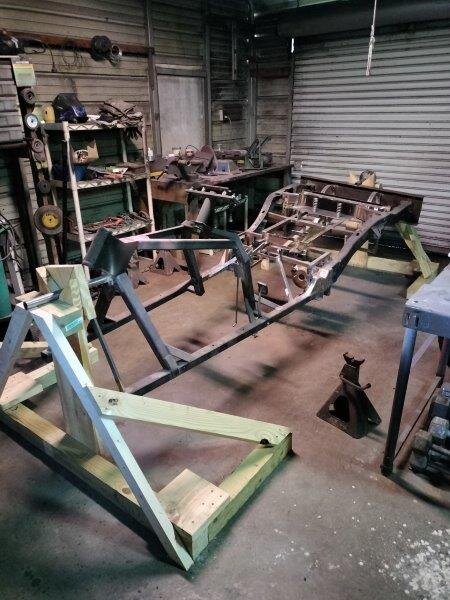
I had some lumber left over from another project. I did have to but a little though

2.jpg

3.jpg

4.jpg

5.jpg

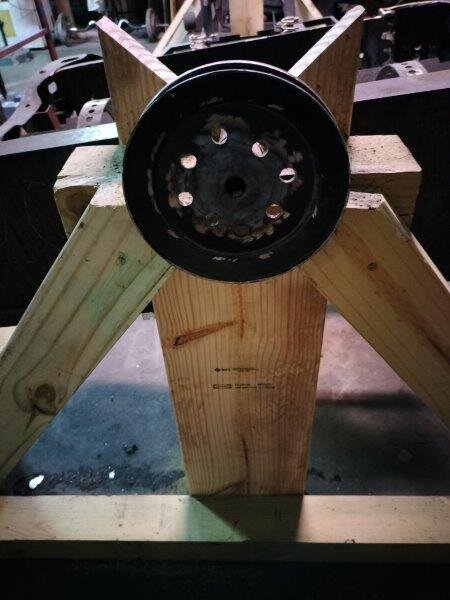
So this was my idea to lock it in position.
I figured I could just push some rebar through a hole and let it rest on the 4x4.
It had way to much slop.
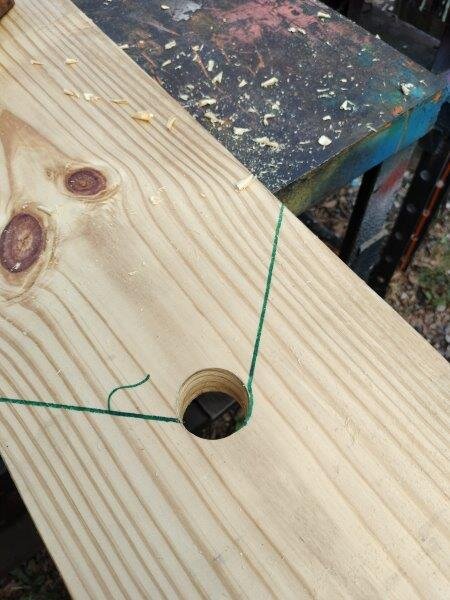
If I would had measured and drilled the holes more precise I could add a hollow rod in back to slide a bolt through but I did not think about that at first.
I cant do that with with that pulley now. I have another one I will do more precise

6.jpg
 
I love Halloween, now if you can do those to motorcycle helmets... 😎
Those mask/faces are just something I 3D print for fun. I have about 60 or so of them on trees on the trails on my property. I give them to the neighbor kids also. In fact I just printed smaller versions of most of them to give out to kids that come up to me when I'm out riding my other trike.
 
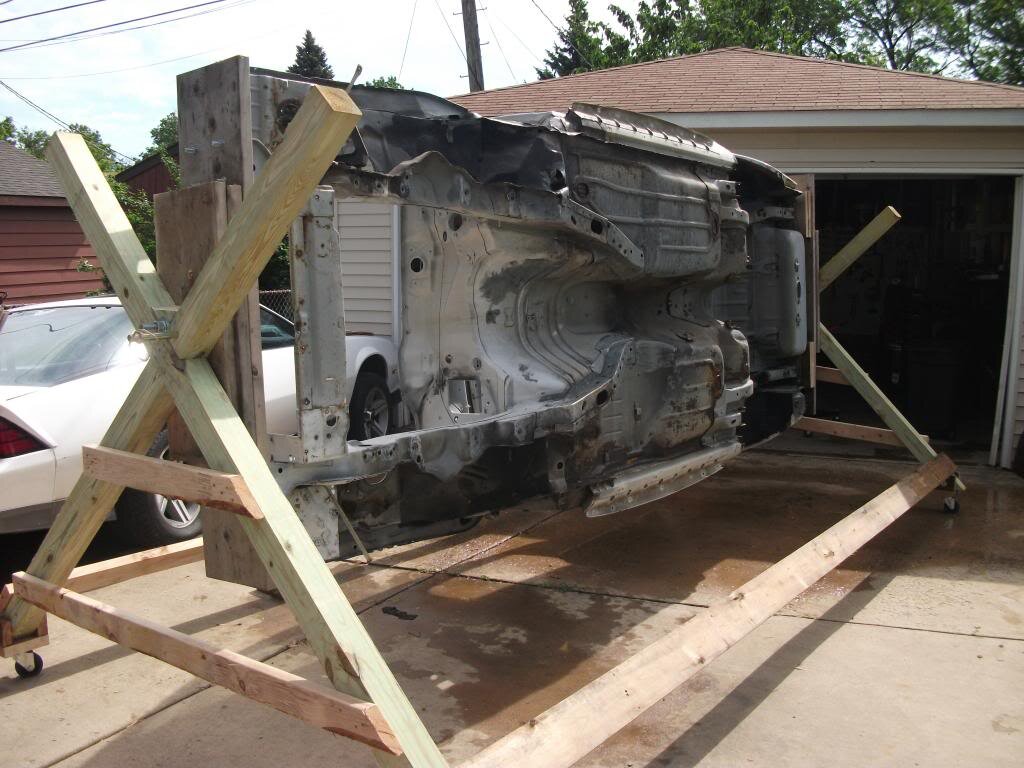
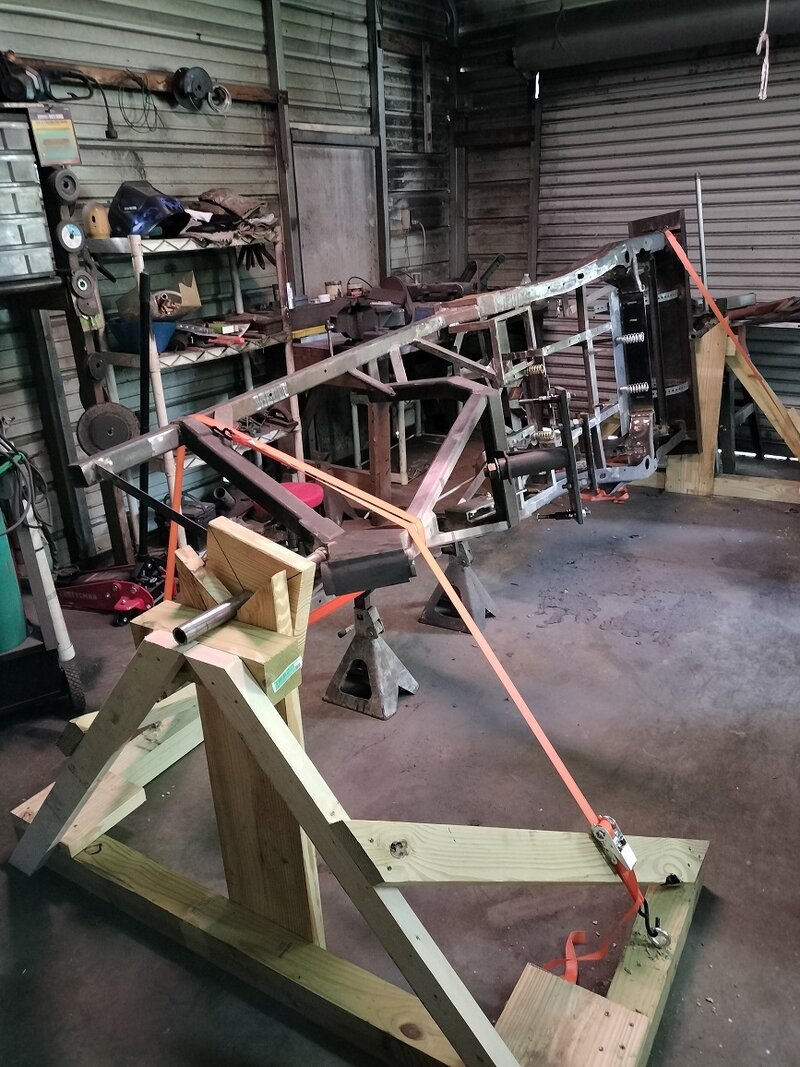
On its side on the rotisserie
4 straps and 2 jack stands holding it in place
I have already done a little of the welding. Its so much easier on its side.
I think I could flip it all the way over up side down but I don't think I will need to

IMG20240604171259.jpg
 
More welding done today.Using a lot of wire. It is so much easier with the trike on its side.

I am taking the Ol'Lady to the beach (Virginia Beach board walk) the first of August. Getting a luxury corner room with a beach front view. She has family there. Its costing me a good amount to do this. BUT the beach is not my favorite place. I'm doing it for her.

She just told me I can have the same amount of money to spend on the Trike.
I have not decided how I will spend the money on the trike yet
MAYBE
brakes, seats, wiring, engine and trany rebuild
 

Welcome to the Trike Talk Community

Join our vibrant online community dedicated to all things Trikes! Whether you're a seasoned rider or just starting out, this is the place to share experiences, tips, and stories about your three-wheeled adventures. Explore modifications, maintenance advice, and rides, all while connecting with fellow trike enthusiasts from around the globe

Forum statistics

Threads
55,441
Messages
805,559
Members
23,994
Latest member
Dan2003
Back
Top Bottom