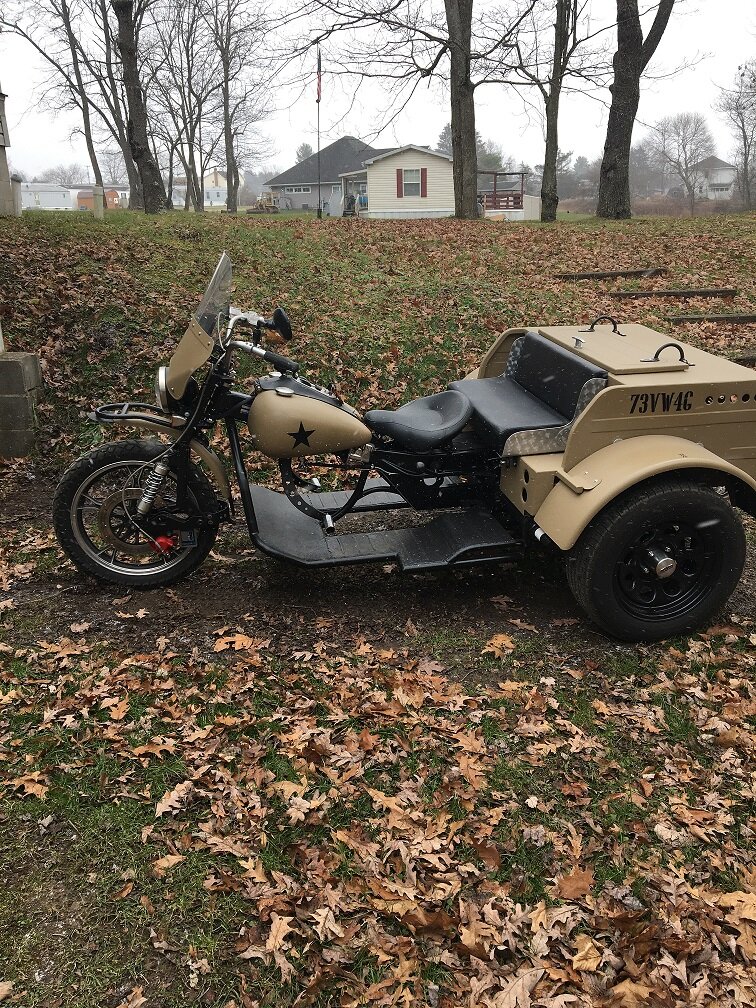
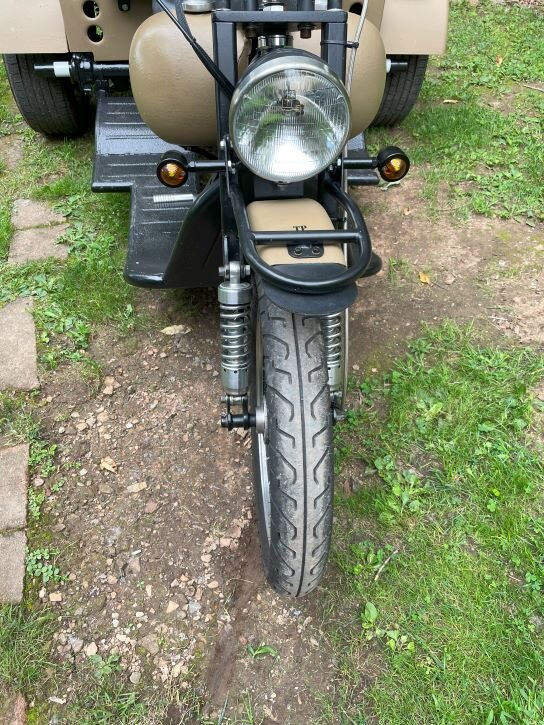
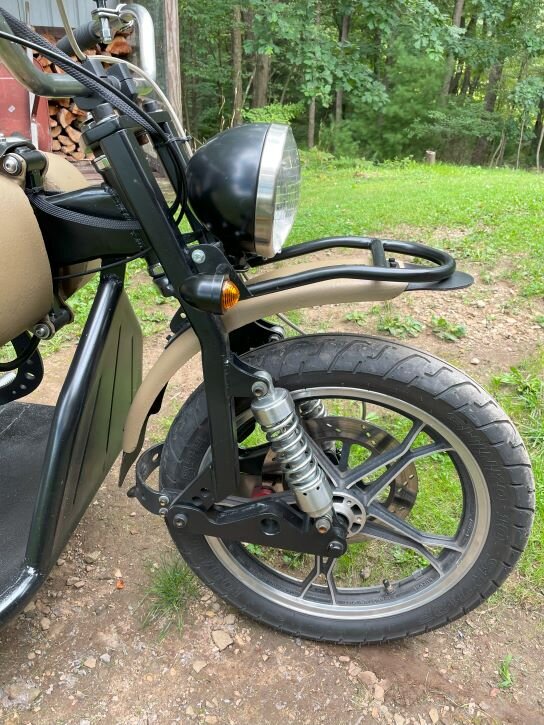
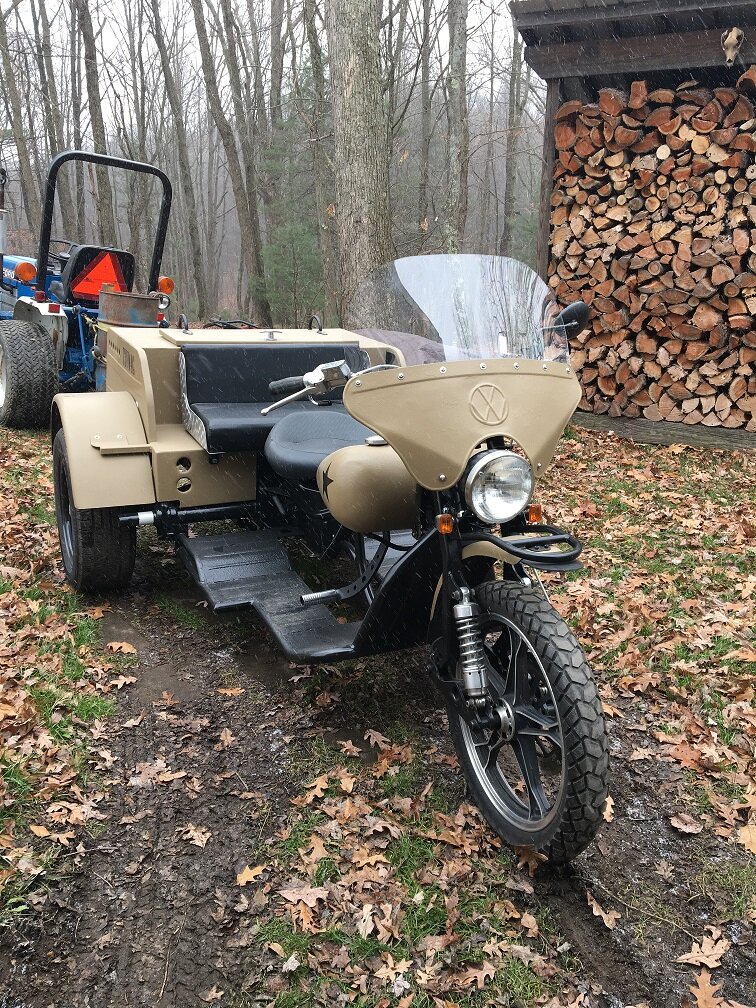
4th generation of my trike

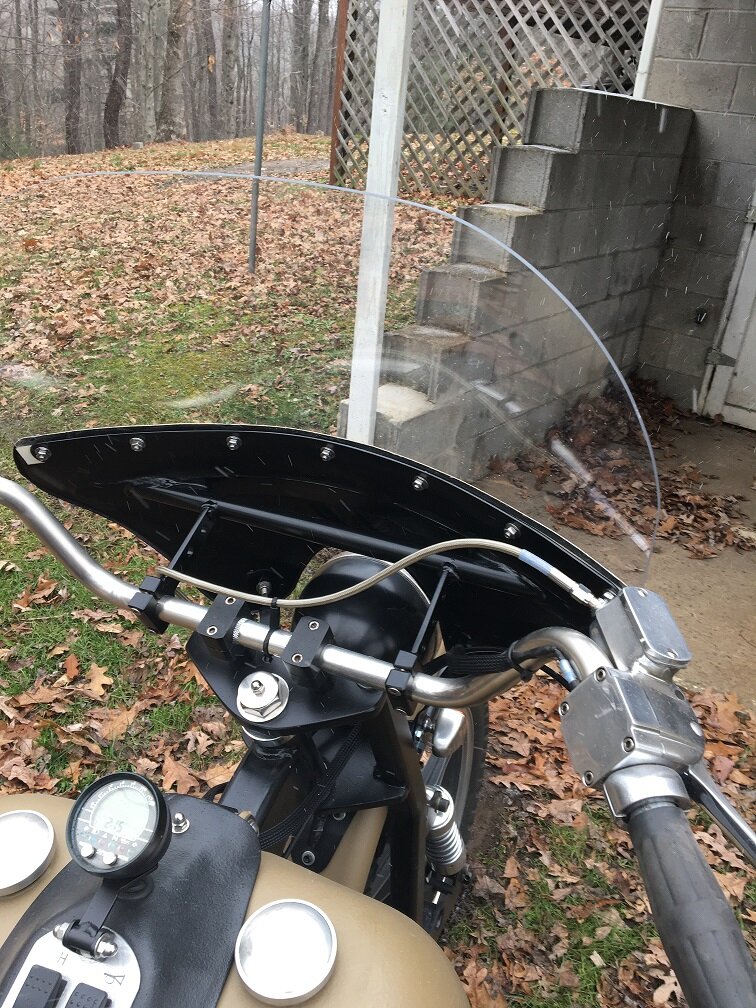
I finished up the fairing today. It's spitting snow right now so I think I'll wait to test it. I know, what better time to test?:Shrug:
IMG_0550.JPG

IMG_0551.JPG

IMG_0553.JPG

I like it. I think it needed it to balance out the size of the back end.

I got the Lexon from McMaster-Carr and the stainless button head bolts and stuff from my local ACE hardware.

I'm hoping the gap between the headlight and the fairing will allow air in to break up any buffeting.
 
Nice match to existing theme, the first ride will tell the aerodynamic story...Can't help but admire that wood pile...this time of the year it's the first thing I notice. lol
 
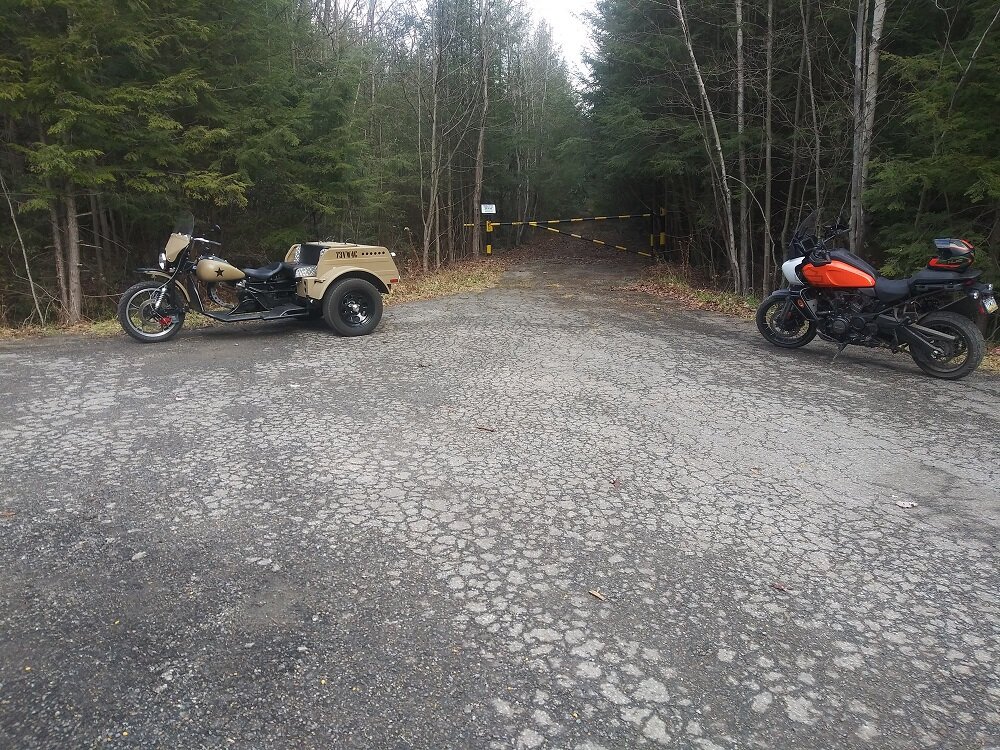
It was a strange warm day on the 16th so I took a ride and met another fellow at the Quehanna nuclear jet testing bunkers about 35 miles from home. It was a government contract facility that did secret stuff in the 1950s. They would tie jet engines down and rev them until they blew up. The guys would observe from the bunkers behind bullet proof glass. What a crazy job!

20211216_120242_HDR.jpg

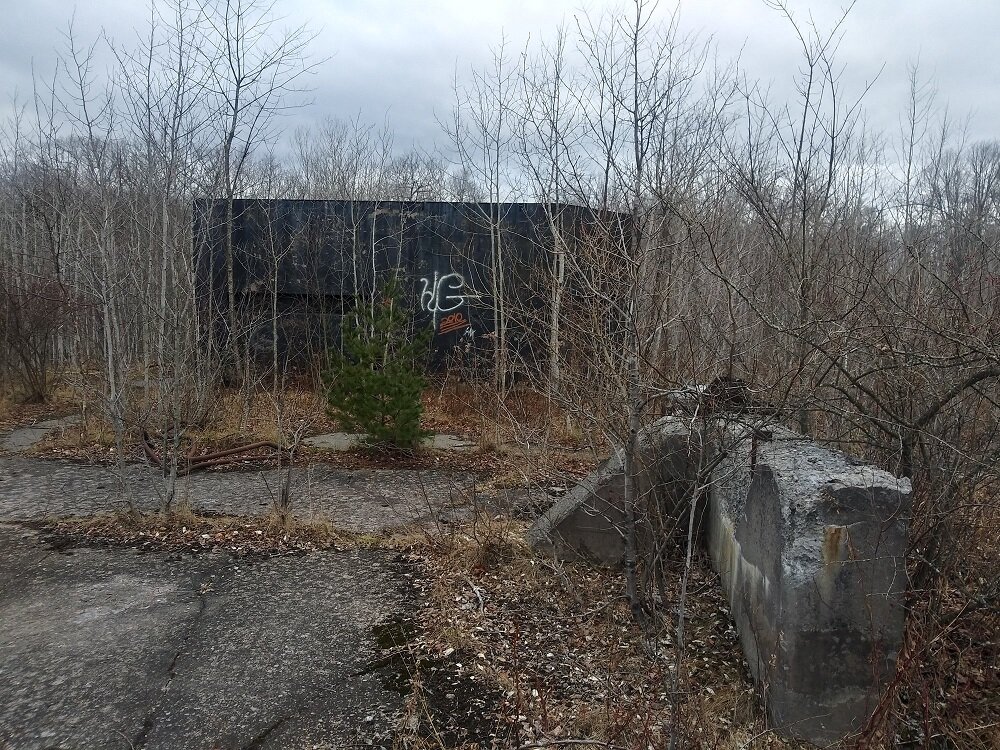
This is one of the bunkers. It's getting a little over grown after 60+ years.

20211216_114402_HDR.jpg

You can see the slot where the window was and the cement where they bolted the engines down.

The fairing worked great. I got some buffeting from 50 mph on up. I might make a taller windshield, maybe 3"-4" taller just to see how that works. I then can cut the one that's on there now down real short for summer time.
 
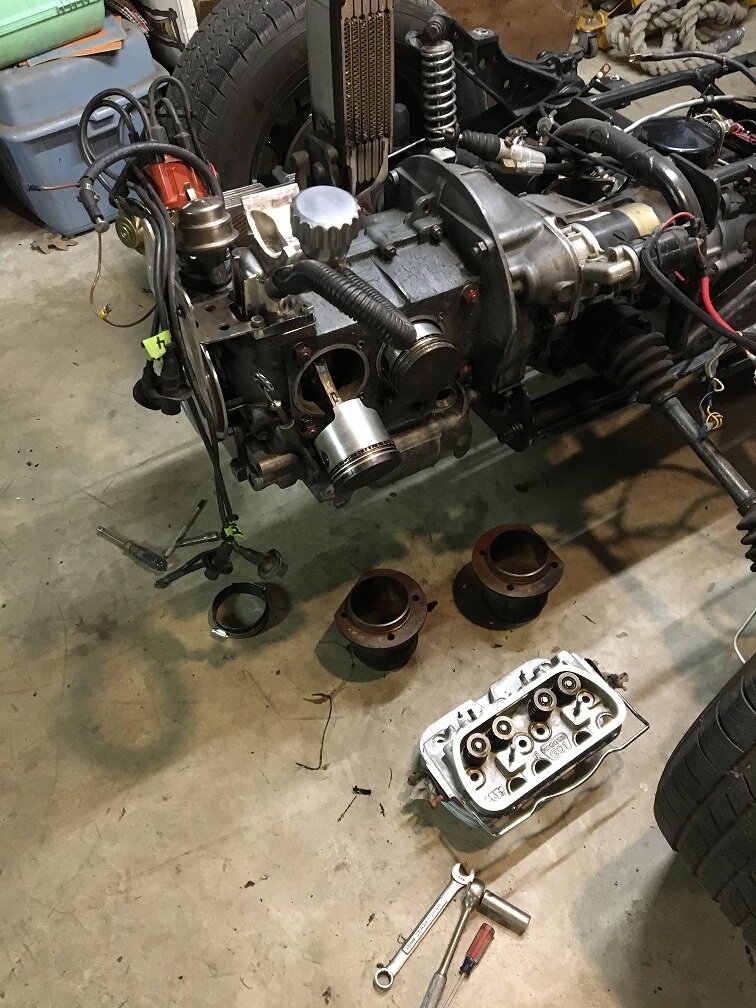
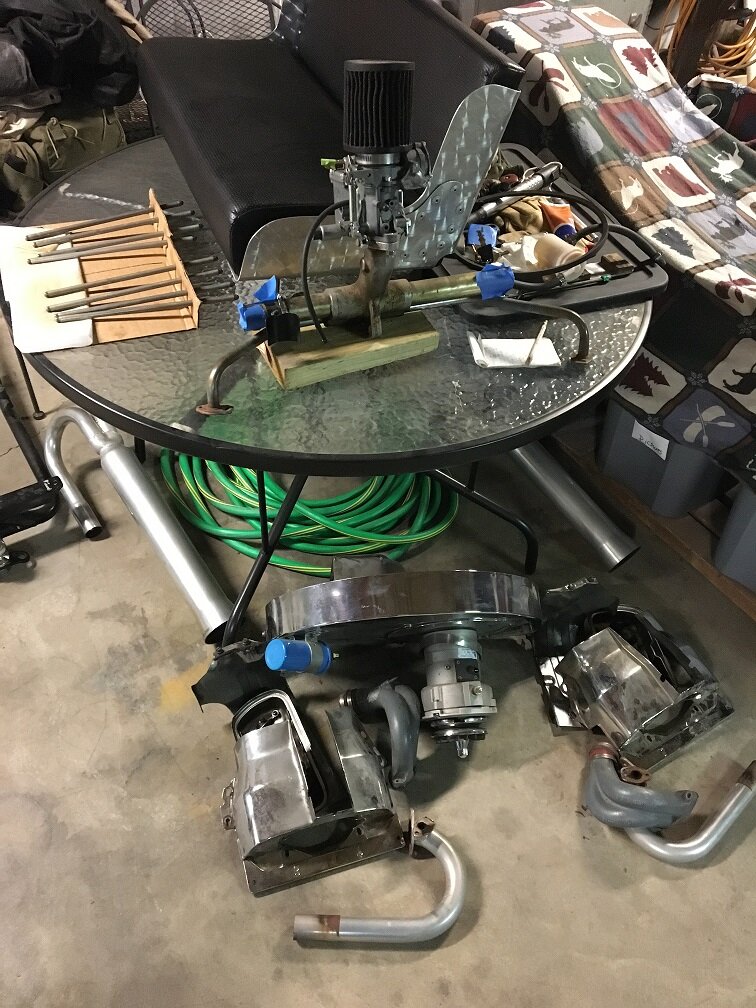
We have about 6" of snow right now and the over night temps. are going to be around 0*F so this seems like a good time to do some fixing up. It's been about 15 years since my engine was built and I don't think I had proper breathing on it for most of that time. Between gaskets getting old and too much internal pressure blowing past some gaskets I had leaks all over. I got a complete engine gasket set and started tearing things apart.

IMG_0562.JPG

IMG_0563.JPG

I found the compression ring gaps were lined up with each other, they're not supposed to be. Other than that everything looked good so far.

I'm going to revamp my air cleaner set-up when I get up to that point. I want my breather lines to go to the air cleaner like on a stock engine.

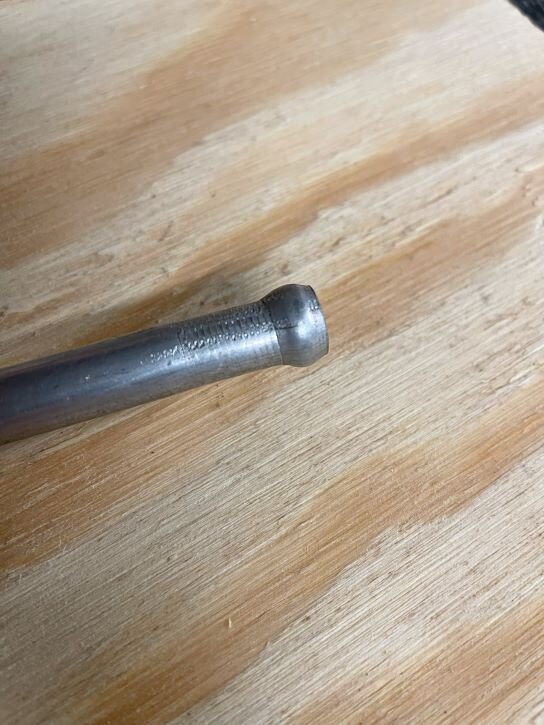
My intake gaskets were very hard and broke apart when I took them off. May have had an intake leak there. On the one manifold there was a tube that maybe was a vacuum inlet that was just crimped shut. I don't need it for my set-up but I could suck air through the crimp. An intake leak there for sure.

Sure is nice doing this stuff in the warm. I used to work on big engines outside when it was 0* out.
 
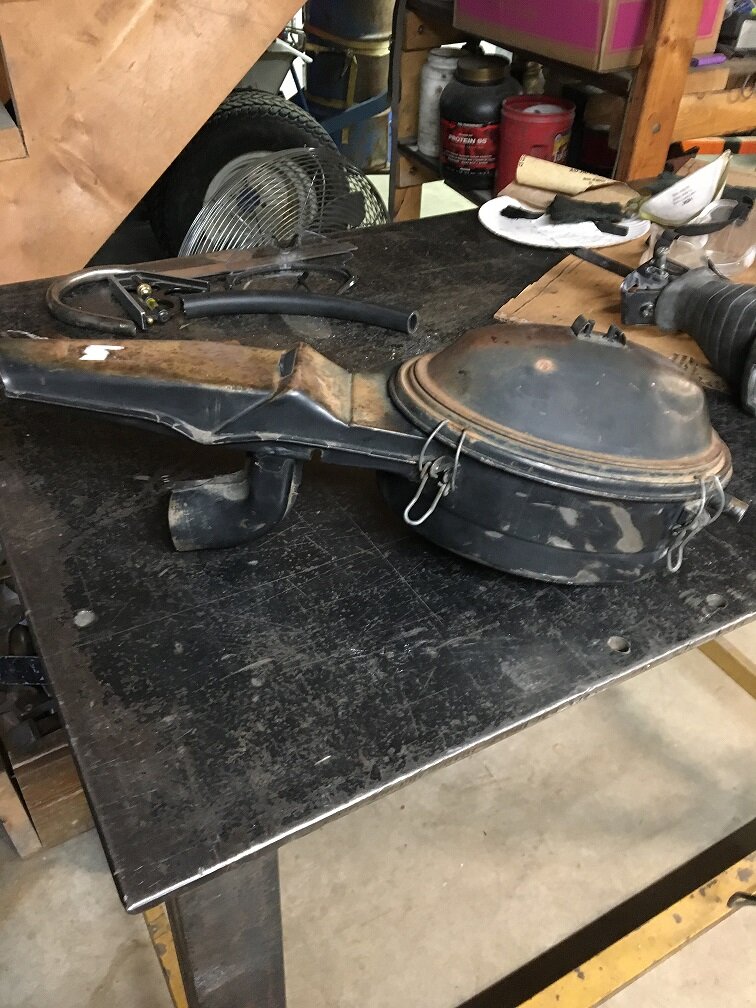
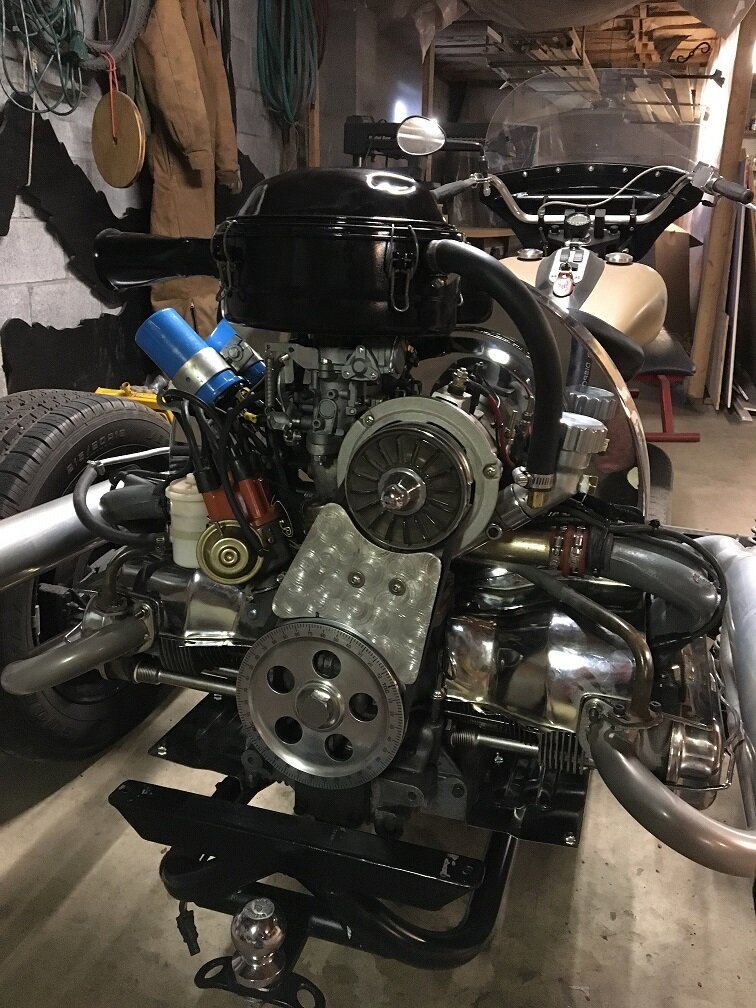
A little update. I got the engine all back together and wanted to do something different with the air cleaner. I decided to go with a stock one. I figured VW put a lot of thought into what was best. I bought a 1972 one off ebay. It's the last year of oil bath cleaners and it's made of metal. In 1973 they went with a plastic one with a paper element.

IMG_0596.JPG

It had a flapper inside the snout for cold weather running. I don't run it in the winter so I cleaned it up a bit.

IMG_0597.JPG

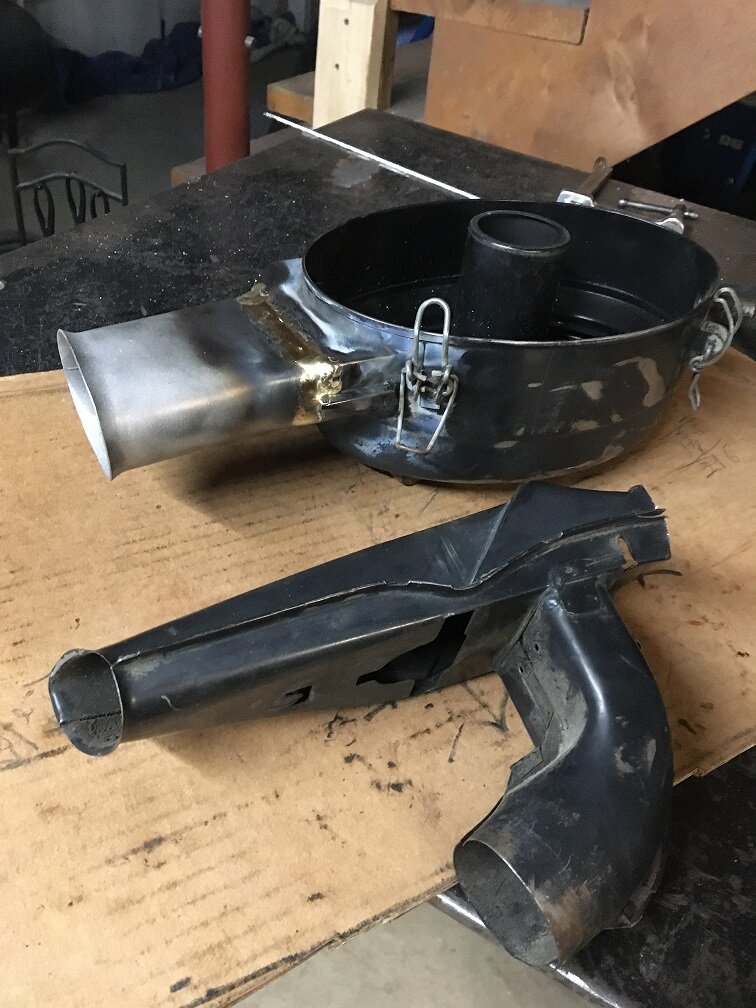
I cut the old snout off and made a new one.

IMG_0598.JPG

IMG_0599.JPG

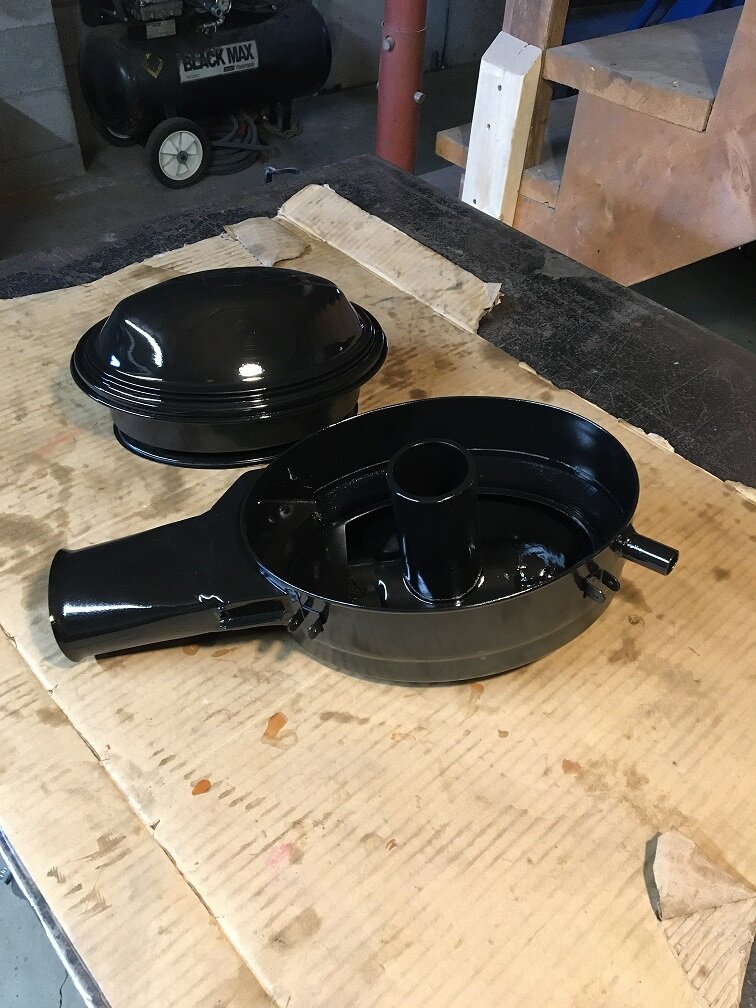
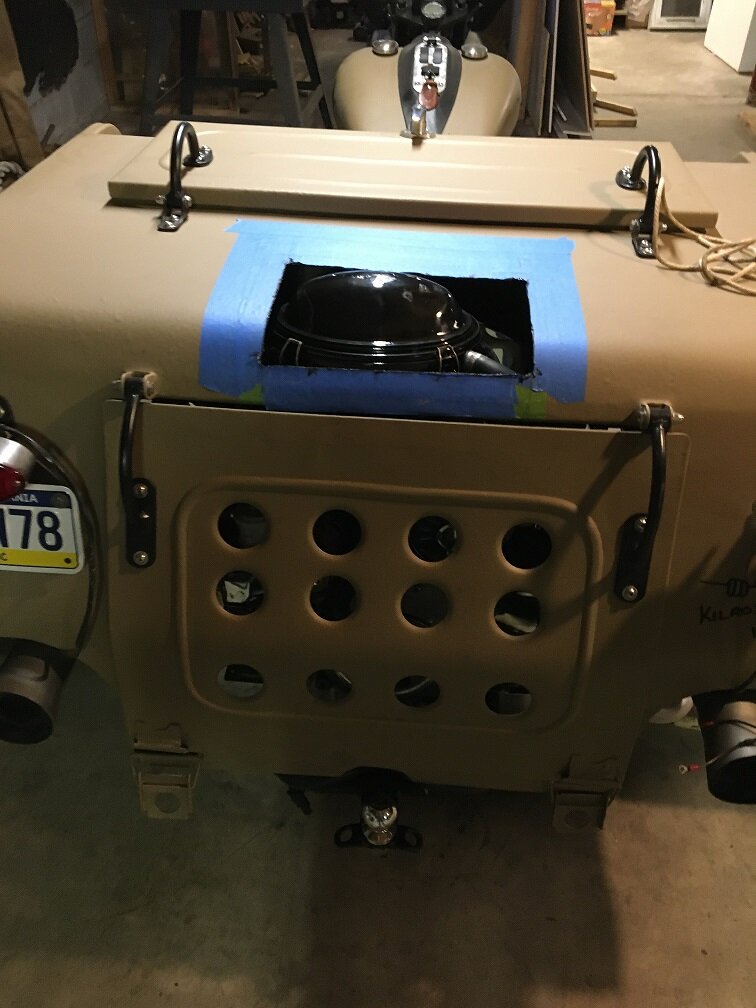
All painted and mounted. There's only one problem, it's too tall for the body to fit back on. I'm not worried, I have a plan.

IMG_0600.JPG

Step one in the solution. That's as far as I got today.
 
A little update. I got the engine all back together and wanted to do something different with the air cleaner. I decided to go with a stock one. I figured VW put a lot of thought into what was best. I bought a 1972 one off ebay. It's the last year of oil bath cleaners and it's made of metal. In 1973 they went with a plastic one with a paper element.

View attachment 107561

It had a flapper inside the snout for cold weather running. I don't run it in the winter so I cleaned it up a bit.

View attachment 107562

I cut the old snout off and made a new one.

View attachment 107563

View attachment 107564

All painted and mounted. There's only one problem, it's too tall for the body to fit back on. I'm not worried, I have a plan.

View attachment 107565

Step one in the solution. That's as far as I got today.

cool work
 
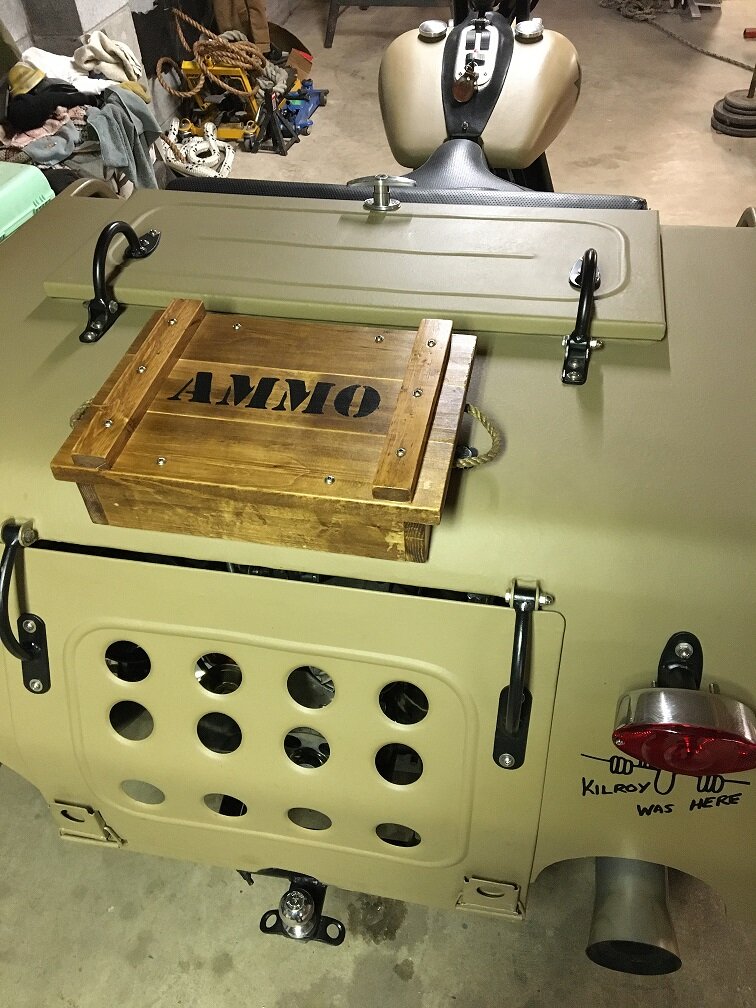
I covered the hole I had to cut.

IMG_0608.JPG

I had some scrap boards hanging around so I screwed them together. I mounted it with 3 brackets. I can get at the bolts from on top to service the air cleaner.

IMG_0602.JPG

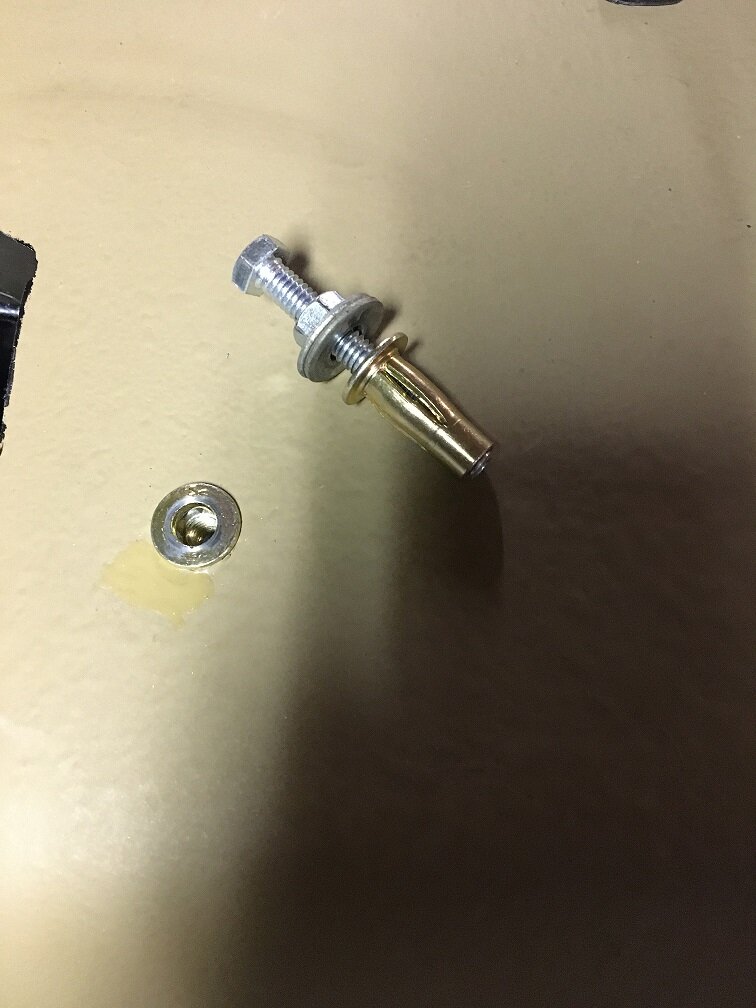
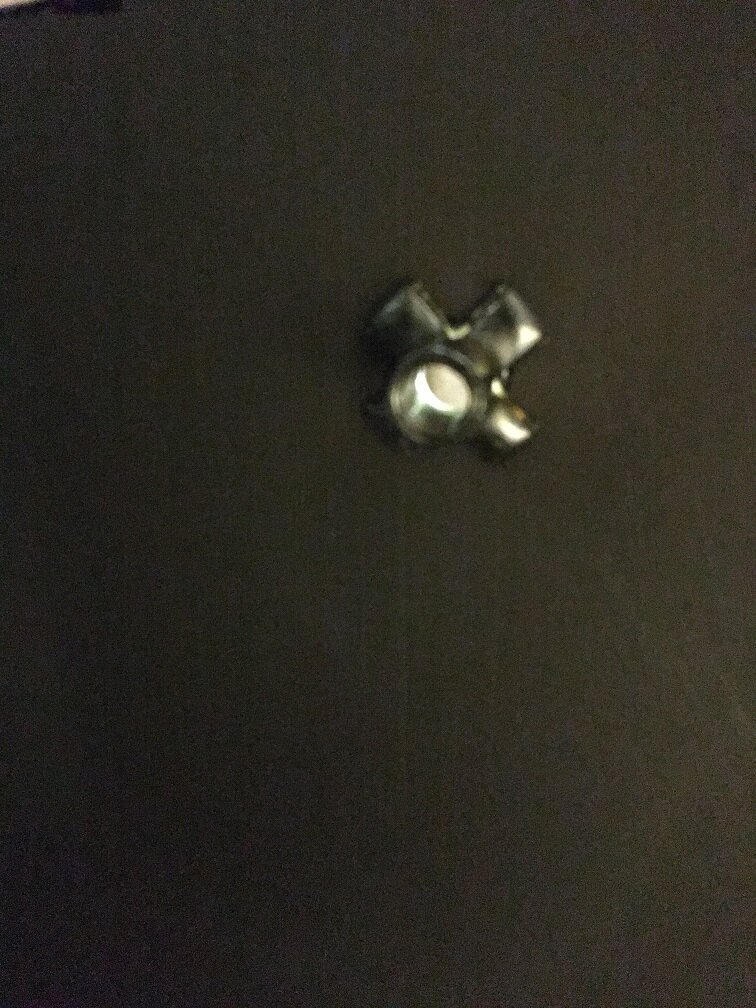
This is called a plus nut. It's a thread insert that you rivet in place with a special tool. I don't have the tool but you can crimp it into place with a bolt and nut. There are others called rivnuts that are shorter but don't clamp as much on the bottom.

IMG_0605.JPG

This is the bottom side after crimping. The ones I used where 5/16" but you can get all kinds of sizes.

I have it held on with regular bolts but I'll get stainless button head ones to match everything else.
 
IMG_0456.JPG

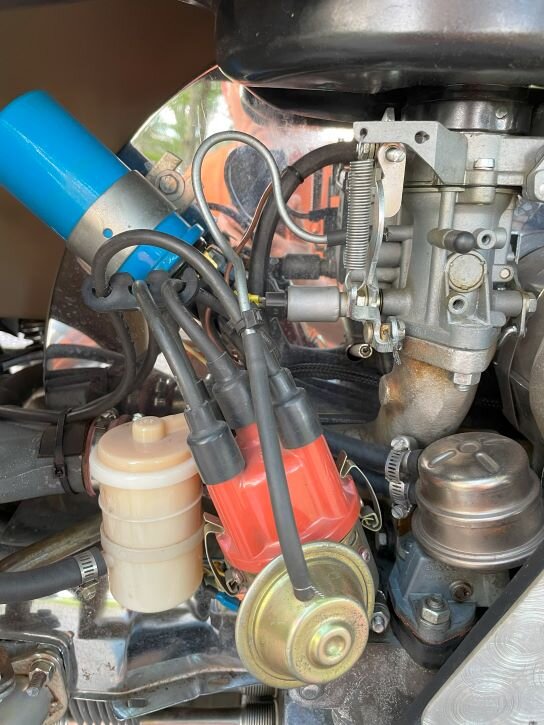
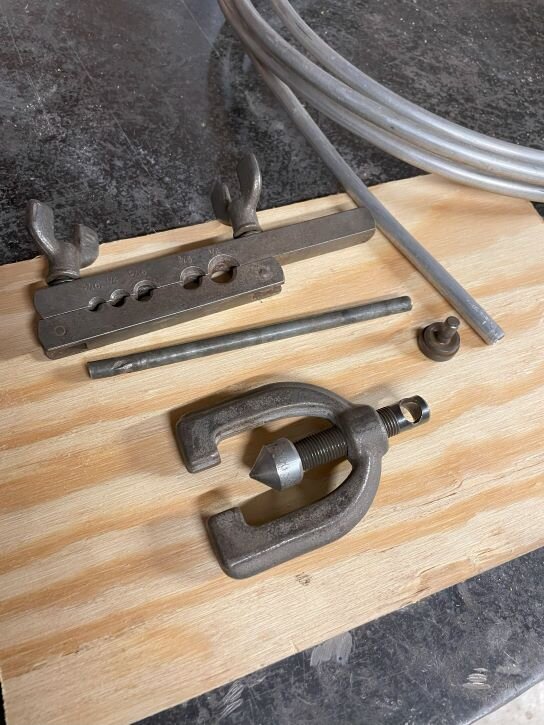
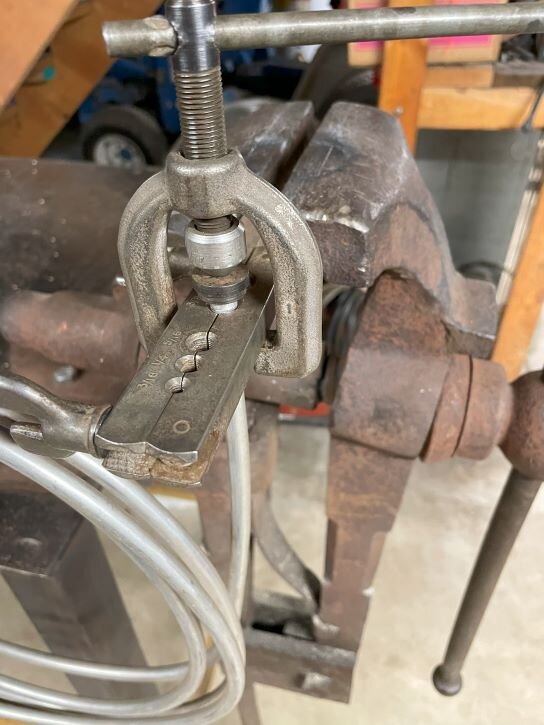
I have a couple updates. First I was showing my trike to a guy who restores old VWs. My hose for the vacuum advance went from the carb. to the distributor. He suggested putting a loop in it. He said gas vapors can condense in the line and drop down and deteriorate the diaphragm. I haven't had any problems so far but I had some brake line the right size so I figured it couldn't hurt.
 
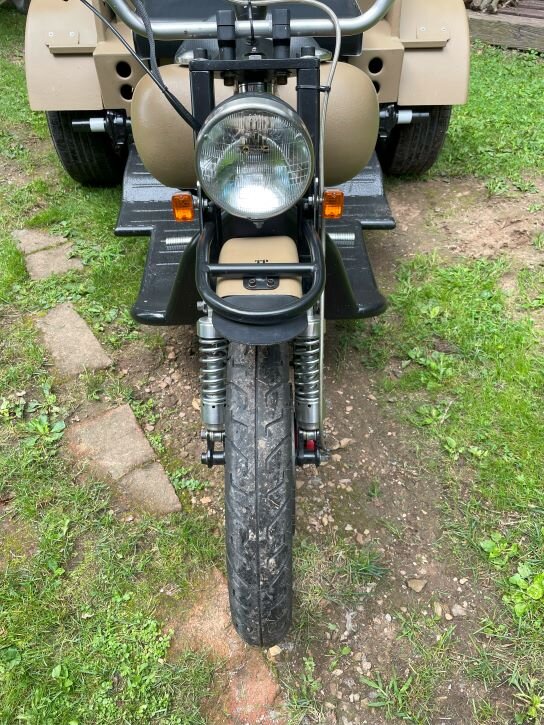
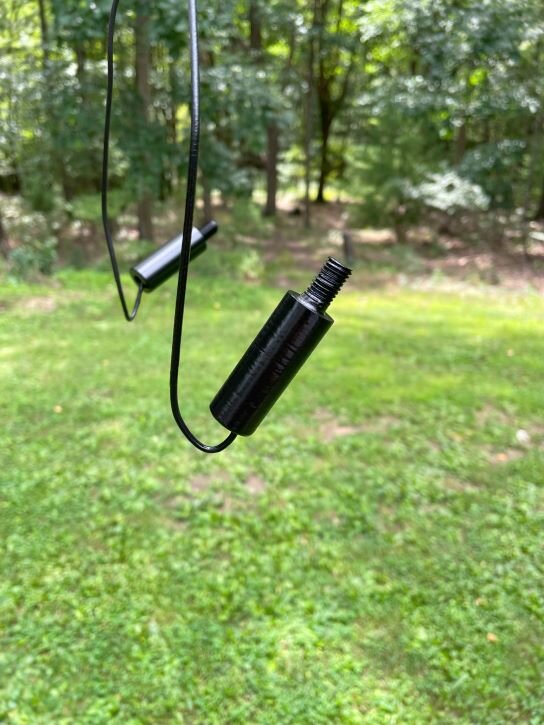
I wasn't too happy with my front turn signals. They were small, too close together, wrong shape, and you could only see them flashing if you were right in front of the trike.IMG_0451.JPG
 

Welcome to the Trike Talk Community

Join our vibrant online community dedicated to all things Trikes! Whether you're a seasoned rider or just starting out, this is the place to share experiences, tips, and stories about your three-wheeled adventures. Explore modifications, maintenance advice, and rides, all while connecting with fellow trike enthusiasts from around the globe

Forum statistics

Threads
55,455
Messages
805,724
Members
24,008
Latest member
Trustme54
Back
Top Bottom