Howdy fron Nashville.
My wife and I have matching TriGlides; and we wanted to have the TriGlide Saddlebags installed on both bikes.
After paying about $350 per set; our local Harley Dealership quoted us 2.5 hours for each bike to do the install.
Now, I'm by no means what you would consider "handy" around the house - but looking at the back of these bags gave me an idea.
The first thing you need to get is available from Amazon: it's a 10-foot long strip of velcro that is industrial strength and 4 inches wide. Here's the link: Adhestive-Strips-Sticky-Fabric-Fastenerl. The current cost of this is only $9.96 including shipping.
I would tell you how strong this stuff is; but if you need proof - go check out the episode of Mythbusters where they tested the strength of this stuff. It's unbelievable!
The saddlebags are attached to the bike via two metal plates; one at the top and one at the bottom. The top plate is somewhere around 3 inches, and the bottom is around 2 inches. Be sure to measure them yourselves before you cut out your velco to match them (my memory is not what it used to be).

So once you have the velcro; cut a strip of it to be somewhere between 9 and 11 inches. You only need 9 inches to cover from the top of the first metal plate to the bottom of the second metal plate. But I put a little longer on mine so that I can subtly adjust the height up or down as needed.
Now if your worried about the adhesive on your bike; don't be too concerned. Folks have been velcro'ing things to their bikes for decades.
Once you remove the velcro you can use stuff like WD40 and "Goo Be Gone" (I swear thats a real product!) to clean the adhesive off your bike.
Notice that rubber plug in the center of the lower plate???
It's gotta go. You need the plate to be completely flat to maximize the velcro efficiency. I used a knife to slice the grommet in half as shown below:

Now measure the width of each plate and cut a corresponding piece of velcro to cover each metal plate. Then affix them to the plates as shown:

Now your ready to begin work on the trike itself. While you can measure whatever position you may like; I chose to put the top of my velcro strip exactly 7 inches from the underside of my passenger armrests. You can get a feel for this by holding one of the saddlebags against the bike and then measuring the top of the bag against whatever landmark you want to use a reference. Here's my photo:

Now I put the velcro on my trike; starting at the 7 inch position I chose earlier.
Note that in my case; I actually had to move the velcro over closer to the wheel wells because I have an Air Zeppelin seat and the controls would interfere with the opening of the saddlebags.
So here's what my velcro looked like on the trike:

Once it is installed; you can then simply push your saddlebags into the velcro at the height that you prefer.
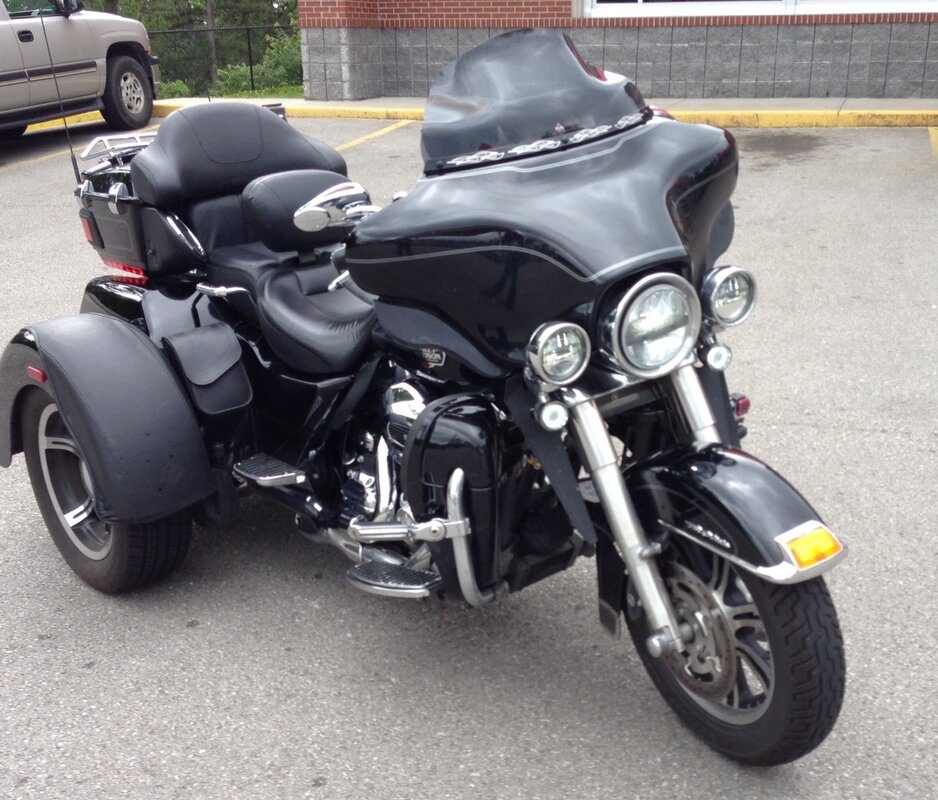
Here's how my bags look on the trike when mounted:

Total cost: $10 for both bikes. Total install time of both bikes was about 30 minutes.
Of course, your mileage may vary!
My wife and I have matching TriGlides; and we wanted to have the TriGlide Saddlebags installed on both bikes.
After paying about $350 per set; our local Harley Dealership quoted us 2.5 hours for each bike to do the install.
Now, I'm by no means what you would consider "handy" around the house - but looking at the back of these bags gave me an idea.
The first thing you need to get is available from Amazon: it's a 10-foot long strip of velcro that is industrial strength and 4 inches wide. Here's the link: Adhestive-Strips-Sticky-Fabric-Fastenerl. The current cost of this is only $9.96 including shipping.
I would tell you how strong this stuff is; but if you need proof - go check out the episode of Mythbusters where they tested the strength of this stuff. It's unbelievable!
The saddlebags are attached to the bike via two metal plates; one at the top and one at the bottom. The top plate is somewhere around 3 inches, and the bottom is around 2 inches. Be sure to measure them yourselves before you cut out your velco to match them (my memory is not what it used to be).
So once you have the velcro; cut a strip of it to be somewhere between 9 and 11 inches. You only need 9 inches to cover from the top of the first metal plate to the bottom of the second metal plate. But I put a little longer on mine so that I can subtly adjust the height up or down as needed.
Now if your worried about the adhesive on your bike; don't be too concerned. Folks have been velcro'ing things to their bikes for decades.
Once you remove the velcro you can use stuff like WD40 and "Goo Be Gone" (I swear thats a real product!) to clean the adhesive off your bike.
Notice that rubber plug in the center of the lower plate???
It's gotta go. You need the plate to be completely flat to maximize the velcro efficiency. I used a knife to slice the grommet in half as shown below:
Now measure the width of each plate and cut a corresponding piece of velcro to cover each metal plate. Then affix them to the plates as shown:
Now your ready to begin work on the trike itself. While you can measure whatever position you may like; I chose to put the top of my velcro strip exactly 7 inches from the underside of my passenger armrests. You can get a feel for this by holding one of the saddlebags against the bike and then measuring the top of the bag against whatever landmark you want to use a reference. Here's my photo:
Now I put the velcro on my trike; starting at the 7 inch position I chose earlier.
Note that in my case; I actually had to move the velcro over closer to the wheel wells because I have an Air Zeppelin seat and the controls would interfere with the opening of the saddlebags.
So here's what my velcro looked like on the trike:
Once it is installed; you can then simply push your saddlebags into the velcro at the height that you prefer.
Here's how my bags look on the trike when mounted:
Total cost: $10 for both bikes. Total install time of both bikes was about 30 minutes.
Of course, your mileage may vary!
 epper: