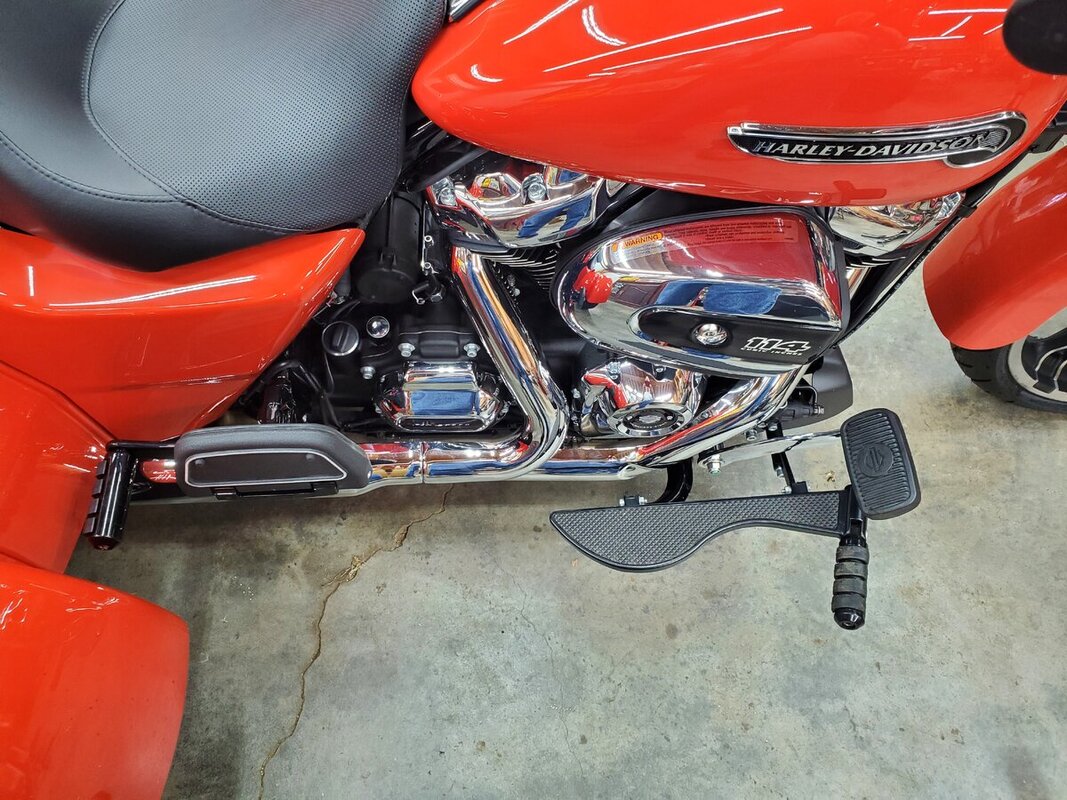
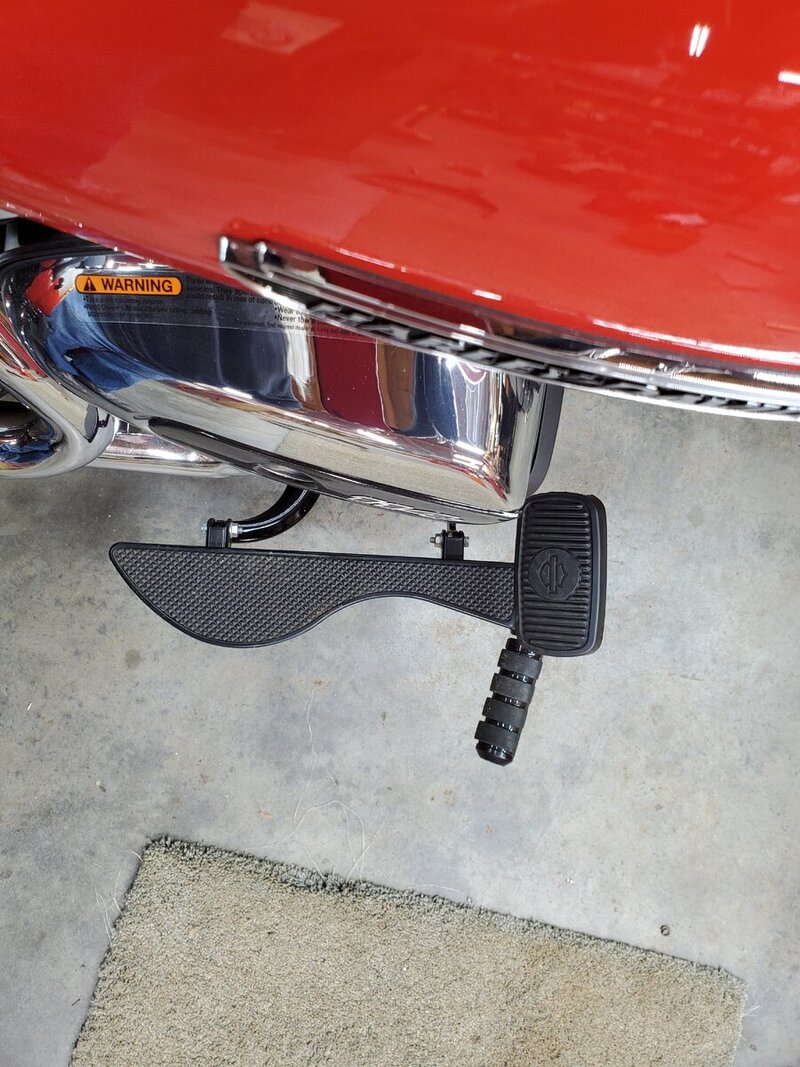
Wider floorboards

myhonda

1+ Posts
Sep 15, 2023
7
24
Appleton, WI
Name
Robert
I have a 30" inseam and not a fan of highway bars. I prefer riding with my feet on floorboards. But even with the 1" extenders, my foot was still most comfortable partially off the side of the floorboard. I spent considerable time searching for wider floorboards. It then occurred to me that the reason they may not be available is that wider floorboards would be more prone to catching when in a deep lean. I thought long and hard and came to the conclusion that I can remember not to lean my trike and scrape the floorboards. So, I made my own floorboards (about 6" wide at the front and 4.5" at the back). Once this Wisconsin weather gets into a positive number I hope to try them out. They still have the funny little bulbs for vibration relief.floorboard.jpg
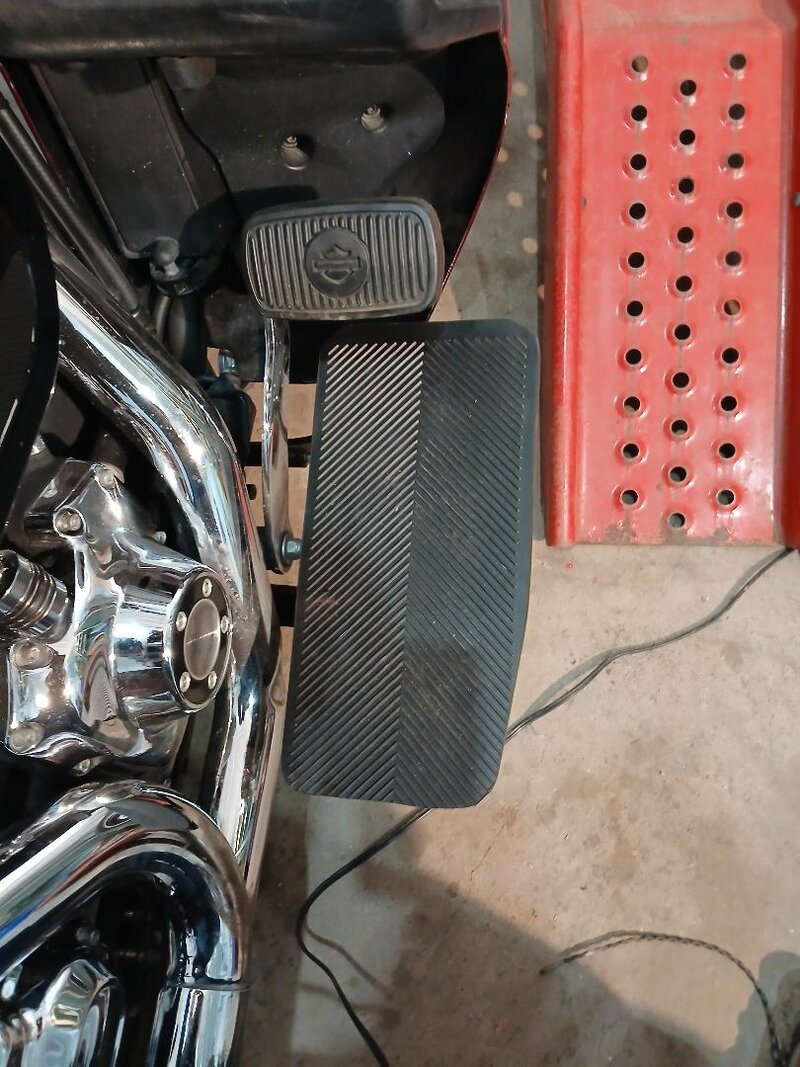
 
I have a 30" inseam and not a fan of highway bars. I prefer riding with my feet on floorboards. But even with the 1" extenders, my foot was still most comfortable partially off the side of the floorboard. I spent considerable time searching for wider floorboards. It then occurred to me that the reason they may not be available is that wider floorboards would be more prone to catching when in a deep lean. I thought long and hard and came to the conclusion that I can remember not to lean my trike and scrape the floorboards. So, I made my own floorboards (about 6" wide at the front and 4.5" at the back). Once this Wisconsin weather gets into a positive number I hope to try them out. They still have the funny little bulbs for vibration relief.View attachment 131245
Leaning?
So not a trike?
 
Care to share how you made them?

bought 2 pieces 6" x 12.75" 1/8" aluminum. The metal supplier sheared to a 4.5" width from the 6" length mark. Remove the two footboards. I placed the floorboards in the kitchen sink with hot water. Using a large phillips screwdriver I separated the rubber from the metal portion of the floorboards. radius the corners of the aluminum. Place one aluminum piece UPSIDE DOWN and lay the rubber portion (also upside down) on it in the correct orientation.

I allowed 1/2" overlap of the aluminum on the inside edge. Noting where it could cause problems when assembled drill three 1/8" pilot holes through the rubber and the 1/8" aluminum. I was surprised to find that the rubber footboard insert has an aluminum plate with rubber formed around it--this is good I used stainless steel 12mm self tapping screws---1 1/2" long because I wanted the screw to fully thread. Flip the floorboard over and cut and grind screws flush.

I finally found RUBBER mudflaps with a ribbed appearance. I used an exterior contact cement and then working from the backside used a utility knife to trim to shape. Popped this all back to the metal assemble and back on the tri glide. Very basic instructions here but biggest point for me was how to make connections. It least on my machine, The aluminum plate still "floats" to give vibration relief.
 

Welcome to the Trike Talk Community

Join our vibrant online community dedicated to all things Trikes! Whether you're a seasoned rider or just starting out, this is the place to share experiences, tips, and stories about your three-wheeled adventures. Explore modifications, maintenance advice, and rides, all while connecting with fellow trike enthusiasts from around the globe

Forum statistics

Threads
55,451
Messages
805,696
Members
24,006
Latest member
Stitch61
Back
Top Bottom