- Moderator
- #1
Roadsmith Comfort Controls on a CSC Viper with ground effects running boards
So I have a California Sidecar Viper trike and like title says, it has the ground effects running boards installed. One of my biggest complaints was the positioning of the drivers peg. I never liked the fact that my legs would get positioned slightly rearward.
Having Kury Ergo II foot rests have helped when I wanted to stretch out but when I'm stuck driving around town or stop and go traffic on highway, you really cant stretch out that often. I tried removing the drivers pegs and just resting my feet on the floorboards but it wasnt that comfortable to me. I would have to lift up my foot to use the foot brake and shifting was pretty awkward.
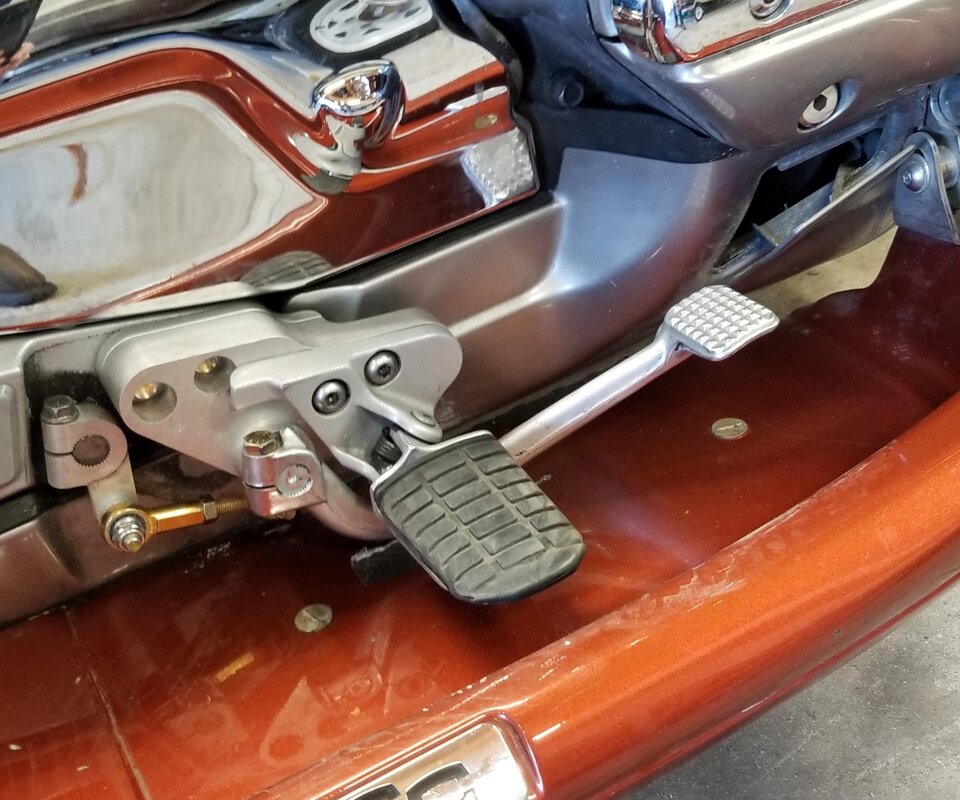
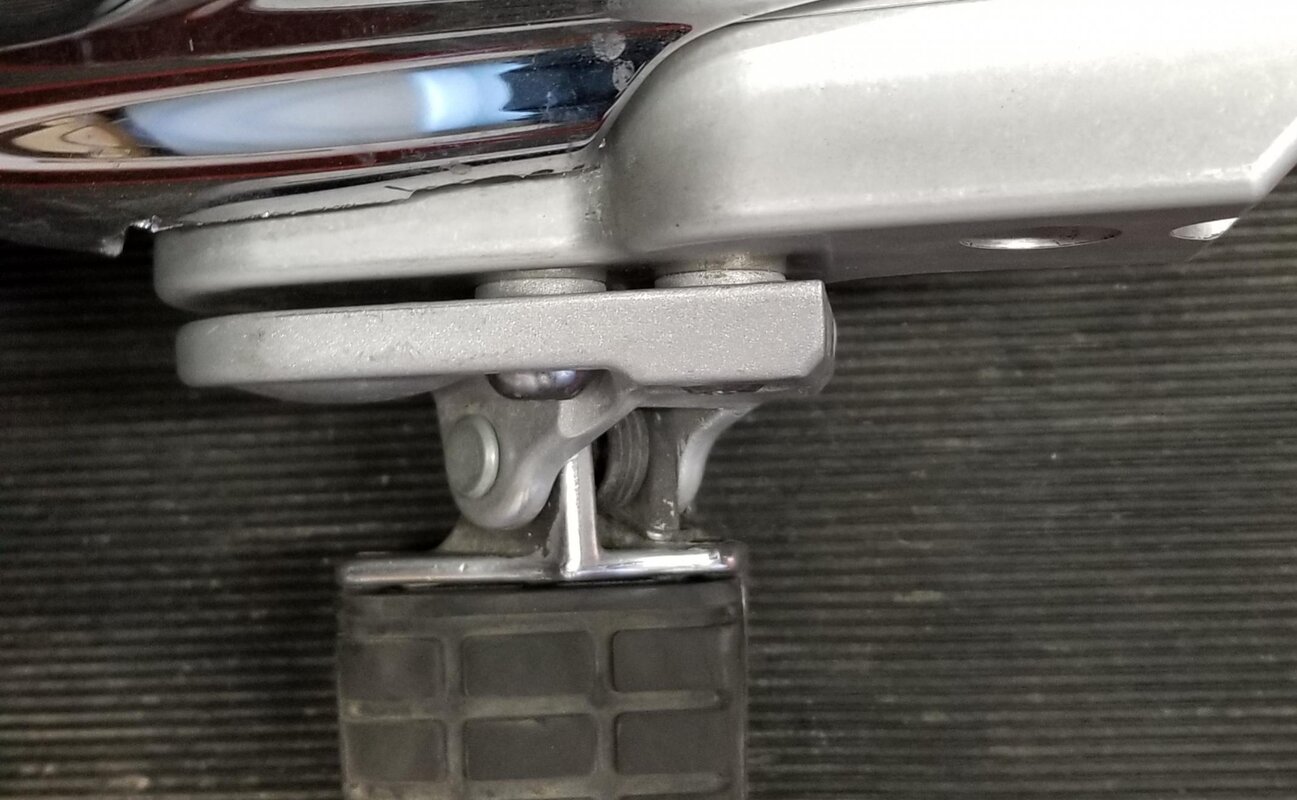
I have been looking at the Roadsmith Comfort Controls for awhile now but had a hard time justifying the $6-700 for them. (Same reason I haven't sprung for a modified custom seat either because a good one would cost even more) They move the drivers pegs forward 3 inches and down
1. I finally came across a used but in great shape set and am going to be installing these soon. As with drivers pegs, levers get repositioned as well. But I have some questions for those that have put these on a Viper.
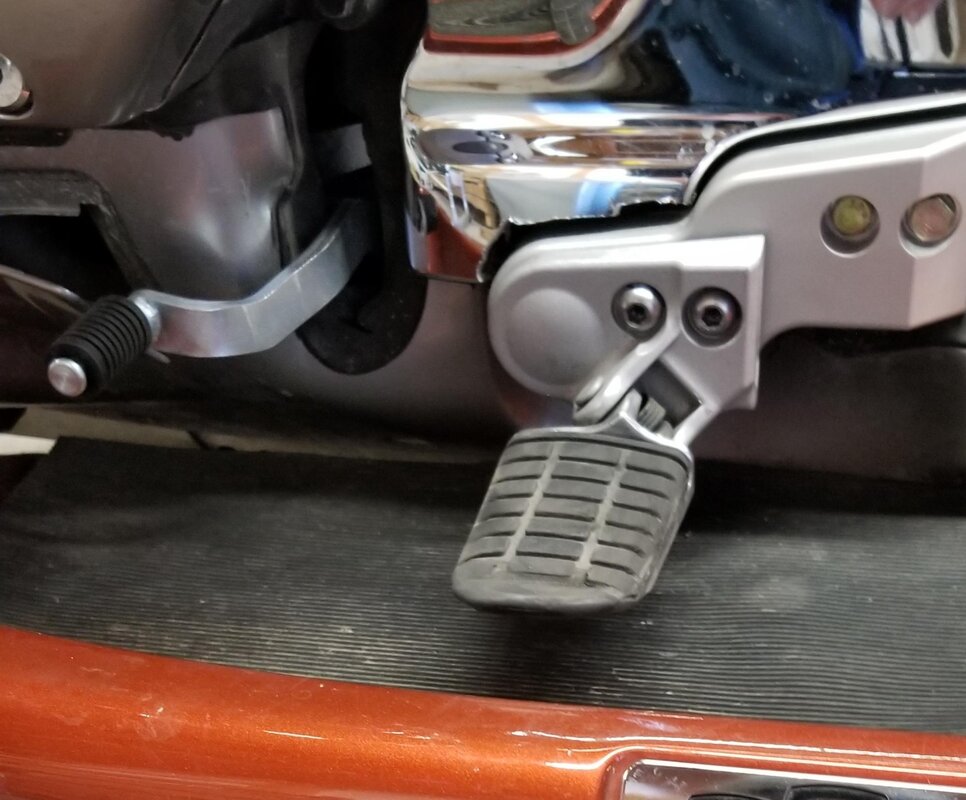
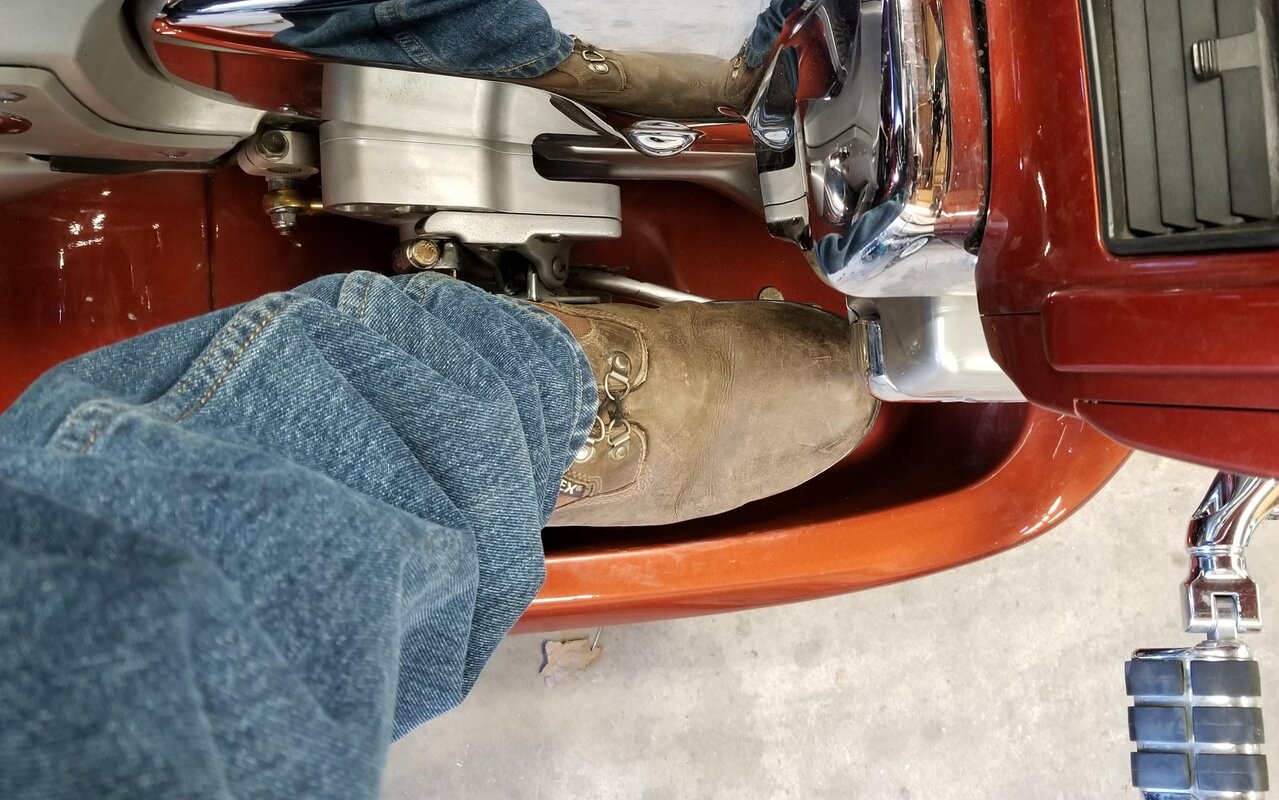
1. On Roadsmith trikes, on the brake side, a panel needs to be removed and a rubber bladder installed because when brake lever is pushed down, the bottom of the pedal needs to be able to go lower than the Roadsmith floorboards. Is this also the case with Viper floorboards? Will I need to cut a notch out of the Viper floorboard or are they low enough to not need to do this?
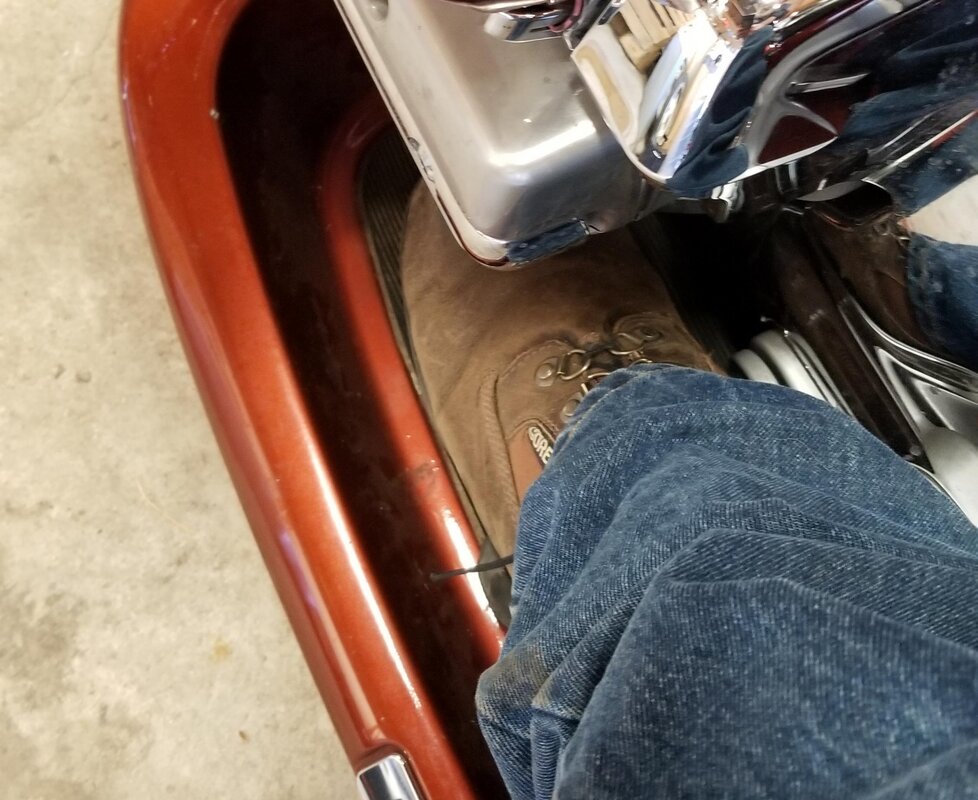
2. Like I mentioned earlier, I didnt like just running without the drivers pegs in stock position because it was awkward using the brake and shifter. With the controls moved down and forward, are they positioned a little better so I can try leaving the drivers pegs off?
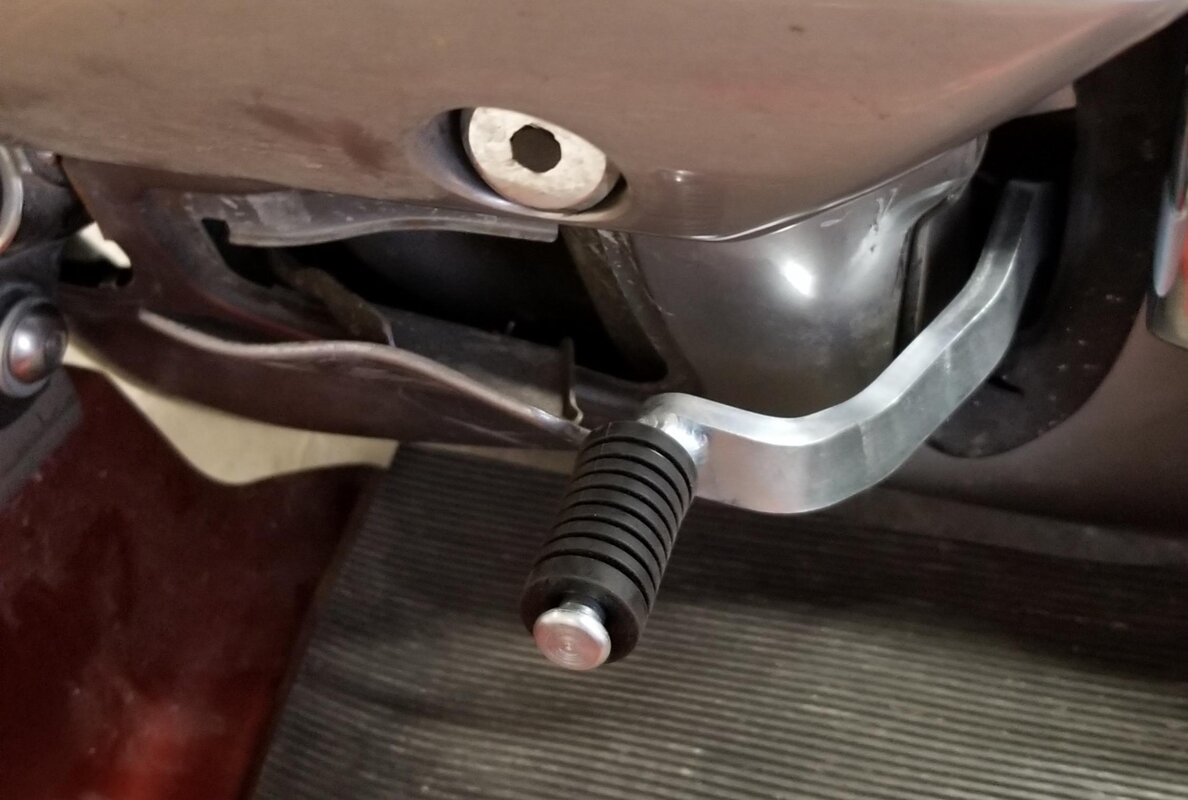
3. And this question is a general question for anyone that has installed these. When installing the shifter setup, it mentions that a small section towards the bottom of the engine cover needs to be trimmed off. This is the cover that the alternator and coolant reserve tank sits behind. Is this part really necessary? It does look like the new Roadmith peg.mount slightly covers it. If I didnt trim it, how hard is it to remove that engine cover? If I have to trim it, I will.
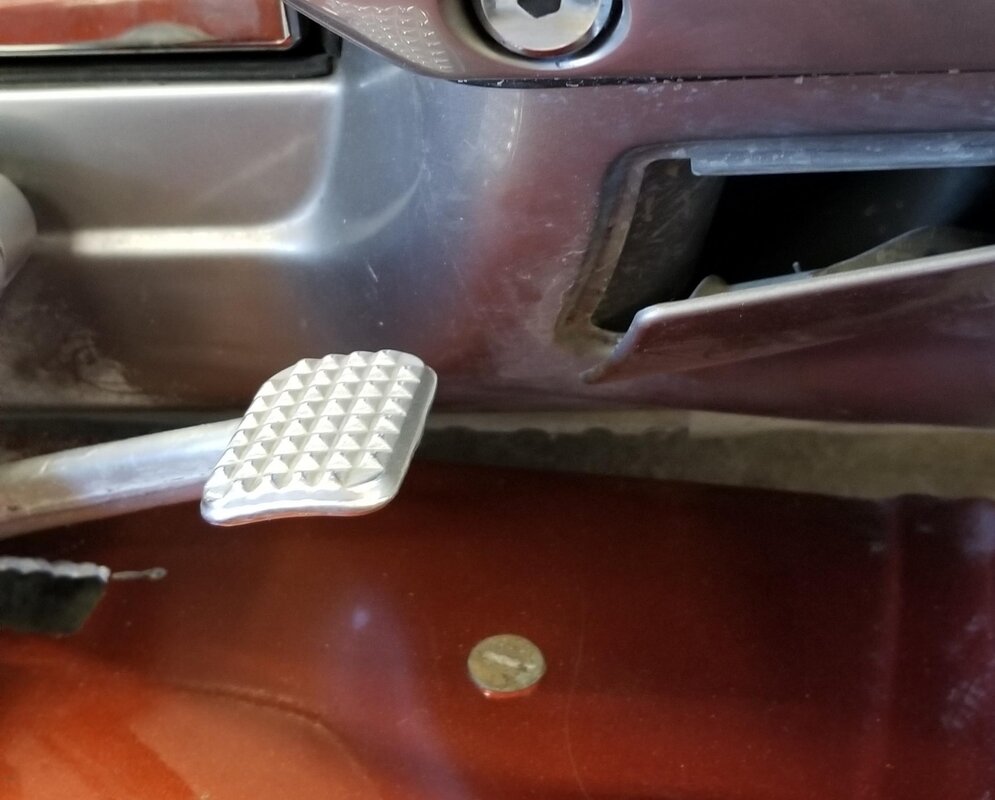
4. Finally, with the new shifter positioned more forward, how many have had issues with the foot warmer doors? Looking at the photos, it is pretty close and I wear size 12 boots. If it is an issue, are there any solutions that dont require welding to resolve this? I dont know the first thing about welding so I want to avoid this route if it isnt necessary.

