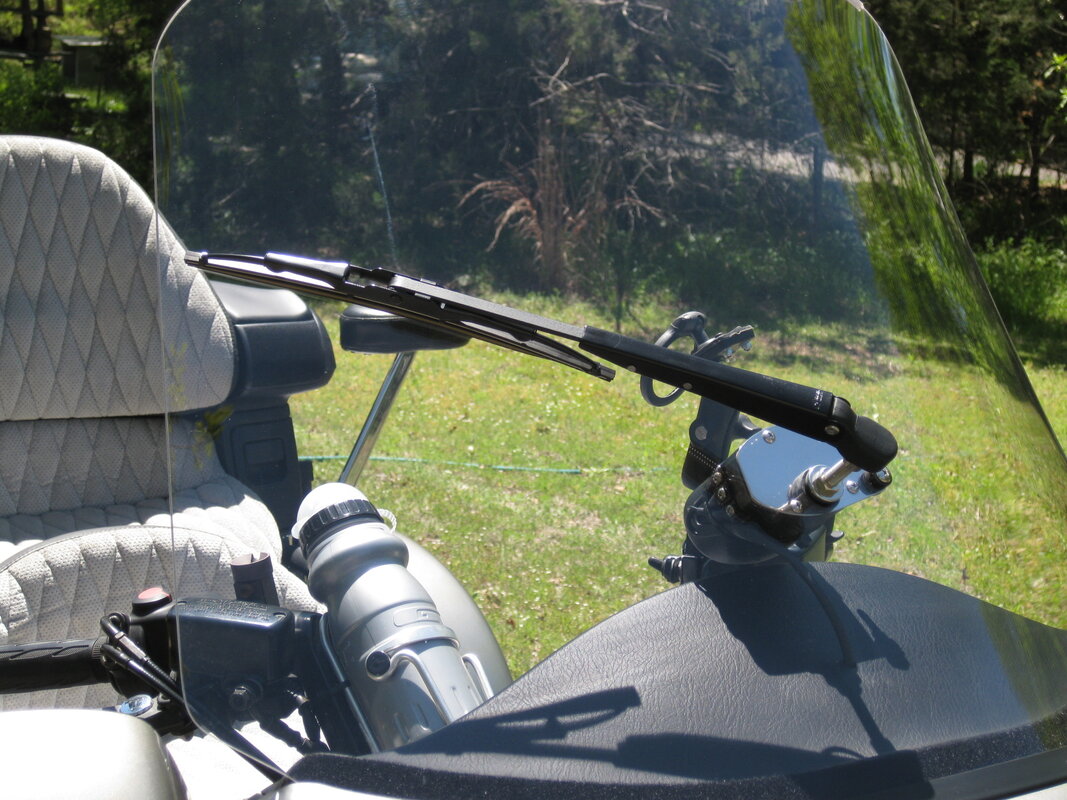
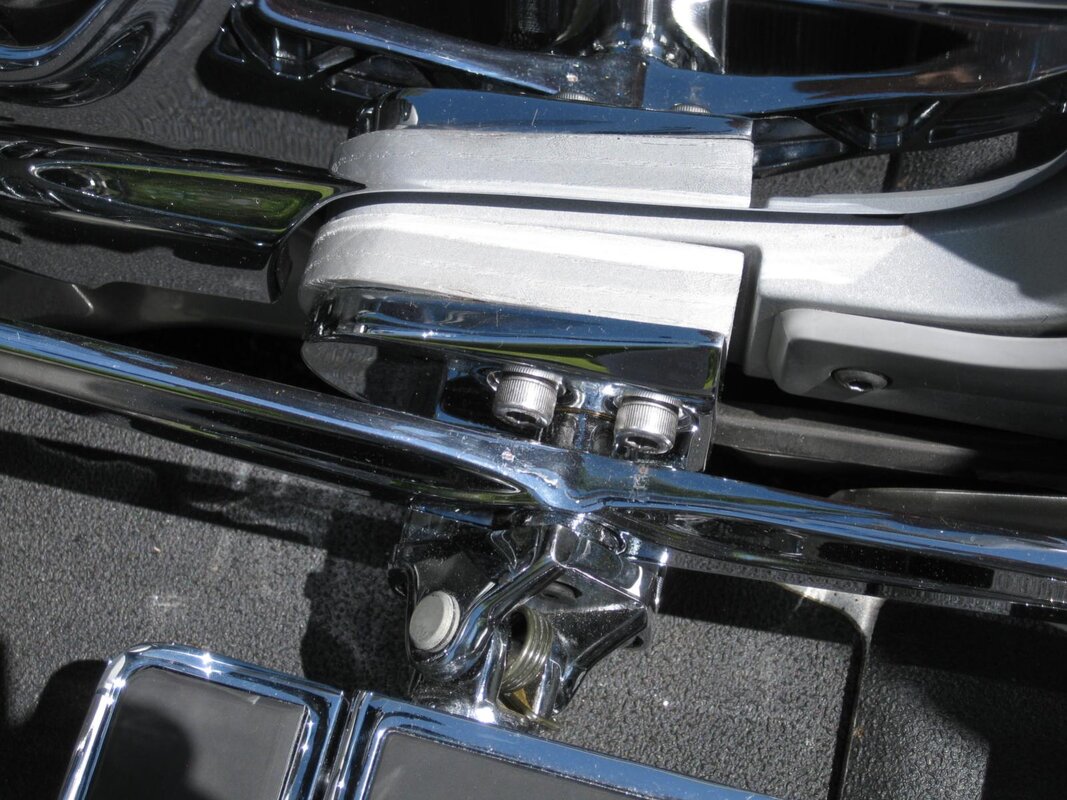
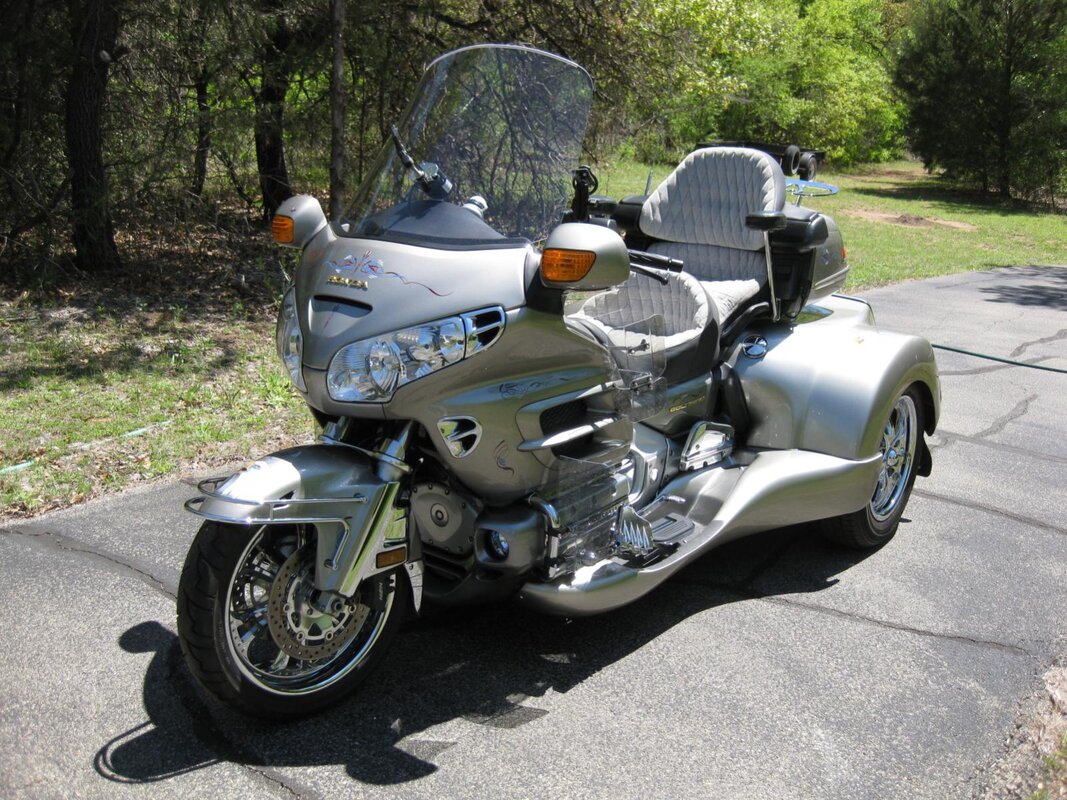
Have a whole Album of photos if you need more... where to start, how about a New Windshield Wiper by Peer Clear, have a momentary push pad and a Toggle off/on - Added a clear piece of door edge to the top of the F4+4 to keep the rain & wiper water leaving to the outside and it worked great this past weekend , Added hand wings under the mirrors, Added Upper & Lower Baker Wings and Trike Wings, Removed my Roadsmith Wing Guards and changed their position to more centered and at the same time changed all fluids to synthetic Mobil 1 Racing 4T 10W40 with the longer Purolator ML16817 oil filter, Valvoline Synthetic Dot 4 Brake Fluid drained all three wheels and Clutch System. Works like new... soo smooth!!
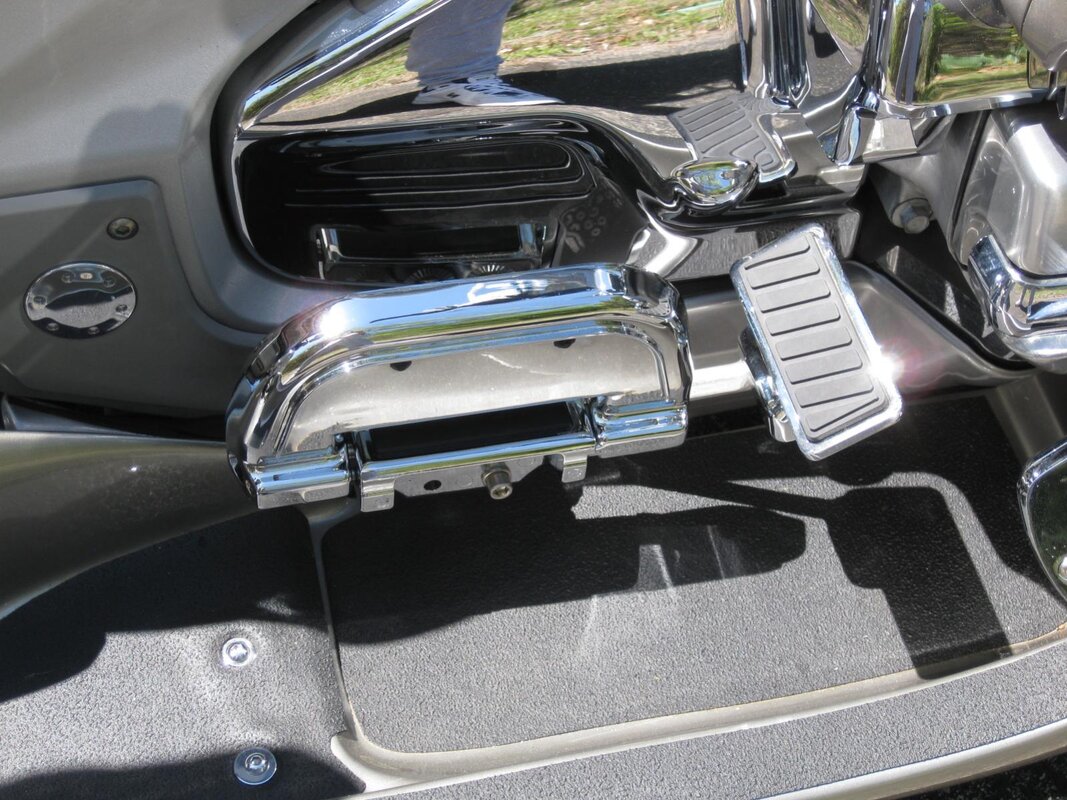
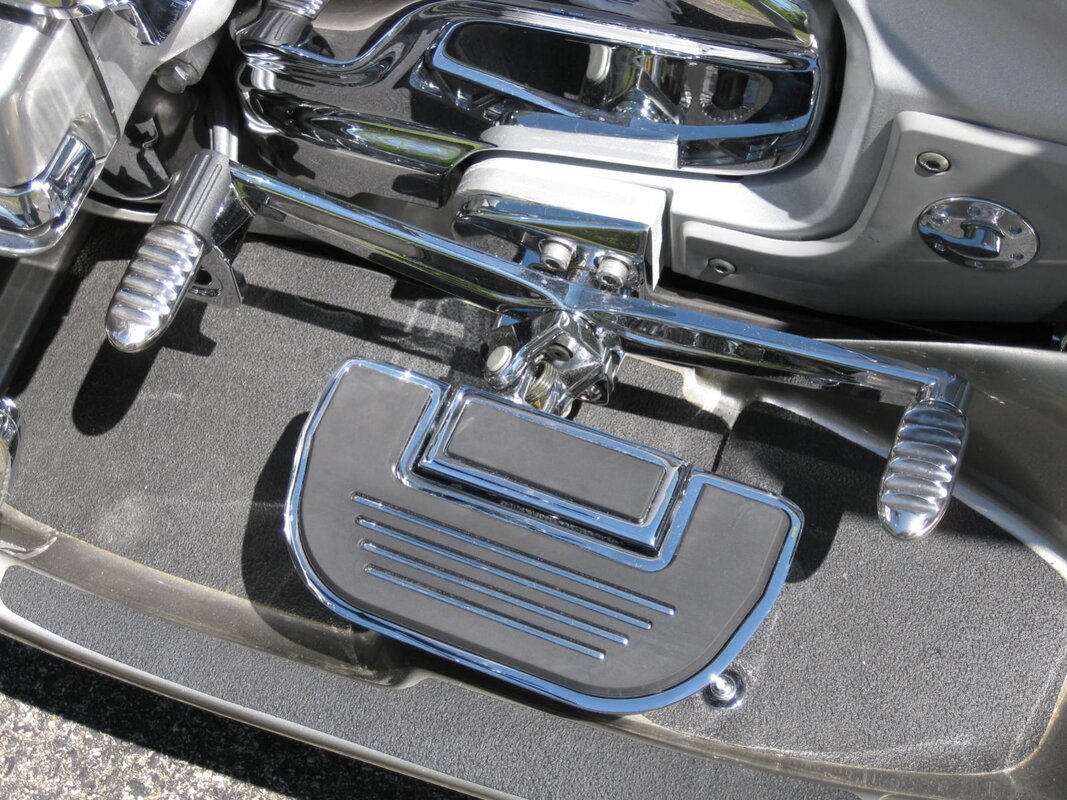
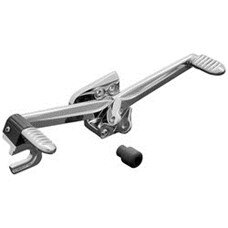
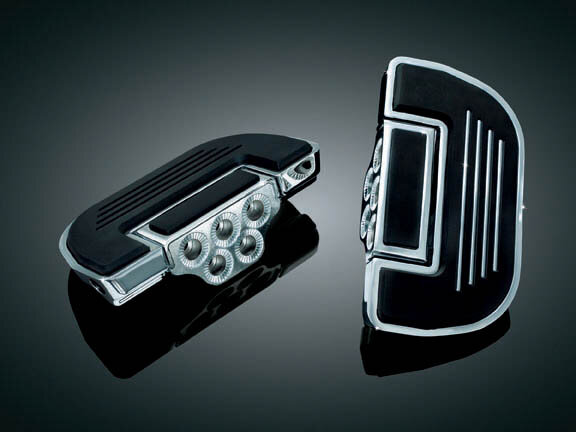
Next was a foot adjustment to gain more options... lots of folks have said the Kuryakyn Heel Toe Shifter will not work with a trike kit / partially right, you need a little adjustment for it. When mounting it requires a 3 degree spacer you will notice in the photo and longer S/S bolts to secure it all. So while I was engineering this I found also that Kuryakyn has a new floorboard although its not listed for GL1800's but it is really cool, a floorboard that folds-up out of the way... requires some little splined adapters and yes they work also, at least for 265# and shrinking.. I can now state that the Roadsmith Yellow Stuff brake pads they are now using are the best you can do for stopping power, only require about half the effort once broken in.. squeal the rears anytime now... Great!!
If you require other info on any of my installed goodies just ask, or how I did something, always here to help!!
Now for photos....
I got all my pinstripe retouched and added the eagles, not to graphic just tasteful in the right colors!!


") :Congrats::Congrats::Congrats::Congrats:
:Congrats::Congrats::Congrats::Congrats:


