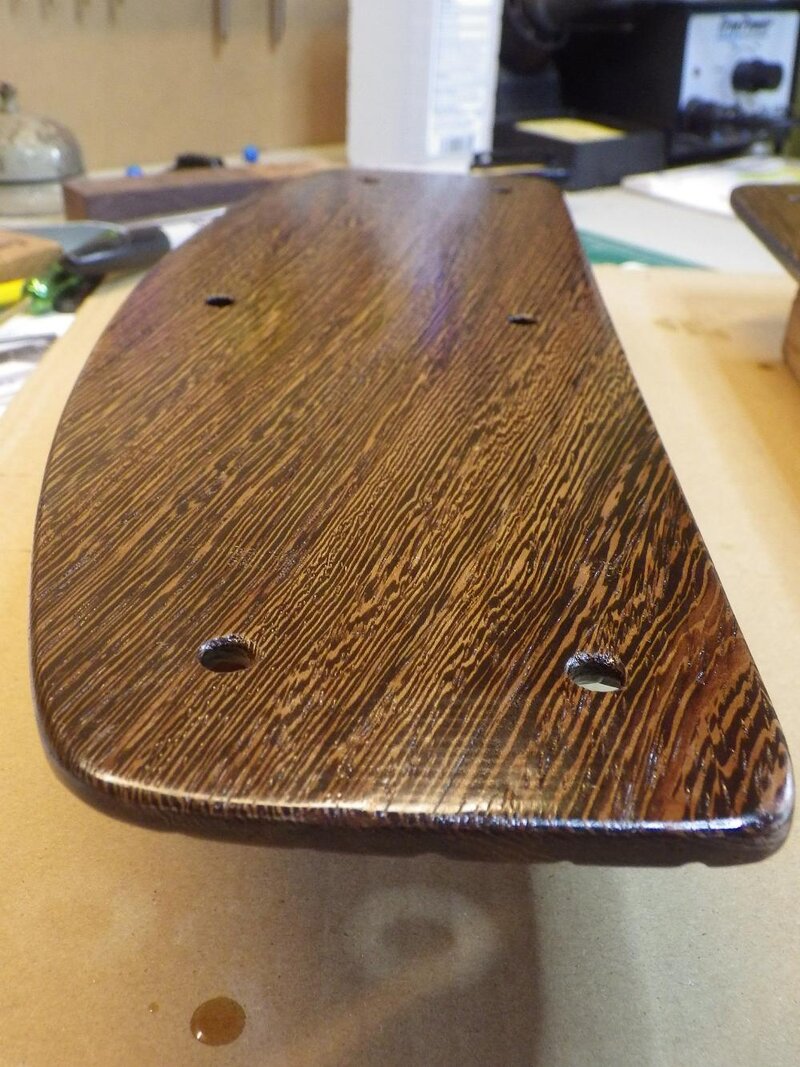
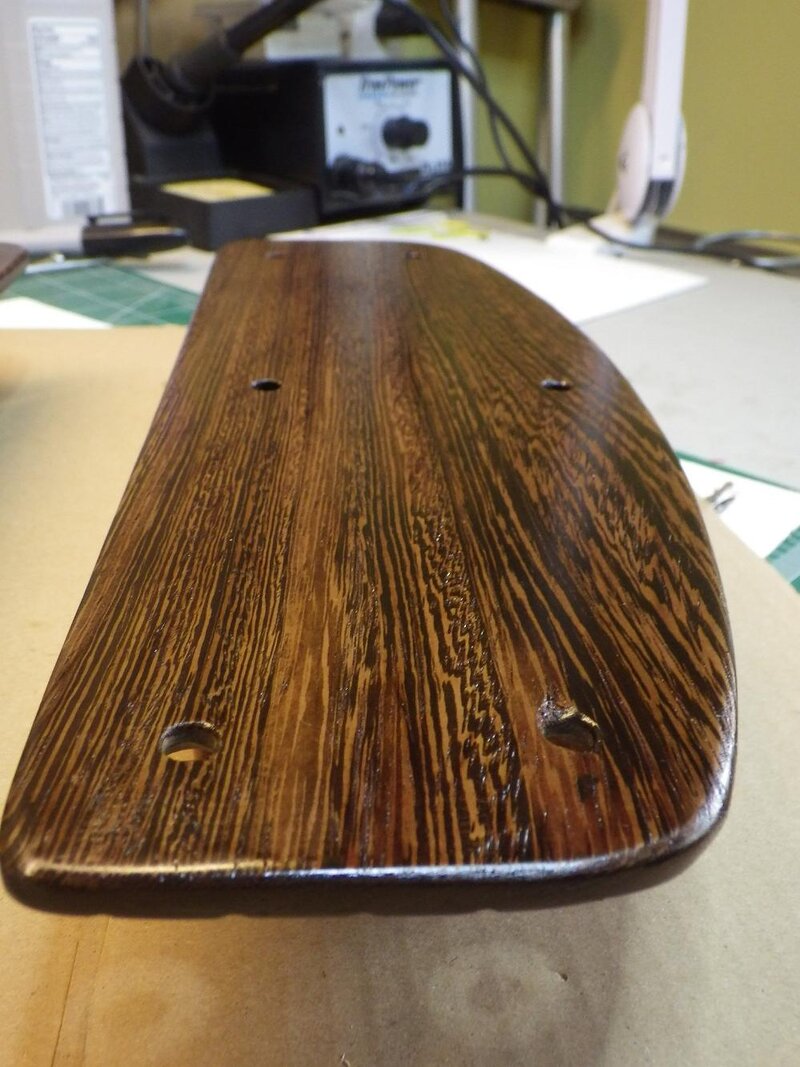
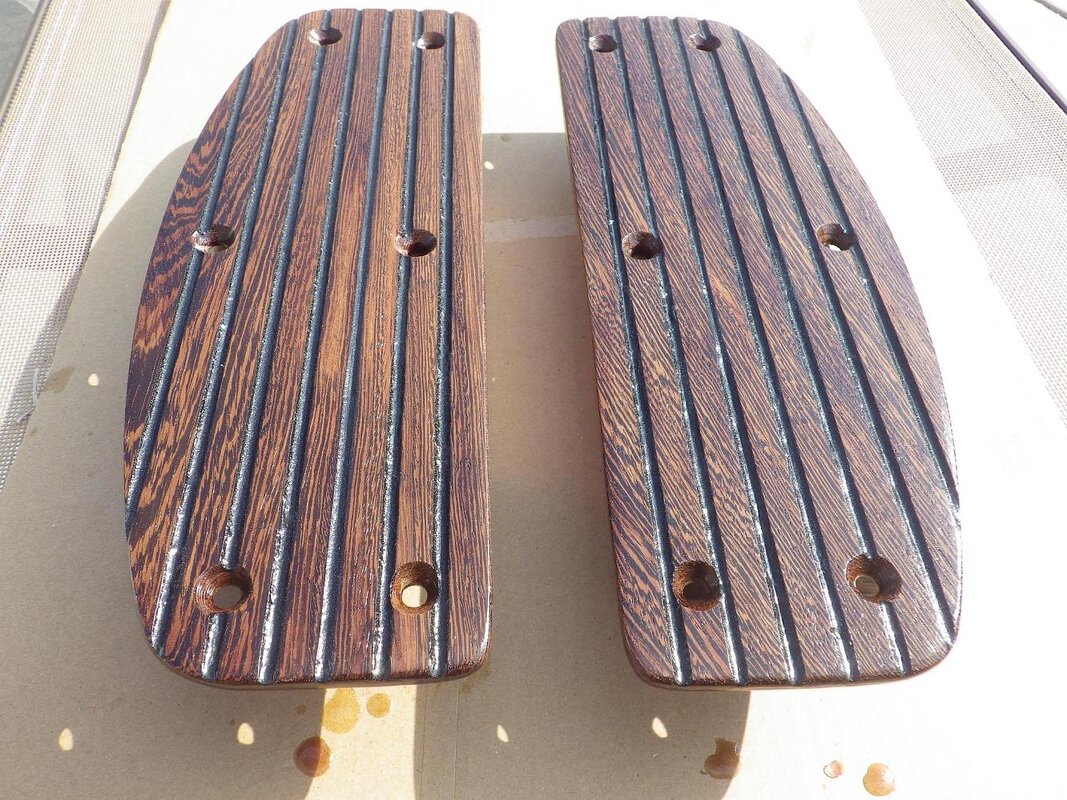
I found this beautiful sliver of WENGE wood (1/4" thick by 5+" wide x 7' long) at a local exotic wood supply and decided to try and make me some custom real wooden floor boards.
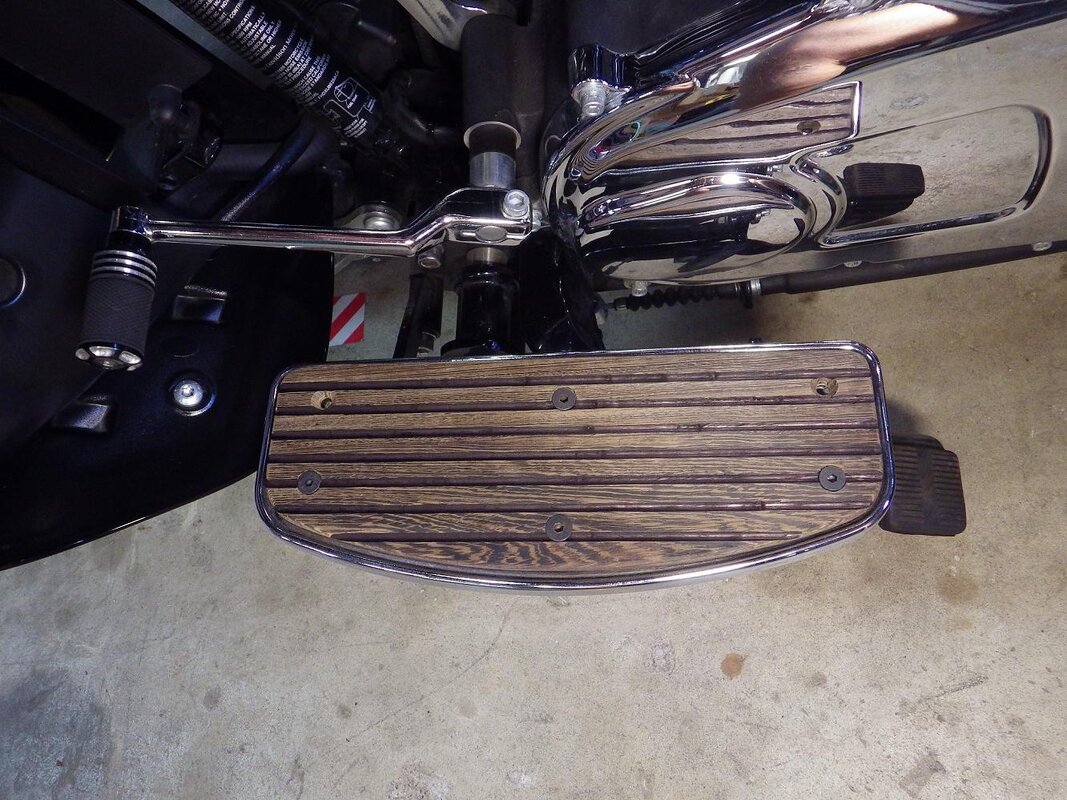
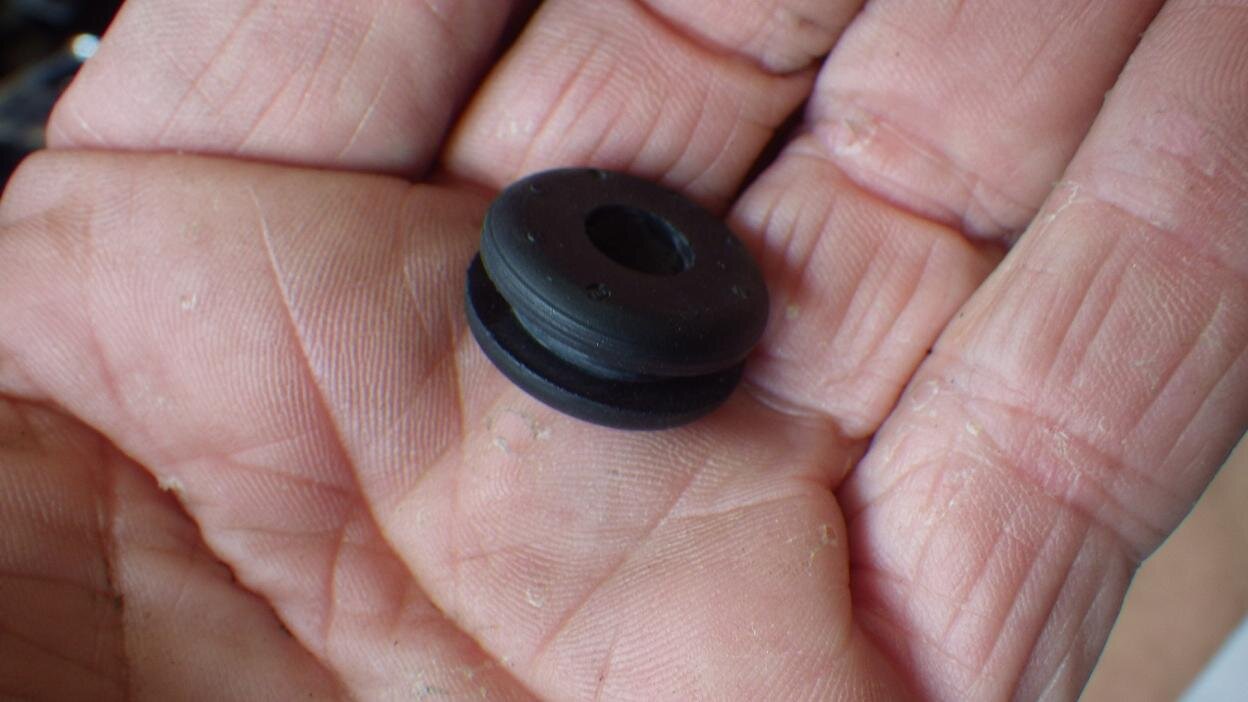
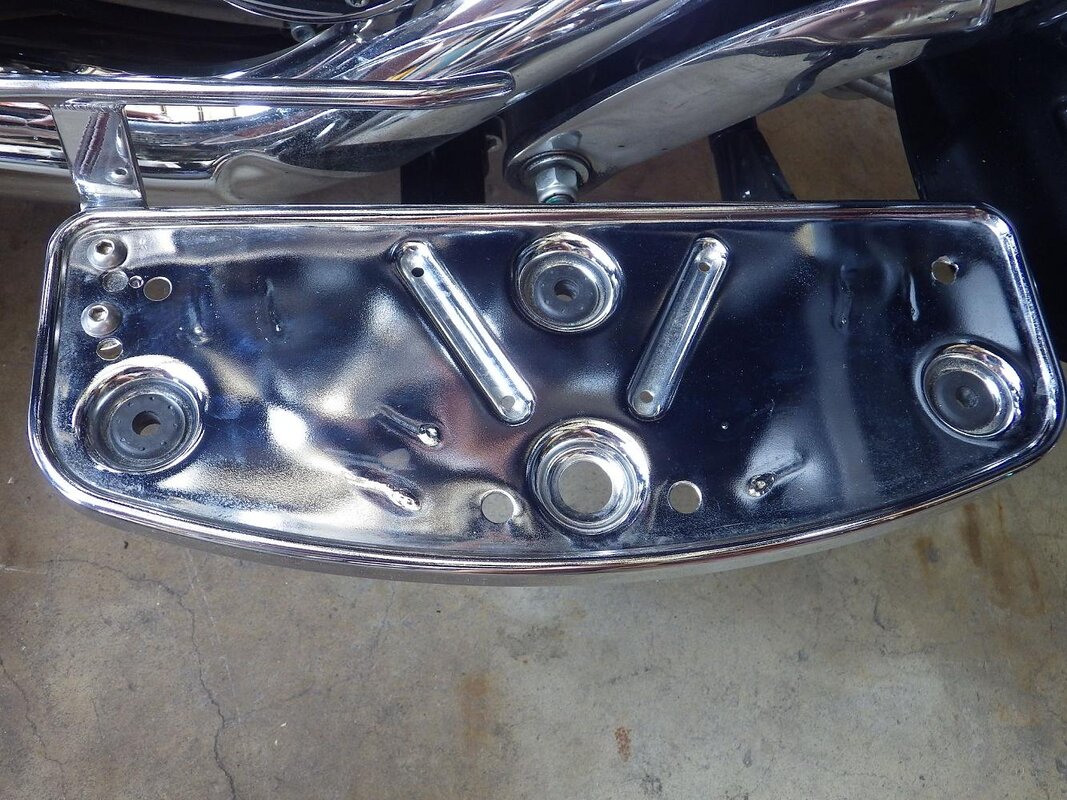
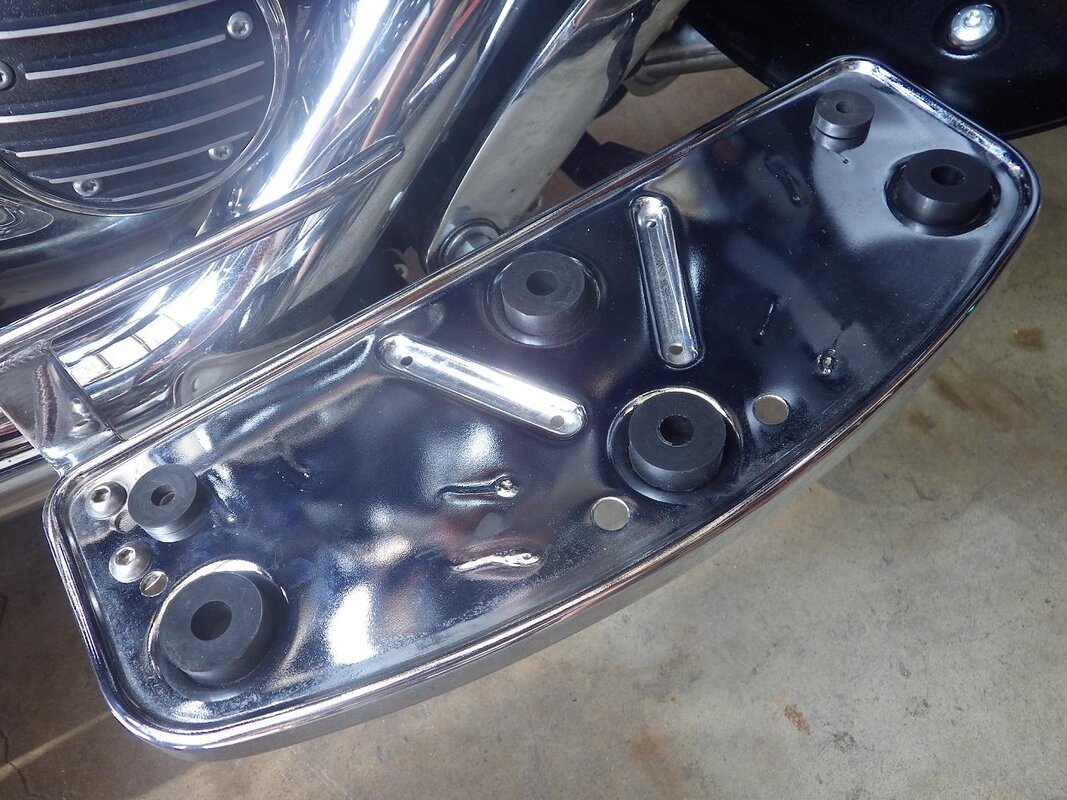
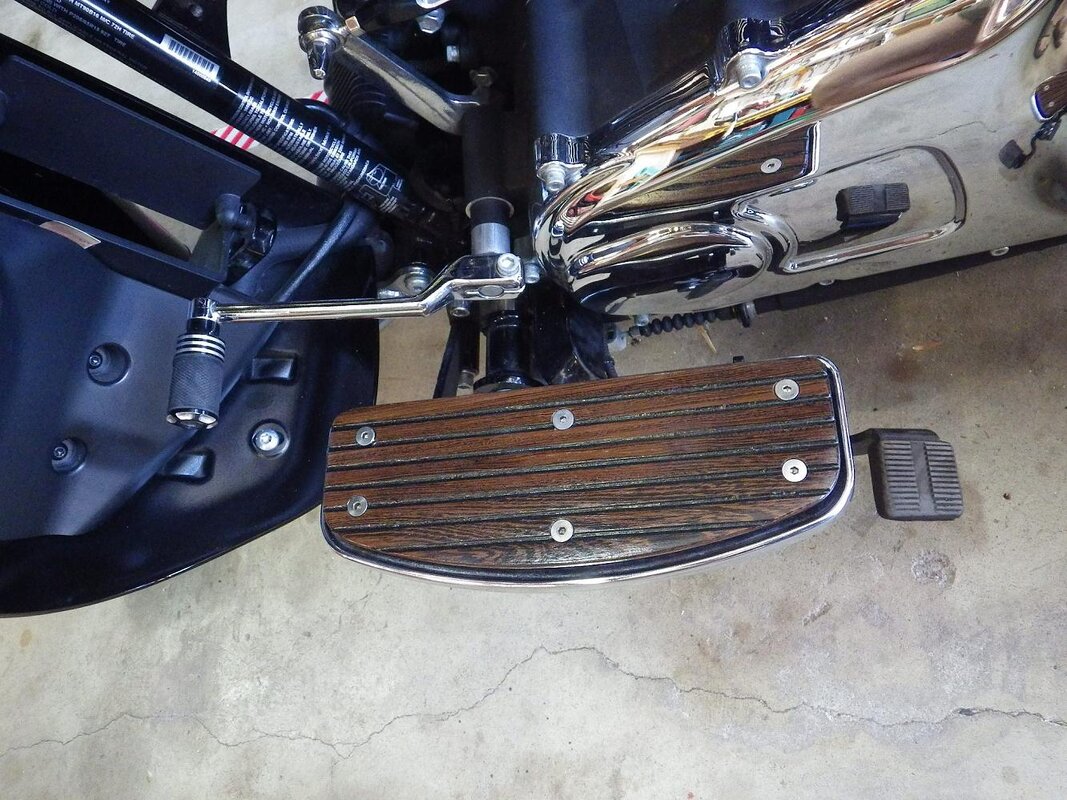
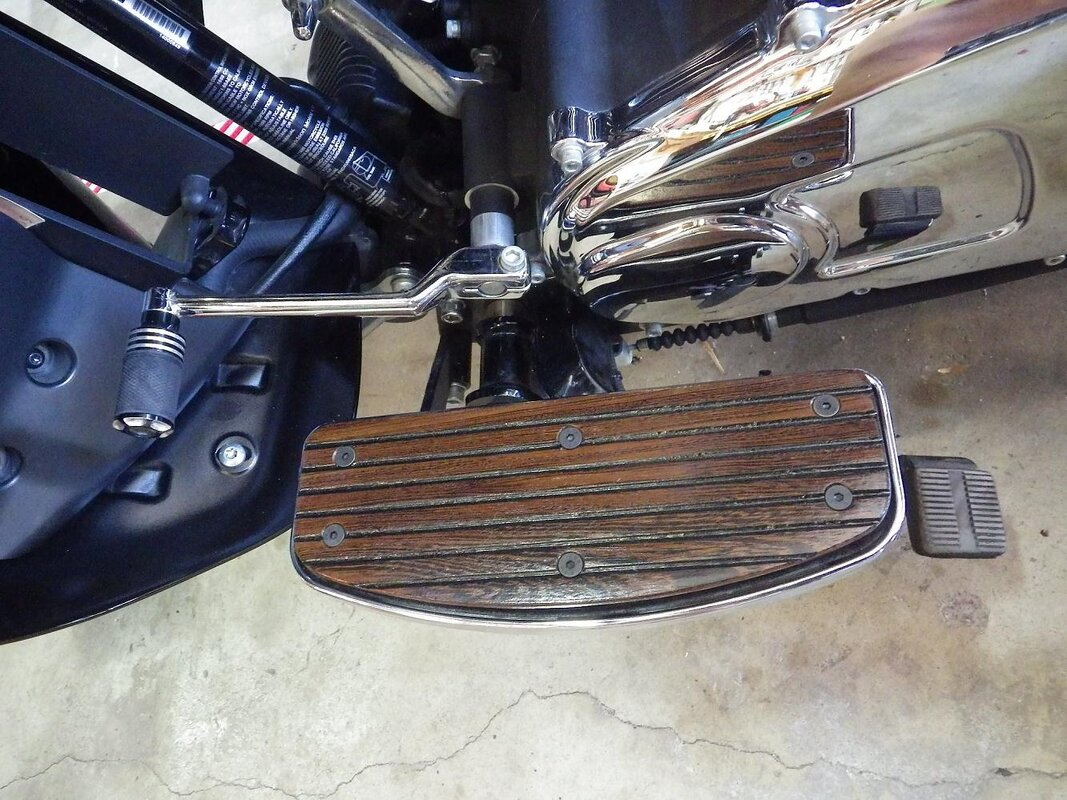
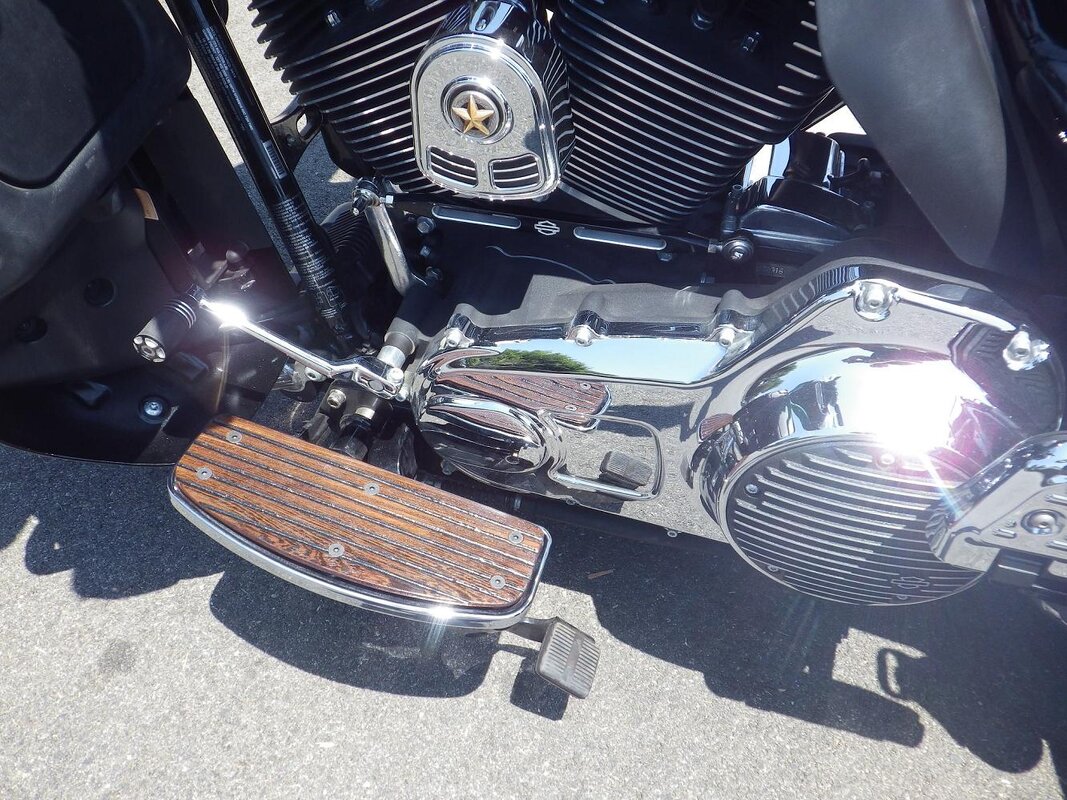
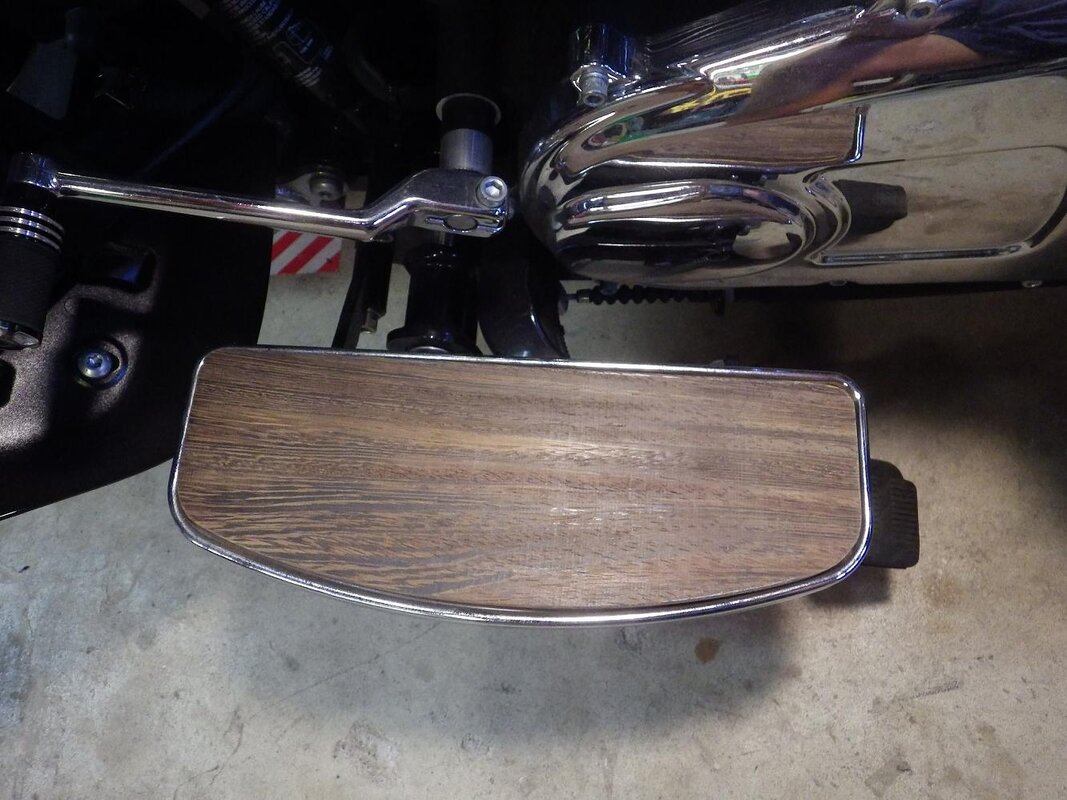
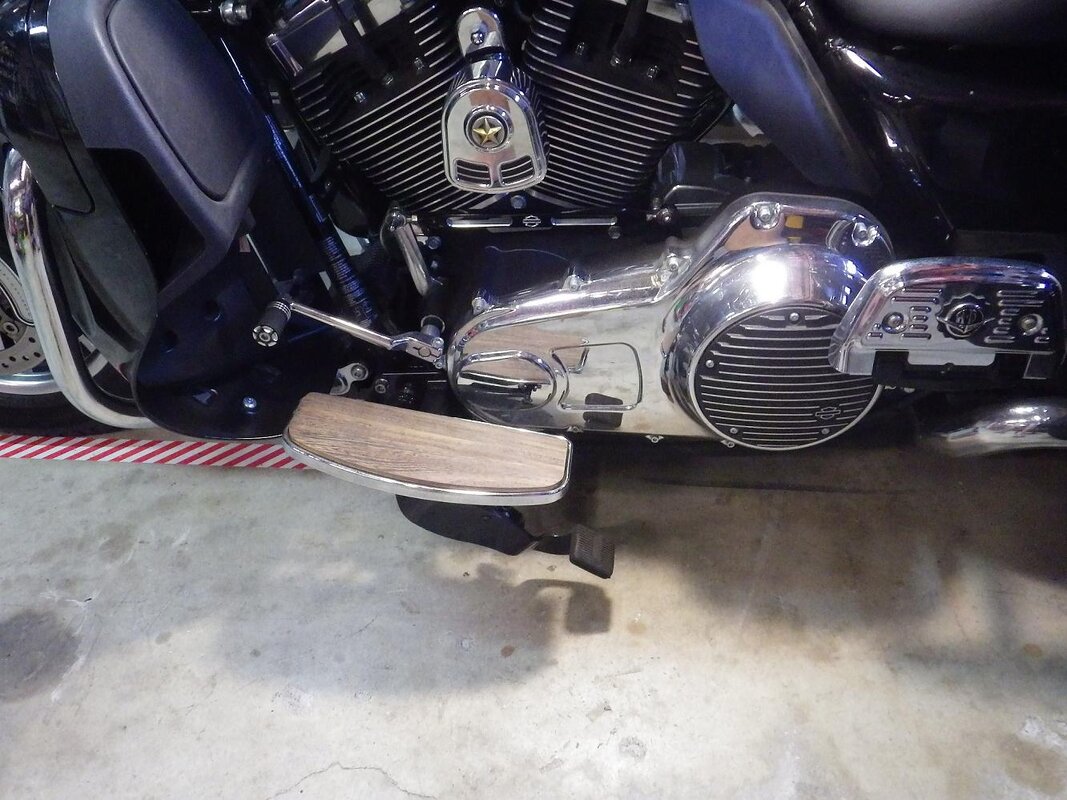
Once I get them finished, I just have to figure out how to mount the boards to the floor board base, with some sort of rubber isolator in between.
Once I get them finished, I just have to figure out how to mount the boards to the floor board base, with some sort of rubber isolator in between.
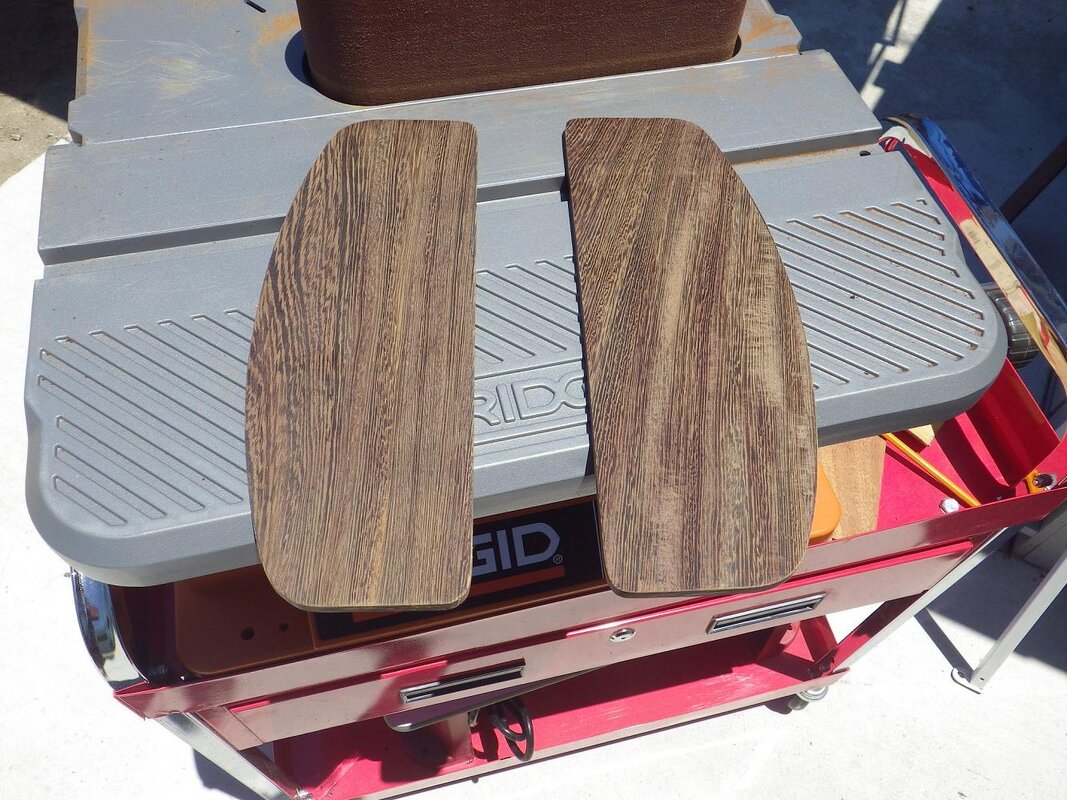
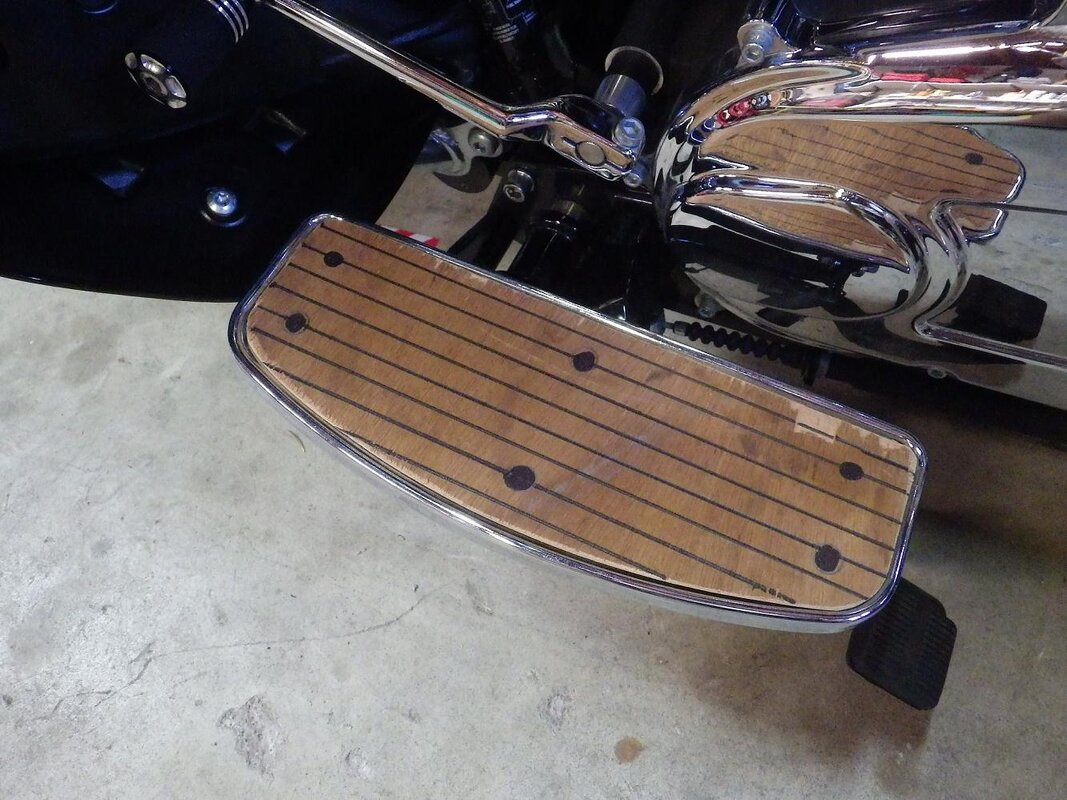
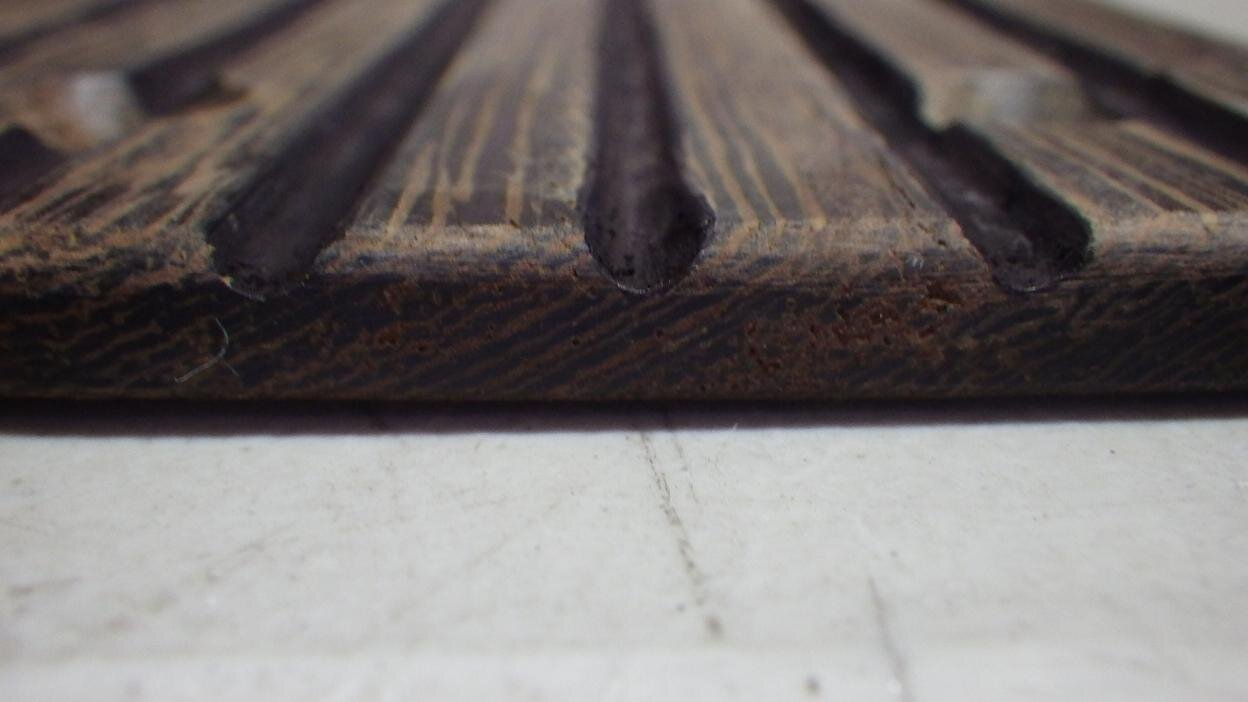
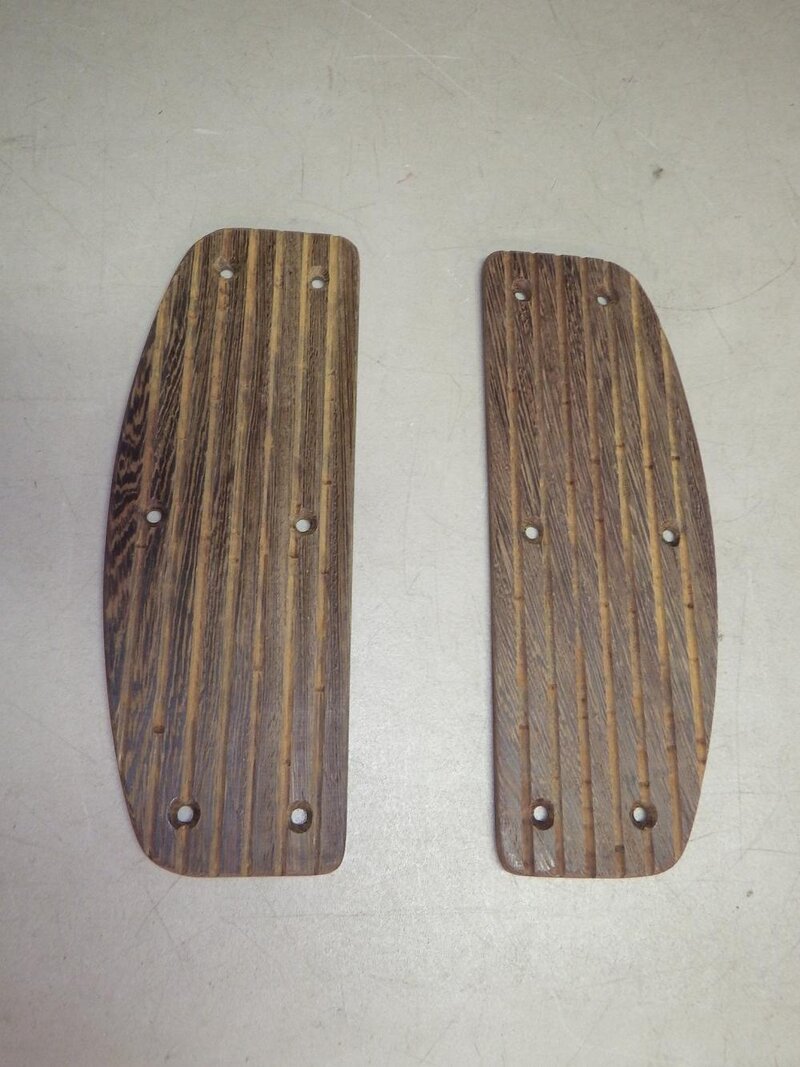
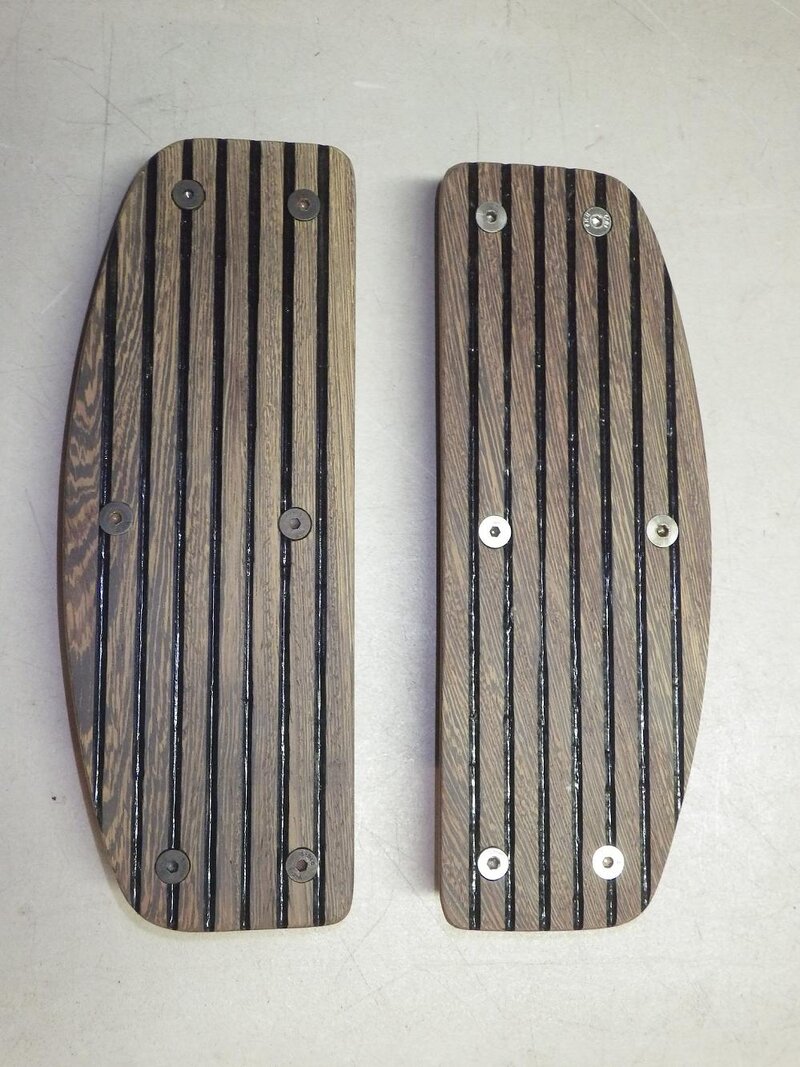
 I went ahead and drilled and countersunk the mounting holes, then routed in mock plank lines to aid in the grip, and there is still plenty of meat left in these 1/4" thick boards. Then I used magic marker (just for now) to see what they might look like.